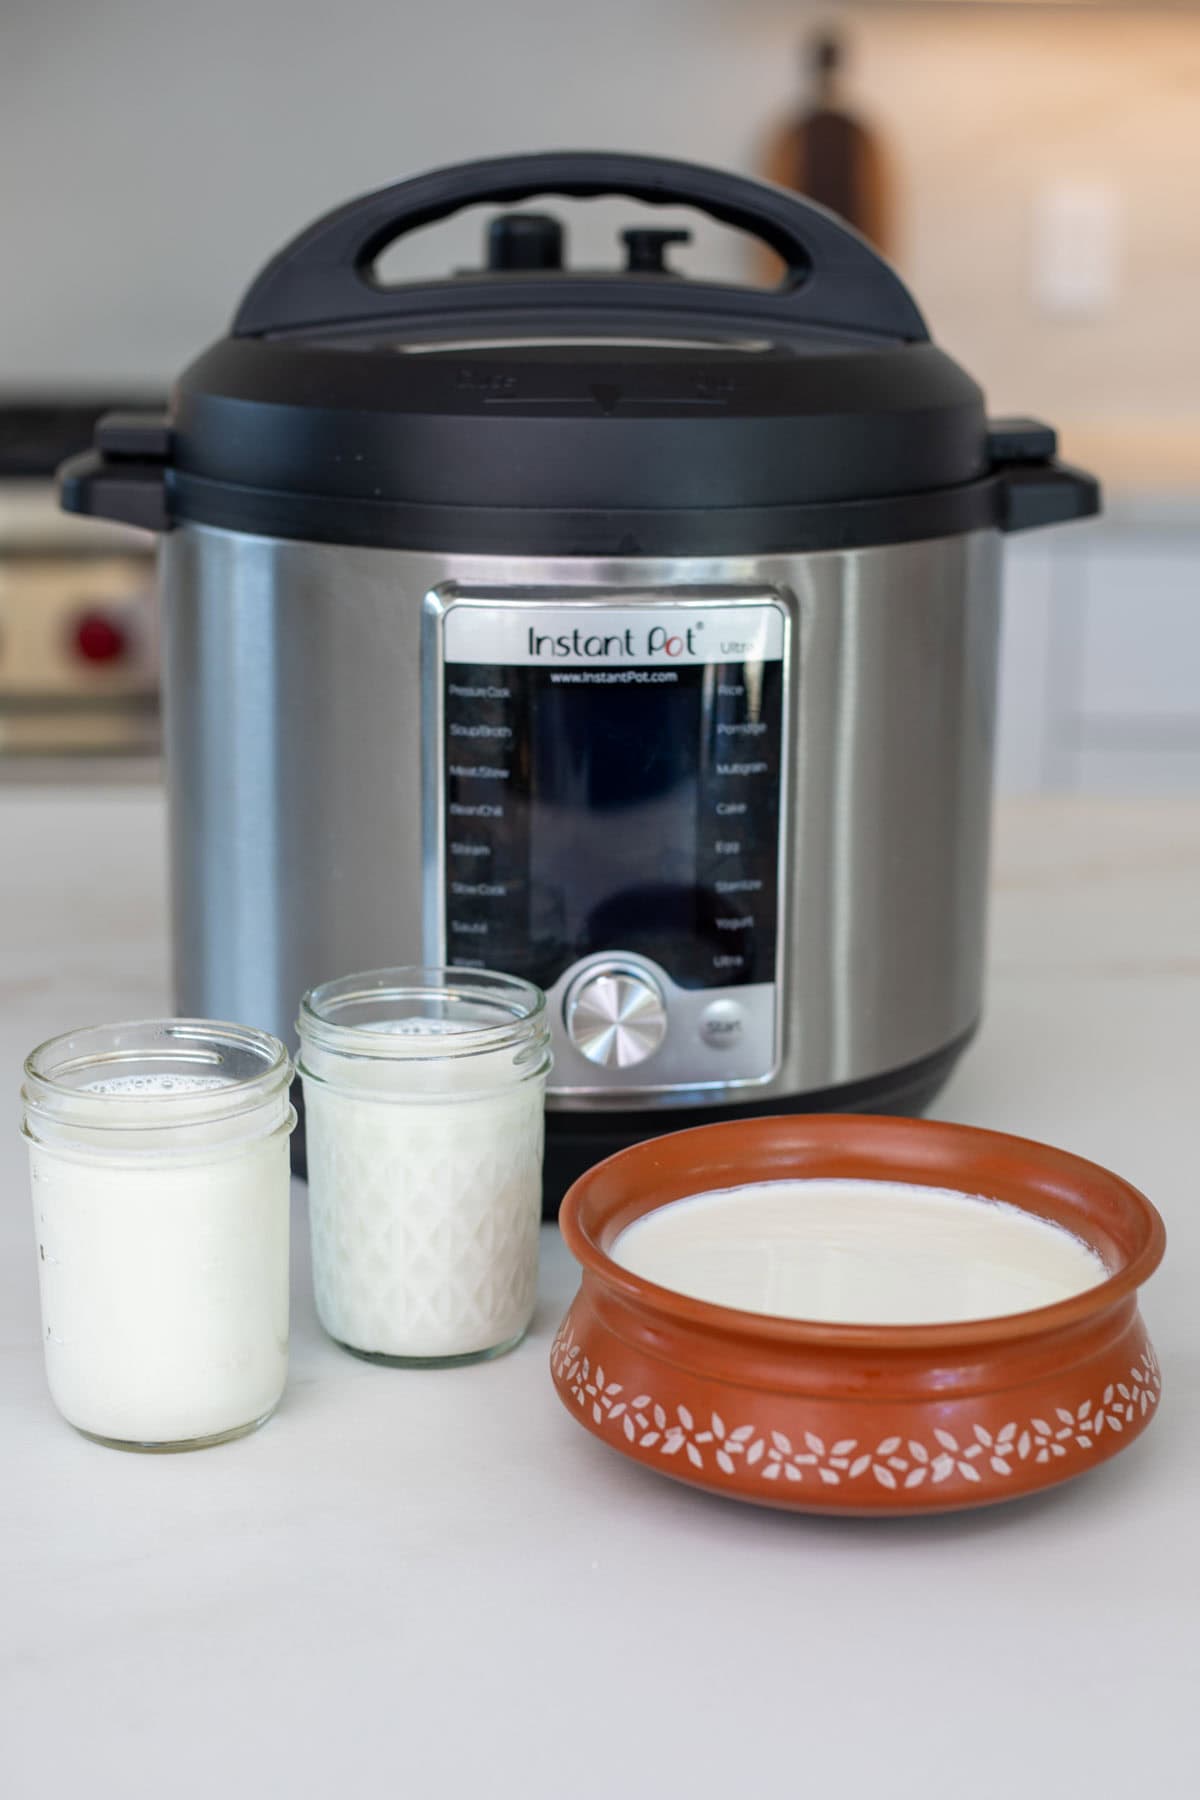
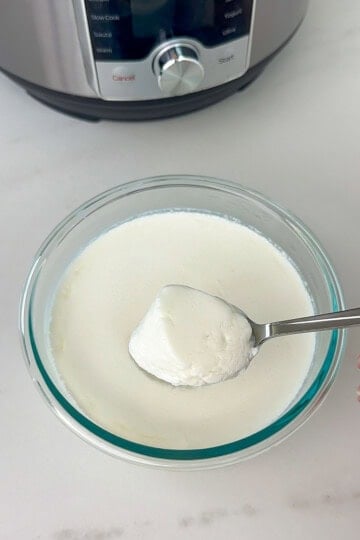
Craving creamy, homemade yogurt without the mess? This Instant Pot yogurt recipe uses the pot-in-pot method for ultra-smooth results and easy cleanup—no more scorched milk or scrubbing the main pot! With just two ingredients and a bit of patience, you’ll be making delicious creamy yogurt that is so much better than anything store-bought.

Growing up, I have enjoyed freshly made yogurt (also referred to commonly as dahi or curd) every single day. My mom had the routine to boil the milk, add culture, and set yogurt every night. This fresh yogurt was something I really missed after moving to the USA.
Living in the US, I used to buy yogurt from the store like most people here. It was too creamy for my Indian taste buds. I would always wonder, have they added something to it??
Indeed, most yogurts on the market contain gelatin, which is added to make them appear creamier than they actually are. Huh…so now what? There are yogurt brands that claim to be gelatin-free, live probiotic, and organic.
I was living with them, but only until I started making homemade yogurt. You will never go back to store-bought yogurt after having fresh, homemade yogurt. And you might also save some bucks!
Table of Contents
Why Make Yogurt in the Instant Pot?
- Instant Pot yogurt is easy to make and so much cheaper than store‑bought.
- Instant Pot adds insulation and temperature stability. This controlled environment is ideal for consistent results.
When preparing yogurt without the Instant Pot, it was hard to get it right each time, especially in the winter when the weather is cold. Sometimes it wouldn’t set properly, being a bit runny and sticky. But with the Instant Pot, you take some of the possible uncertainties out.
That said, you can still prepare homemade yogurt if you don’t have an Instant Pot. After you have mixed in the starter, place the bowl in an oven with the light on. That has also given me very good results.
Why Use Pot‑in‑Pot Method for Yogurt?
Most recipes online for Instant Pot yogurt use the main inner pot. That method works, but it makes a huge batch—way more than we can eat in a few days before it starts turning too tart.
Plus, you have to chill the whole bulky inner pot in the fridge, which takes up a ton of space. Hence, I prefer to make yogurt in small batches using the amazing pot-in-pot method.
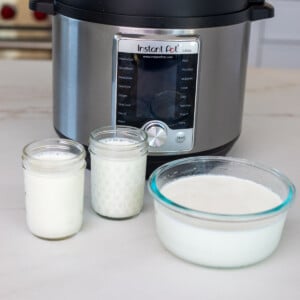
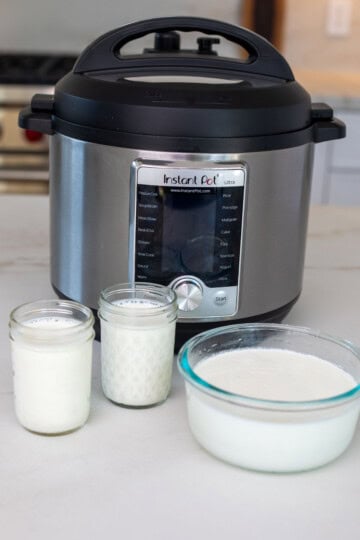
You can make small or individual-sized quantities of yogurt using this method. You can use glass jars or Pyrex bowls, or stainless steel containers to make yogurt with the pot-in-pot method.
Another advantage of this option is that I can simply remove the pot-in-pot bowl and refrigerate it.
The cleaning is also much easier with the small bowls, rather than having to clean the whole inner pot.
Ingredients
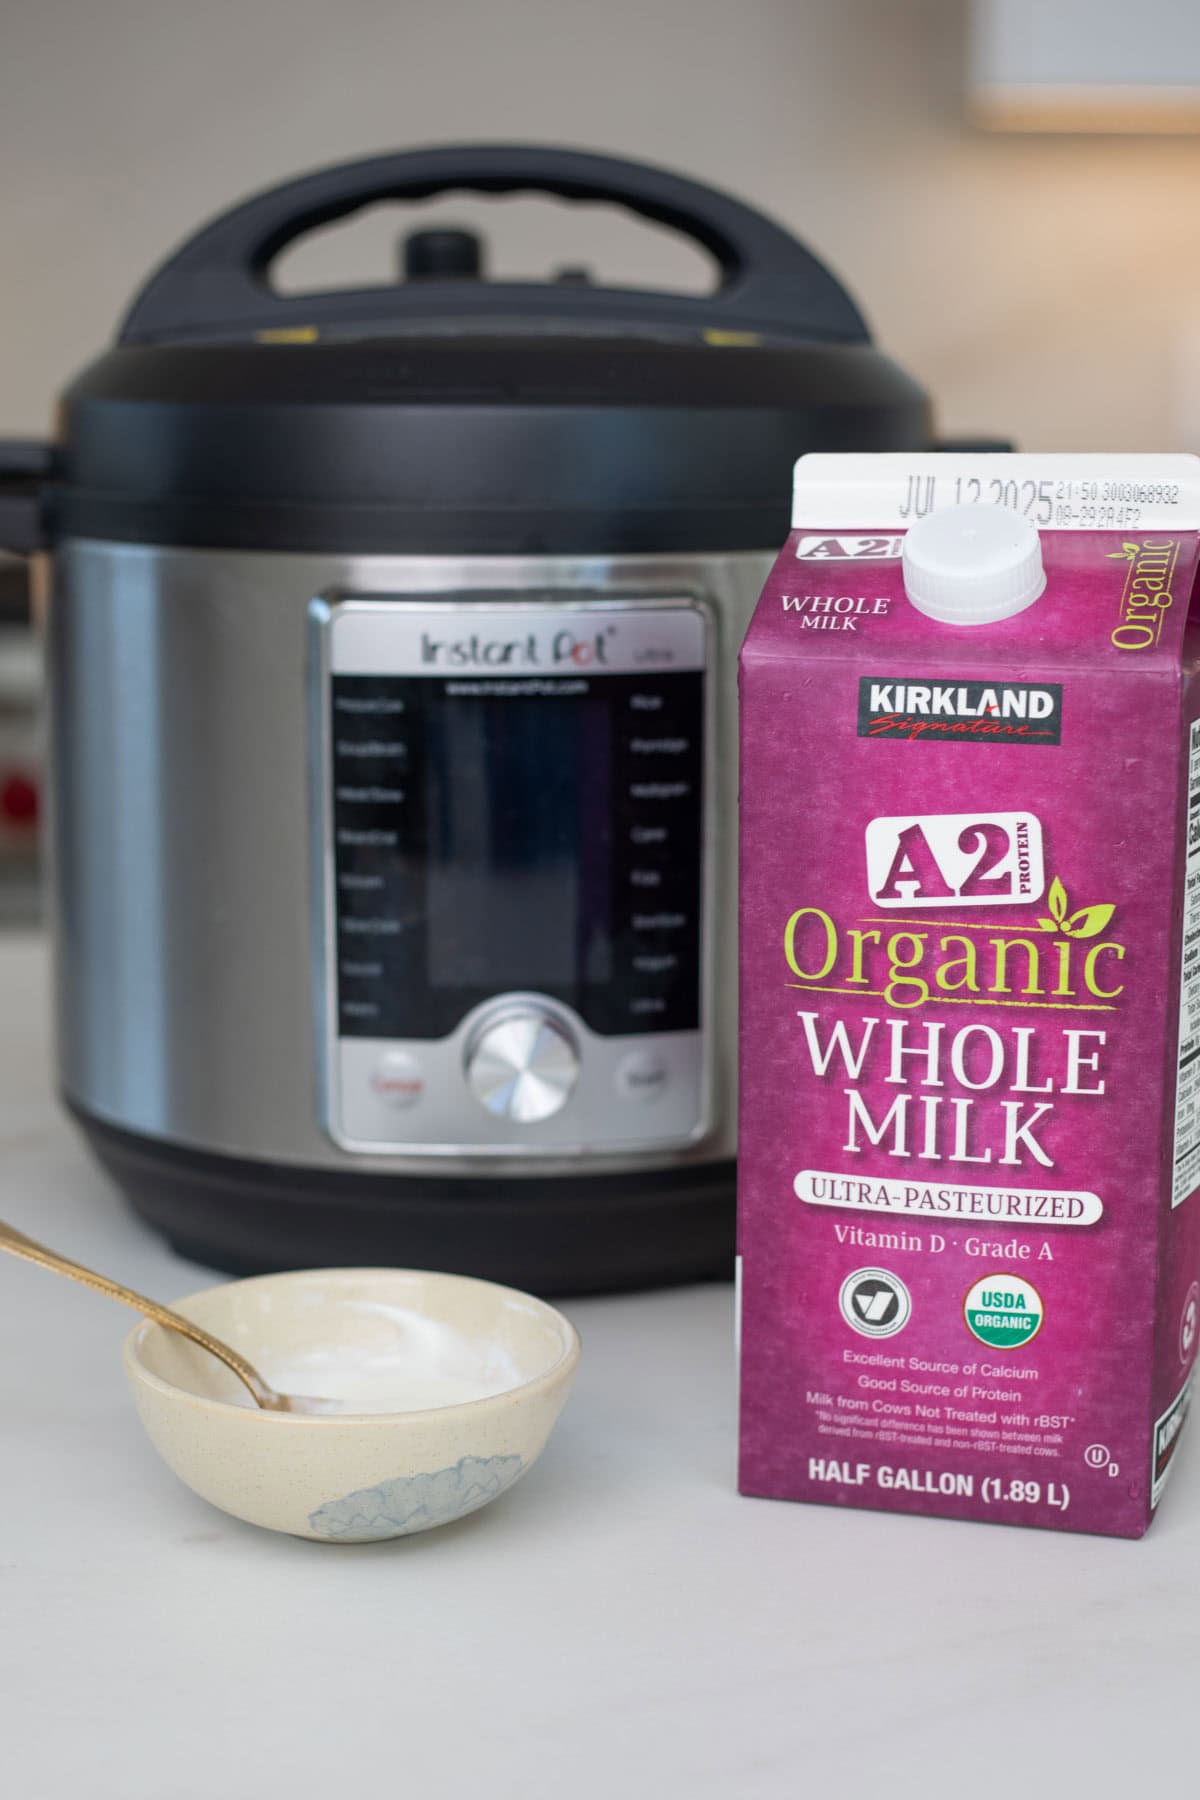
- Milk: I prefer to use whole milk when making yogurt (and everything else). But if you want to reduce fat, you can use low-fat or skimmed milk.
- Yogurt starter with live cultures: You can use a store-bought plain yogurt with active live cultures. Once you have set yogurt once, you can reuse that yogurt as a starter for the next batch.
- (Optional)Add-ons: Some people like to add sweetened condensed milk to make sweetened yogurt. You can also add vanilla extract for a flavored yogurt. You can also add heavy cream or milk powder to make thicker yogurt.
How to Make Yogurt in Instant Pot?
There are a few easy steps when making yogurt in the Instant Pot. I have also shared another easy cold-start method to make yogurt, where you don’t have to do the initial heating of the milk.
Step 1: Heat Milk (180–200°F)
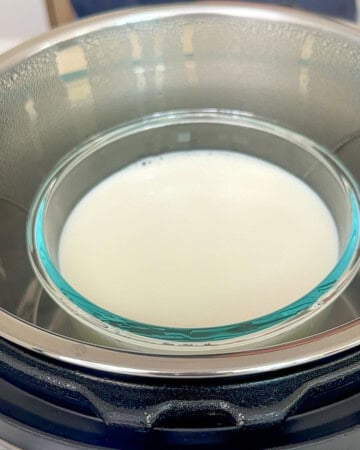
Place the trivet in the bottom of the Instant Pot. Pour in 1 cup of water and place the milk in an oven-safe glass bowl or stainless-steel bowl on the trivet. Close the Instant Pot and set it to “Steam” mode for 1 minute with the vent in sealing position. Optionally, you can use a thermometer to ensure 180–200°F.

Note: Optionally, you can heat milk on the stovetop or in the microwave.
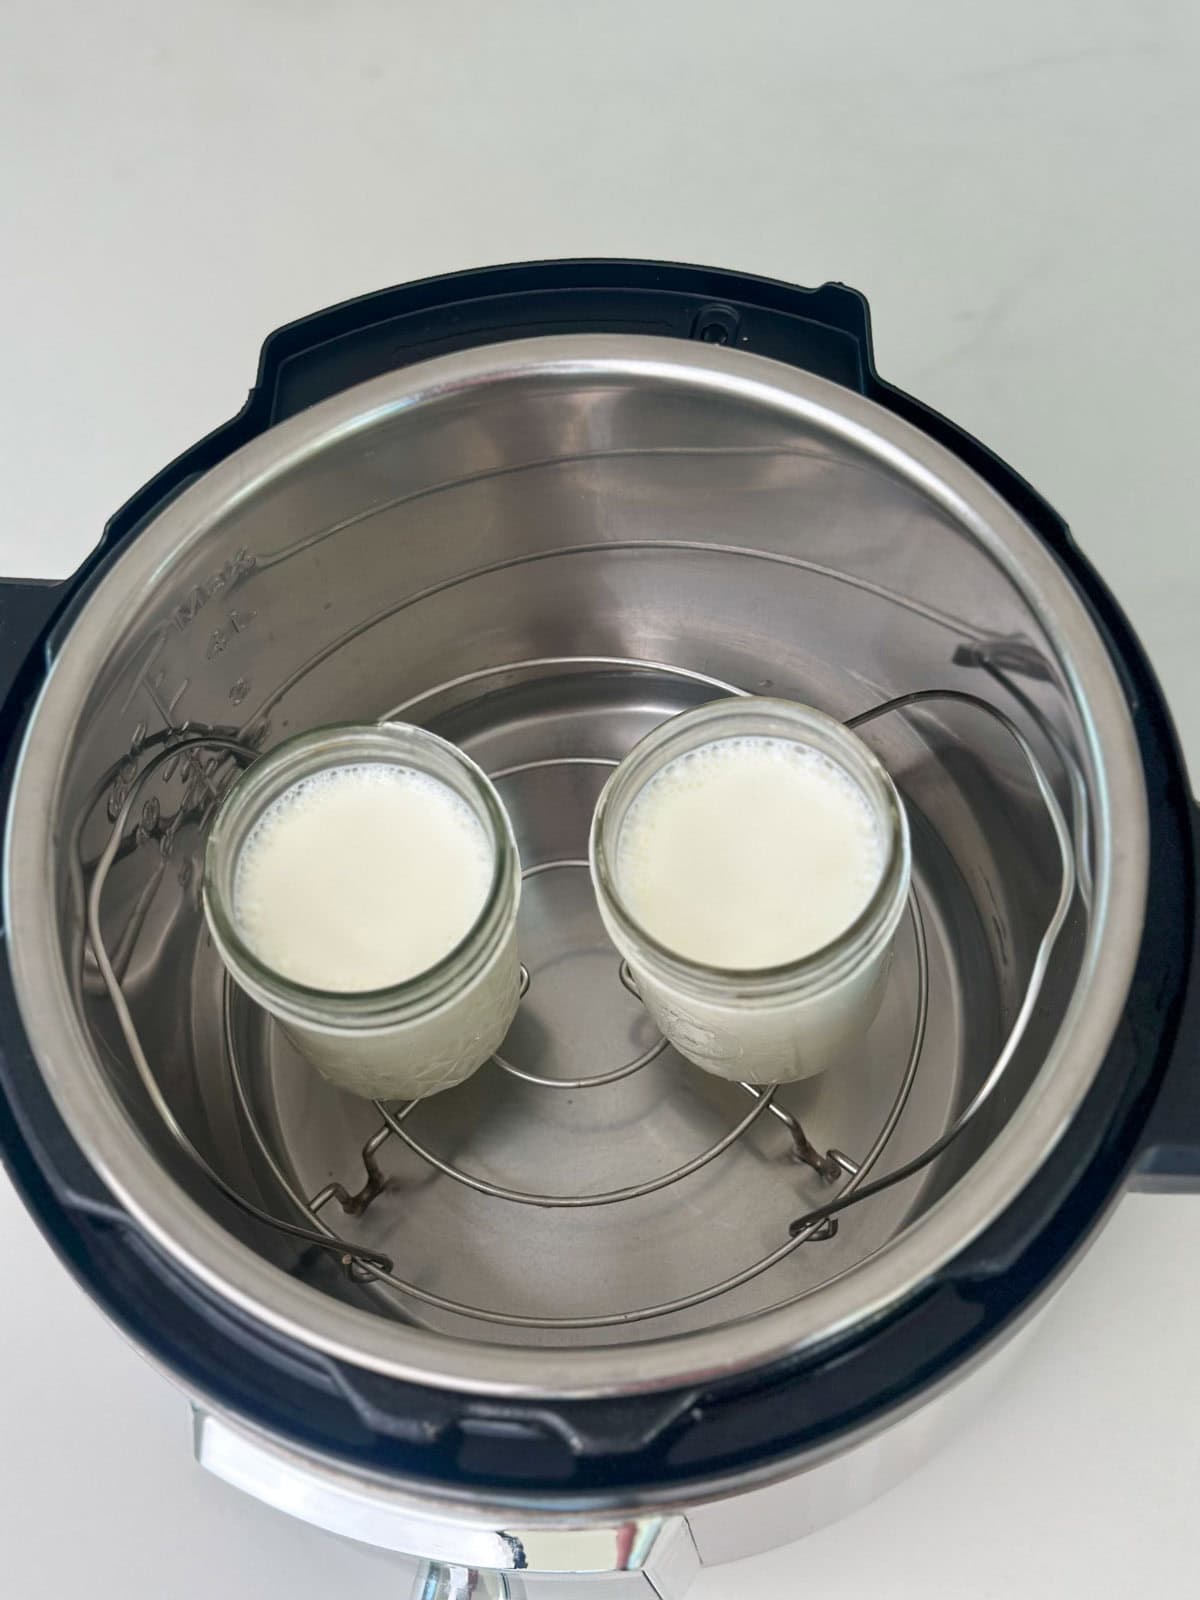
You can also use mason jars to make individual portions of yogurt.
Step 2: Cool Milk to 110–115°F
Open the instant pot and let the milk cool down to about 110°F or 43°C, anything in the range from 108-115°F works as well. This is required so that the active cultures can ferment the yogurt. At high temperatures, the bacteria in the cultures might get killed, which means your yogurt won’t set properly or may not ferment at all.
It will take approximately an hour to cool down to this temperature. (I used a digital thermometer to check the temperature until I got used to checking with my finger).
Step 3: Add the Culture
Remove the yogurt culture from the refrigerator and let it come to room temperature.
Add the yogurt culture and gently stir it into the milk. Cover with a lid. If you don’t have a lid, you can cover it with aluminum foil.
Start the Instant Pot again in “Yogurt” mode. This will automatically set the timer to 8 hours.
Note: You can reduce this time to 6 or 7 hours if you live in a warmer region.

Step 4: Cool & Chill (4 Hours)
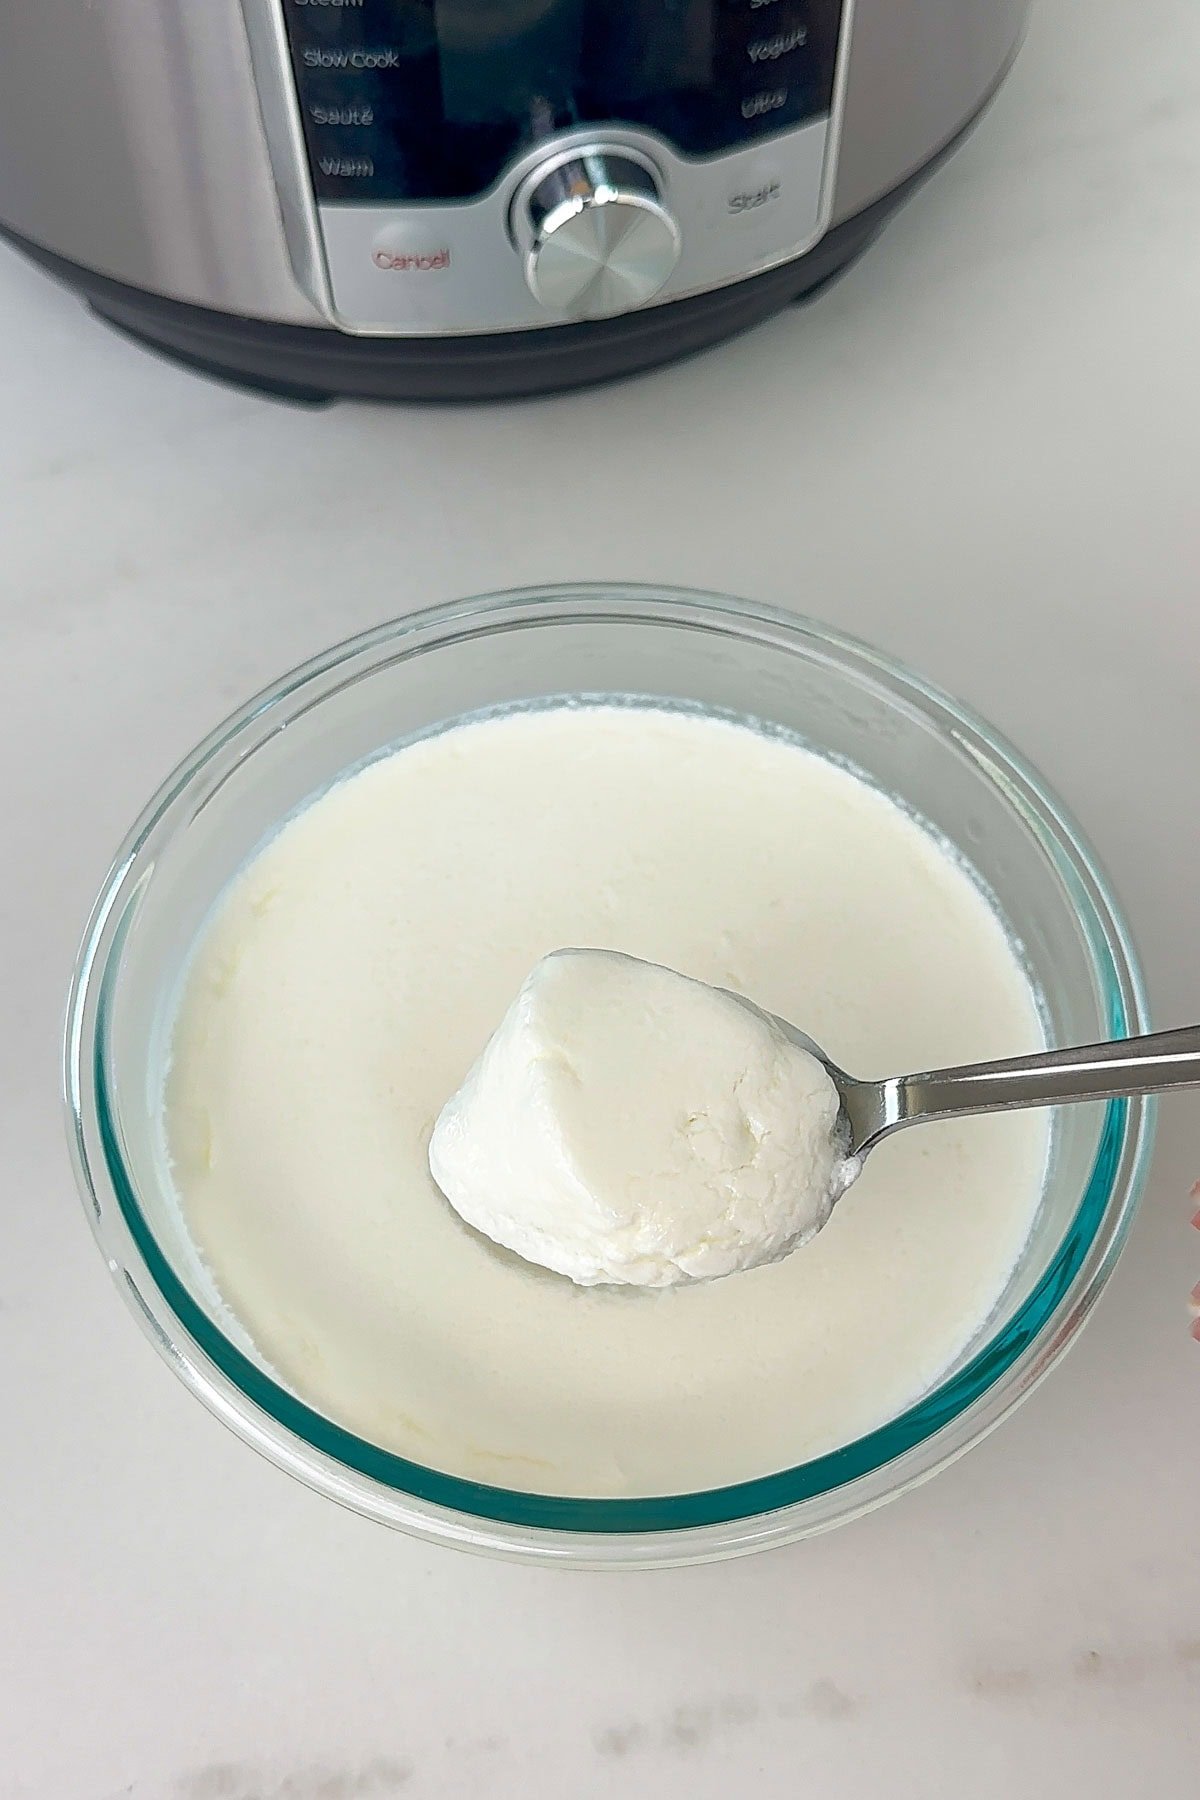
When the timer beeps, the yogurt should be ready. Remove the pot-in-pot container carefully from the instant pot and refrigerate for 2-4 hours. This helps the yogurt set better.
Once it is refrigerated, the yogurt is ready. Enjoy the yogurt as a side with your meal or as a snack, topped with fruit or granola.
(Optional) Step 5: Strain Into Greek Yogurt
If you want to make thick Greek yogurt, then you can follow the steps below.
- Line a fine mesh strainer with cheesecloth over a bowl; pour yogurt in.
- Strain in fridge for 1–8 hrs until desired thickness.
- Whisk the strained yogurt vigorously for a creamy finish. (You can repurpose the leftover whey to make dough for bread)
What If?
Yogurt is too runny? Incubate longer (up to 12 hrs). You can also consider using a new yogurt starter culture to make sure that it is not the reason for the yogurt being runny.
Yogurt is too tart? Use a fresher starter, use a lesser amount of starter, or shorten the incubation time.
Serving Ideas
- Stir in fruit purees, vanilla, honey, or coffee after cooling.
- Use homemade yogurt in smoothies, parfaits, granola bowls, marinades, and baked goods.
How to Store Homemade Yogurt?
Once your yogurt has set, store it in the fridge at or below 40°F (4°C). It’s best to use it within 2-3 days. However, it’s usually good for up to a week. Note that it starts getting tangier as it is stored for longer.
Try this easy yogurt recipe and enjoy the taste of real yogurt.
Update: There is another new method to make yogurt in the Instant Pot, called the cold-ingredients or no-boil method. This method does not require boiling and cooling of milk, but it does require a specific type of milk, specifically ultra-filtered milk.
Instant Pot Yogurt (Pot-in-Pot)
Video
Ingredients
- 4 cups Whole Milk
- 1 tablespoon Starter culture, or any yogurt with live culture
- 1 cup Water
Instructions
- Pour 1 cup of water into the inner steel pot of the Instant Pot, then place the trivet.
- Add the milk to an oven-safe glass or stainless steel bowl. Place this bowl on the trivet. Close the Instant Pot and set it to "Steam" mode for 1 minute with the vent in the sealing position.

- Remove the yogurt culture from the refrigerator and let it come to room temperature.
- After the instant pot timer goes off, release the pressure naturally.
- Open the Instant Pot and let the milk cool to approximately 110°F or 43°C. Anything in the range from 108-115°F works as well. Approximately, it will take an hour to cool down to this temperature. (I use a digital thermometer to check the temperature until I got used to checking with my finger).
- Add the yogurt culture and gently stir it into the milk. Cover with a lid. If you don't have a lid, you can cover it with aluminum foil.
- Start the Instant Pot again in "Yogurt" mode. This will automatically set the timer to 8 hours. (Adjust the time to 6 or 7 hours if you prefer less tangy yogurt)

- When the timer beeps, the yogurt should be set. Remove the bowl from the Instant Pot and refrigerate it for at least 2 hours. Enjoy the yogurt as a side with your meal or as a snack, topped with fruit or granola.

Notes
- (Optional) Sanitizing the Instant Pot to remove odors: If you frequently cook with spices, consider adding this step. Add 2 cups of water with a few drops of lemon juice and put the Instant Pot in steam mode.
- Have the yogurt culture at room temperature when you are ready to mix.
- The temperature at which you mix the starter with the milk is very important. Initially, it can be challenging to get it right, so you can use a digital thermometer to check the temperature.
- Don’t keep the yogurt in the instant pot for long after the timer beeps, as it might be more sour.


I do not have a yogurt button on my pot. Is there another setting?
Hi Kim – I have not tried without the yogurt button. But there are some recipes for that. You can also make yogurt by keeping in the oven with the lights on. Hope that helps!
Hey! I tried this recipe, but my yogurt came out to be really gooey/stringy. Tasted pretty good though! What can I do to correct the texture?
Hi Shambhavi – Sorry to hear the yogurt did not turn out well. I have seen this happen for 2 reasons -1. the starter is not as fresh. Try to use a new box of yogurt with active live cultures as starter 2. The milk was warmer than needed when the culture was added. I hope that helps! I have been using Brown Cow yogurt (shipped by Amazon on prime now) as culture recently and that has worked well.
Can i use store bought whole milk yogurt as starter culture?
Hi Supriya – You can use store bought yogurt with active live cultures. I would also recommend to use a newly opened box when using as a starter.
This method is so easy, and according to my yogurt-eating spouse, it turned out great! He asked to learn :). I hope he sticks with it so that we can stop buying and contributing to plastic trash. I’m going to try the same method with plant-based milk as well and see how that turns out.
So easy to follow your recipe. I did not have a thermometer so just waited for an hour before mixing the culture and starting the process. I now have nice thick and sour yoghurt (just the way I like). Thank you!
Can I use a metal container instead of a glass one?
Cover inner pot with lid or foil so steam does not condense into yogurt.
Hi Lynn – That is a great suggestion. It will work well for the yogurt.
Thank you for the foil tip! Wasn’t sure what to use as I only have plastic covers 🙂
The idea of using the steam function to sanitize the pot is genius! I’ve rinsed with boiling water before and it’s such a pain (literally, if you mess it up). I don’t have a glass bowl that fits in my IP so I used 2 cup Mason jars instead, and sanitized them in the pot. I store my yogurt in them as well, so it also saves me cleaning a bowl.
Hi, I tried to use a mason jar as well but mine broke. Any ideas why? I did try to sterilize the mason jar before using in the IP.
Hi! Just a question so when you are doing the second step … do you still leave that 1 cup water that you had put in the initial step to steam ? Do you still leave the water in yogurt mode as well?
Hi Meera,
I’ll be trying this out on the weekend. Quick question, how long does the yoghurt keep fresh after making it in the pot? Is a week good?
Thanks!
Hi Kiara – yes, it will be good for 4-5 days. I starts getting a bit sour after that. Still good to use, especially to make kadhi 🙂
Hi Suhasini – yes, I leave the water in the pot when in yogurt mode. I would love to hear how your yogurt turned out.
Hi, I made yogurt in my 6 qt ultra.,I tried whole
Milk,boiled milk at high temperature and once it’s cooled (105F to 115F) and incubated on the yogurt setting medium for 8hours,I feel very sourness what should I do to reduce the sour taste? Can I limit the time for incubation 6 hours and temperature also low?
Hi Eliza – yes, you can reduce the incubation time on yogurt setting to 4-6 hours to reduce the sourness. Thank you for sharing back your experience!