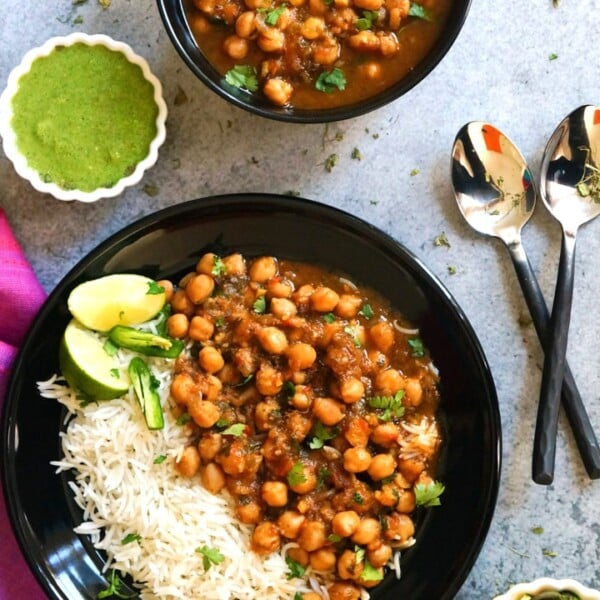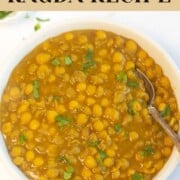
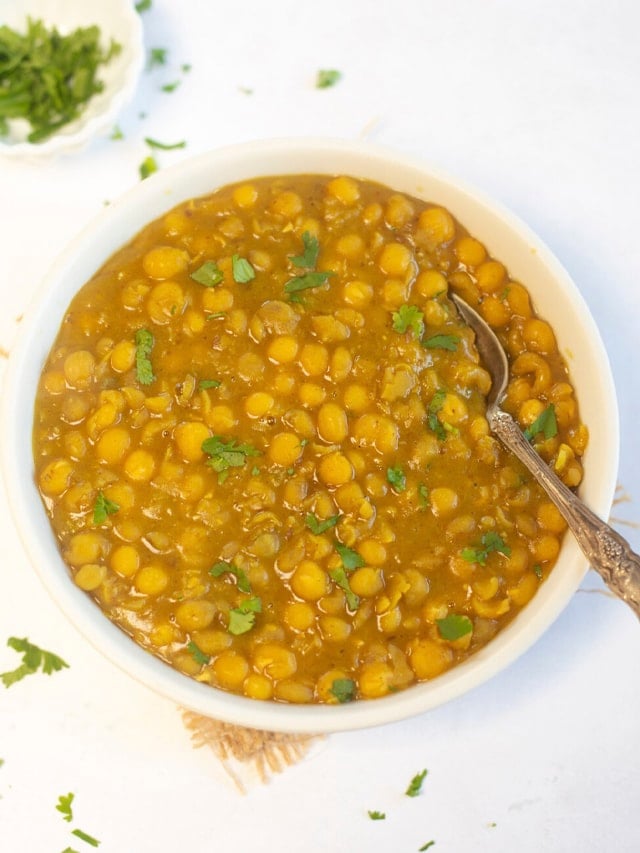
Ragda is a white peas curry used in a variety of Indian street foods. It is a popular topping used in many chaat recipes like ragda pattice, pani puri, and more. It is vegan & gluten-free!
Ragda is a thick gravy with minimal seasonings that has a balance of flavors and is the main component of many chaat recipes.
You add it as a filling in pani puri, or top it on aloo tikki to make ragda pattice, or top it on samosa to make samosa ragda chaat, or just dress it up with chutneys to make matar chaat.
It is so versatile, and is wonderful to even enjoy as a curry with your regular meals.
Table of Contents
What is Ragda?
Ragda is a delicious curry made from white peas, aromatics and spices.
It is a very simple preparation. White peas (or yellow peas) are soaked overnight and then cooked. Dried peas take a long time to cook, so they are perfect for pressure cooking.
You can also use dried green peas to make this curry. You want to make sure the peas are soft and mushy after they are cooked.
As always, I like to cook this white peas curry as a one-pot recipe. You can use your instant pot or a stovetop pressure cooker.
How to make Ragda?
To make this delicious ragda recipe, you need to soak white or green peas overnight, so that they cook well.
Rinse the soaked peas till the water runs clear and keep them soaked in water at least for 8 hours.
Instant pot Method
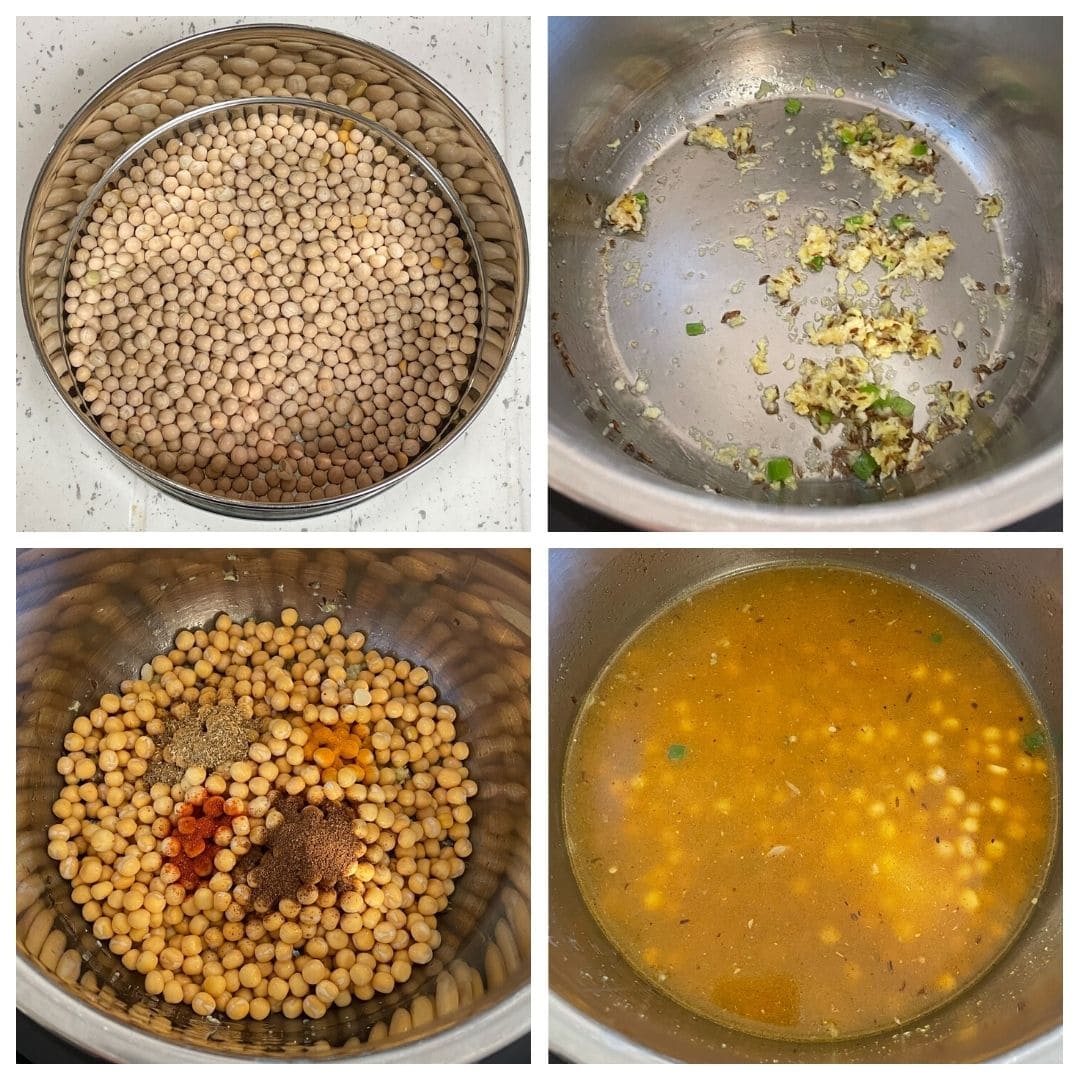
- Start the instant pot in sauté mode. Heat oil in it and add chopped green chilli, grated or julienned ginger, asafoetida, and sauté well for about 30 seconds.
- Then add the rinsed white peas along with the spices of red chili, coriander, cumin, and ground turmeric. Add the required water and stir all the ingredients together once.
- Pressure cook and set the timer for 20 minutes. When the instant pot beeps, let the pressure release naturally.
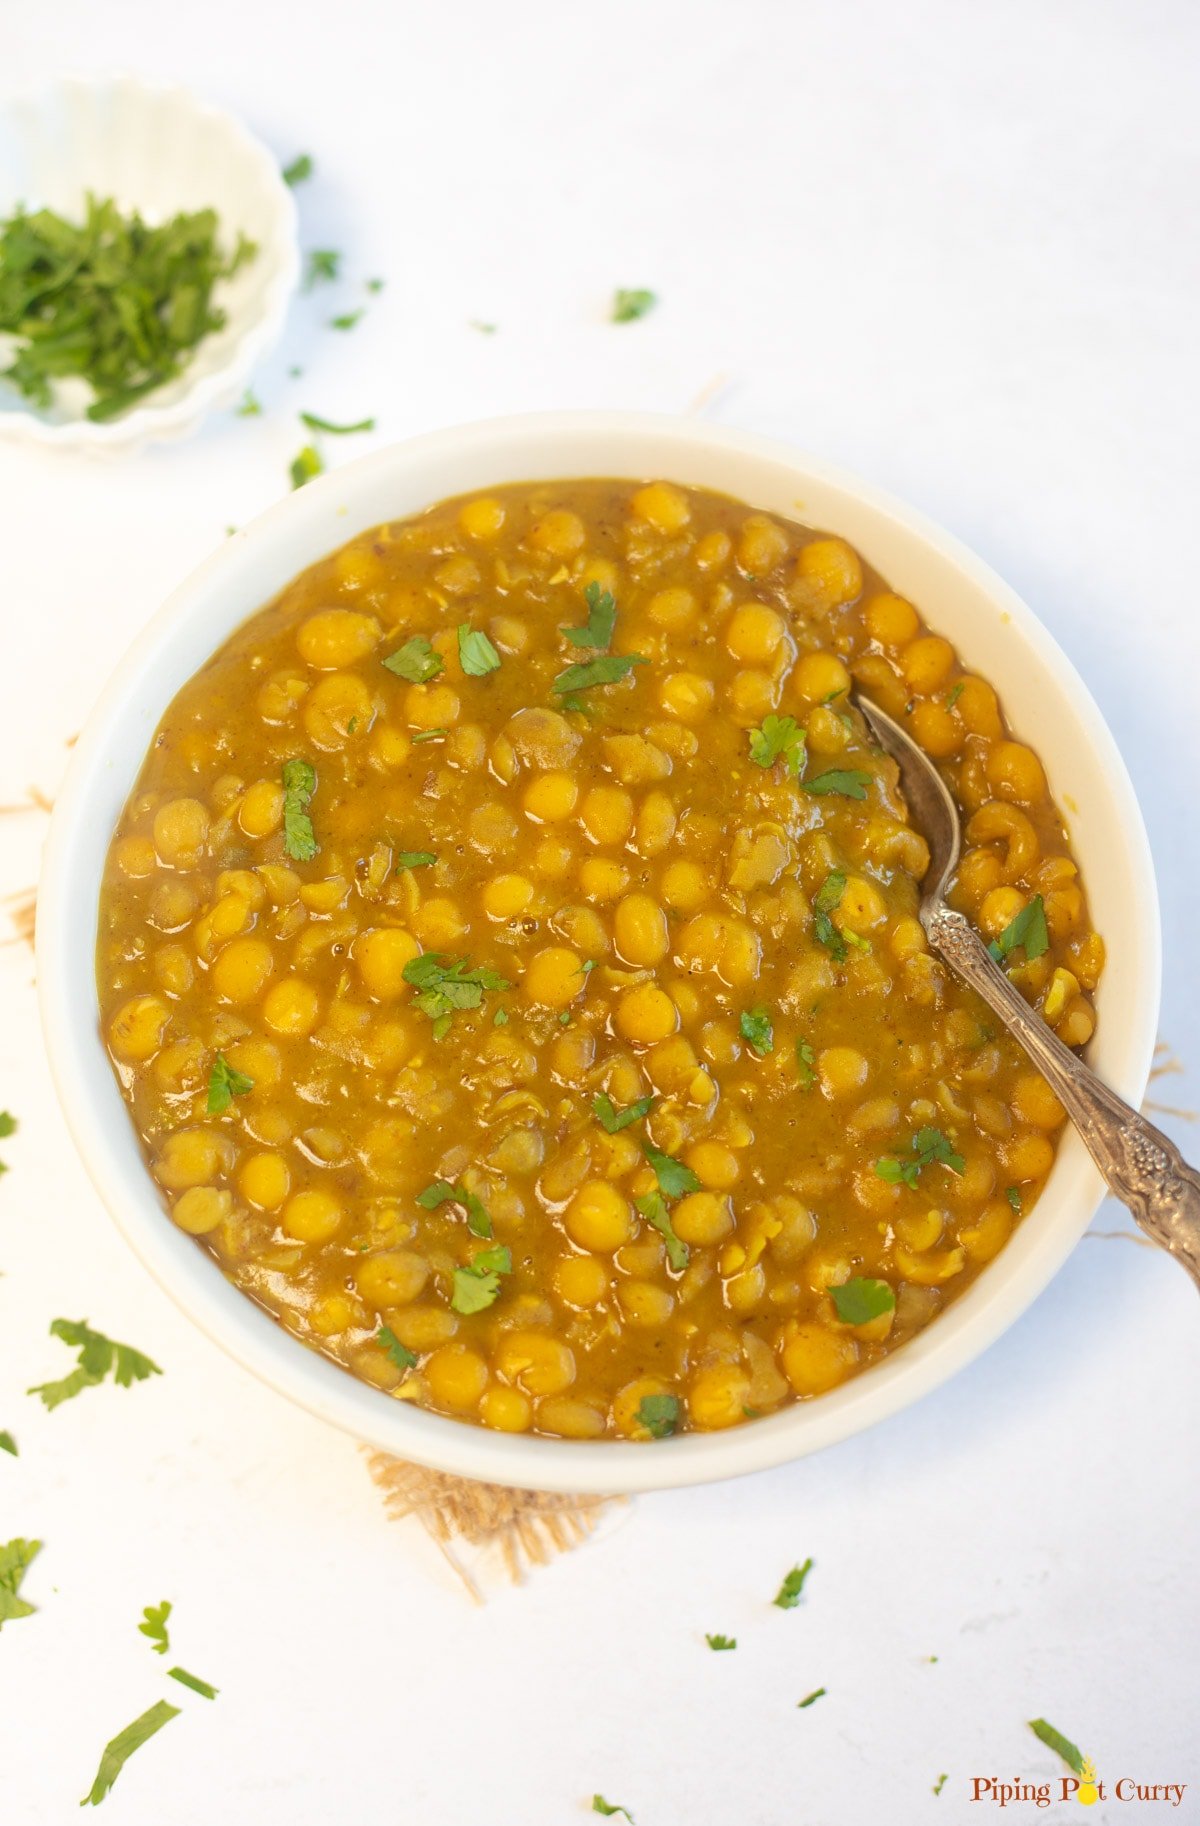
- When you open the pot, it may seem a little watery. Just press sauté and let the ragda simmer for a few minutes. You will see the curry thickened. Also you can mash a few peas with the spatula to get a thicker consistency.
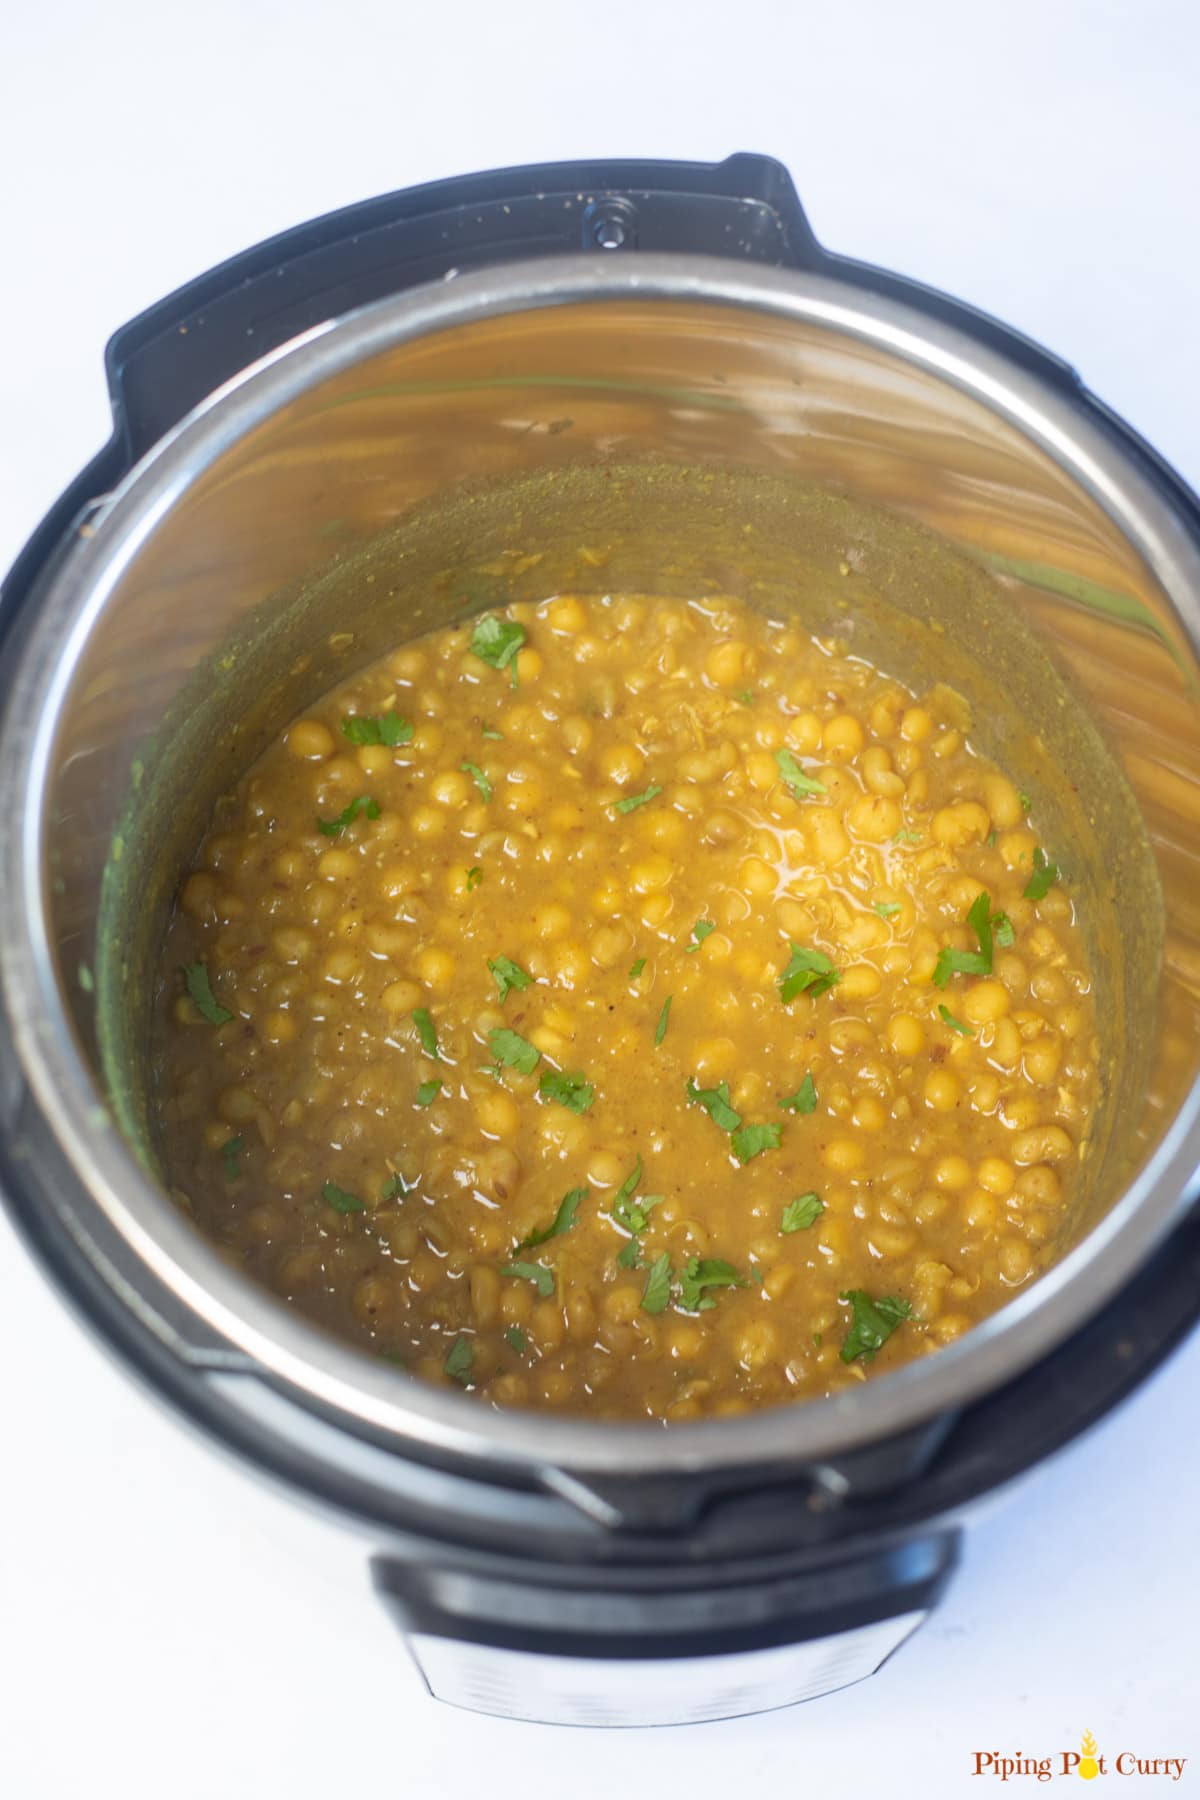
- Finally add freshly chopped cilantro and lime juice to the ragda.
- Stir and your ragda is ready to be served.
Stovetop Method
Follow the same steps as above to get the white peas ready for cooking.
- Heat oil in the pressure cooker on a medium-high flame. Add chopped green chili, grated ginger and asafoetida to the oil and sauté for 30 seconds.
- Next add the drained white peas along with the spices and water and stir them all together.
- Pressure cook the mix for 2 whistles on high flame and then let it cook for another 12-15 minutes on a medium flame.
- Wait for the pressure to release naturally. Check if the peas are soft by mashing them. If they are a bit hard, you can pressure cook them for a few more minutes.
- Add some water if needed before you cook them again. Once again, let the pressure release naturally to open the lid.
- If the ragda is watery after pressure cooking, sauté it on a medium flame without the lid. This will thicken the curry and mash a few peas to get the desired thickness.
- Add freshly squeezed lime juice along with chopped cilantro leaves and stir.
- The ragda is ready to be served.
Pro-Tips
- It is always best to soak the peas overnight for easier cooking.
- You can use dried white or green peas for making this ragda curry.
- The cooking time does not change even if you double the amount of peas.
- You can also add some tamarind pulp after the ragda is cooked to get a tangy flavor to the curry.
- Ragda can be stored in an air tight container in the refrigerator for up to 4 days. You can also freeze it in freezer safe containers for up to 3 months. Thaw it in the refrigerator or the counter before using.
How to serve?
- This ragda can be used to make ragda chaat, also called matar chaat. Top with diced green chili, onions, tomato, tamarind chutney, green chutney and chaat masala to make a quick matar chaat.
- You can top this ragda on pattice or samosa to make ragda pattice.
- You can serve it as ragda with buttered pav (dinner rolls), to make ragda pav .
- It can also be served as a curry with kulcha, roti or rice.
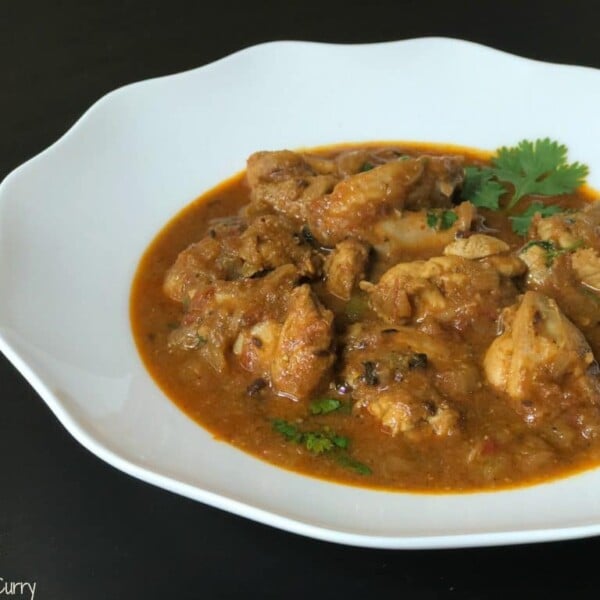
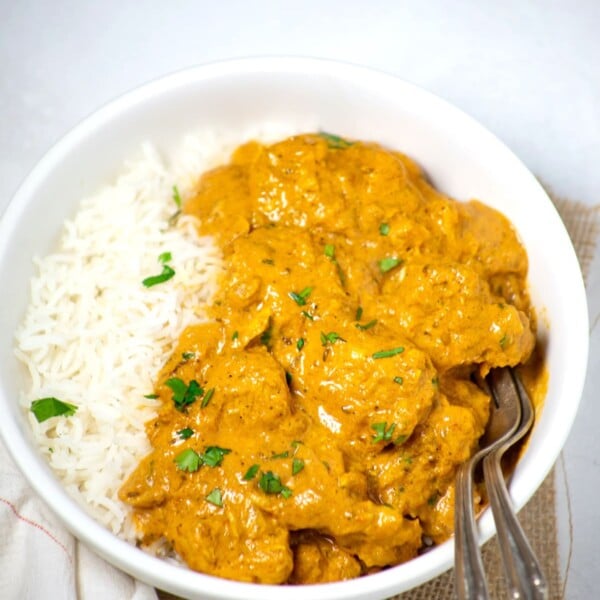
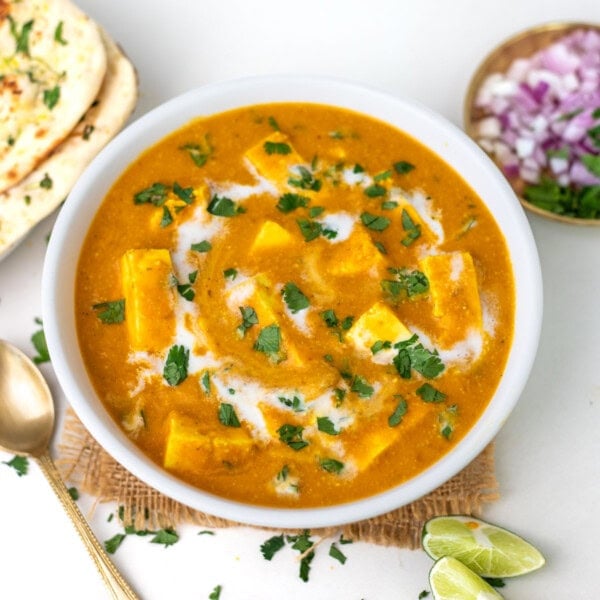
More chaat recipes
Ragda Recipe
Equipment
Ingredients
- 1 cup Dried white peas (Matar/Vatana), whole, rinsed and soaked overnight
- 1 tablespoon Ghee or Oil , use oil for vegan
- 1 Green Chili Pepper, chopped (optional)
- 1/2 tablespoon Ginger, julienned or grated
- 1 pinch Asafoetida (Hing), skip for gluten-free
- 2 cup Water
- 1-2 teaspoon Lime juice, or tamarind paste
- Cilantro, to garnish
Spices
- 1/4 teaspoon Ground Turmeric (Haldi powder)
- 1 teaspoon Coriander powder (Dhaniya powder)
- 1/2 teaspoon Red Chili powder (Mirchi powder), I used Kashmiri red chili powder
- 1 teaspoon Ground Cumin (Jeera powder)
- 1 teaspoon Salt
Instructions
- Rinse the white peas in water and then soak them overnight in 3 cups of water. Drain the soaking water when ready to cook.
Instant Pot Method
- Add the white peas, spices and water. Stir well.
- Press CANCEL and close the instant pot lid with vent in sealing position.
- Press MANUAL or Pressure Cook mode for 20 minutes. When the instant pot beeps, let the pressure release naturally. Open the lid.
- The ragda might seem a little liquidy. Press SAUTE and let the ragda simmer for about 6-8 minutes. This will thicken the curry. You can also mash a few peas to thicken the consistency.
- Add lime juice and cilantro. Stir and ragda is ready to be served.
Stovetop Pressure Cooker Method
- Heat oil in the pressure cooker on medium-high flame. Add cumin seeds, green chili, ginger, asafoetida, and sauté for 30 seconds.
- Add the white peas, spices and water. Stir well.
- Pressure cook for 2 whistles on high flame. Then change to a medium flame and let it pressure cook for 12-15 minutes.
- Let the pressure release naturally. Check if the peas are not soft, then pressure cook for 5-10 minutes more. Add more water if needed, about half cup. Open the lid.
- If there is more liquid after pressure cooking is done, saute on medium flame (without the lid). This will thicken the curry. You can also mash a few peas to thicken the consistency.
- Add lime juice and cilantro. Stir and ragda is ready to be served.