
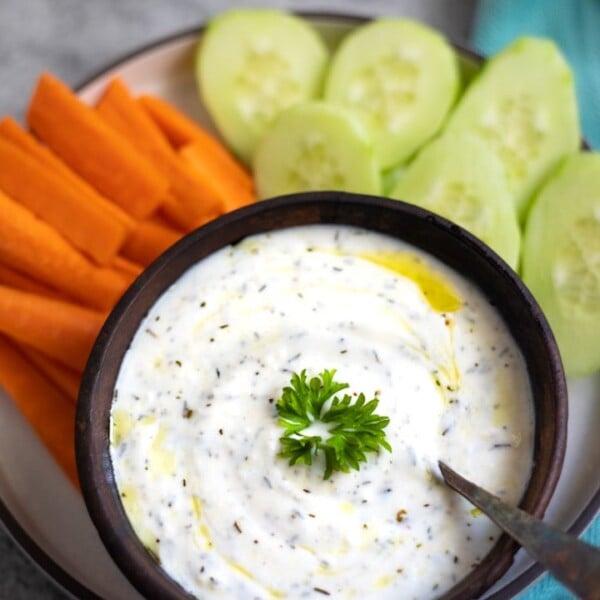
Level up your regular raita with this delicious, easy mint raita recipe! It serves as a cooling and refreshing accompaniment for your spicy biryani, pilaf, or any flavored rice and tastes delicious!
Raita is an integral part of our Indian meals. While raita generally helps cool down spicy foods, mint raita has an added boost with mint’s natural cooling properties, making it even more refreshing. It’s similar to cucumber raita but with a bold, minty twist.
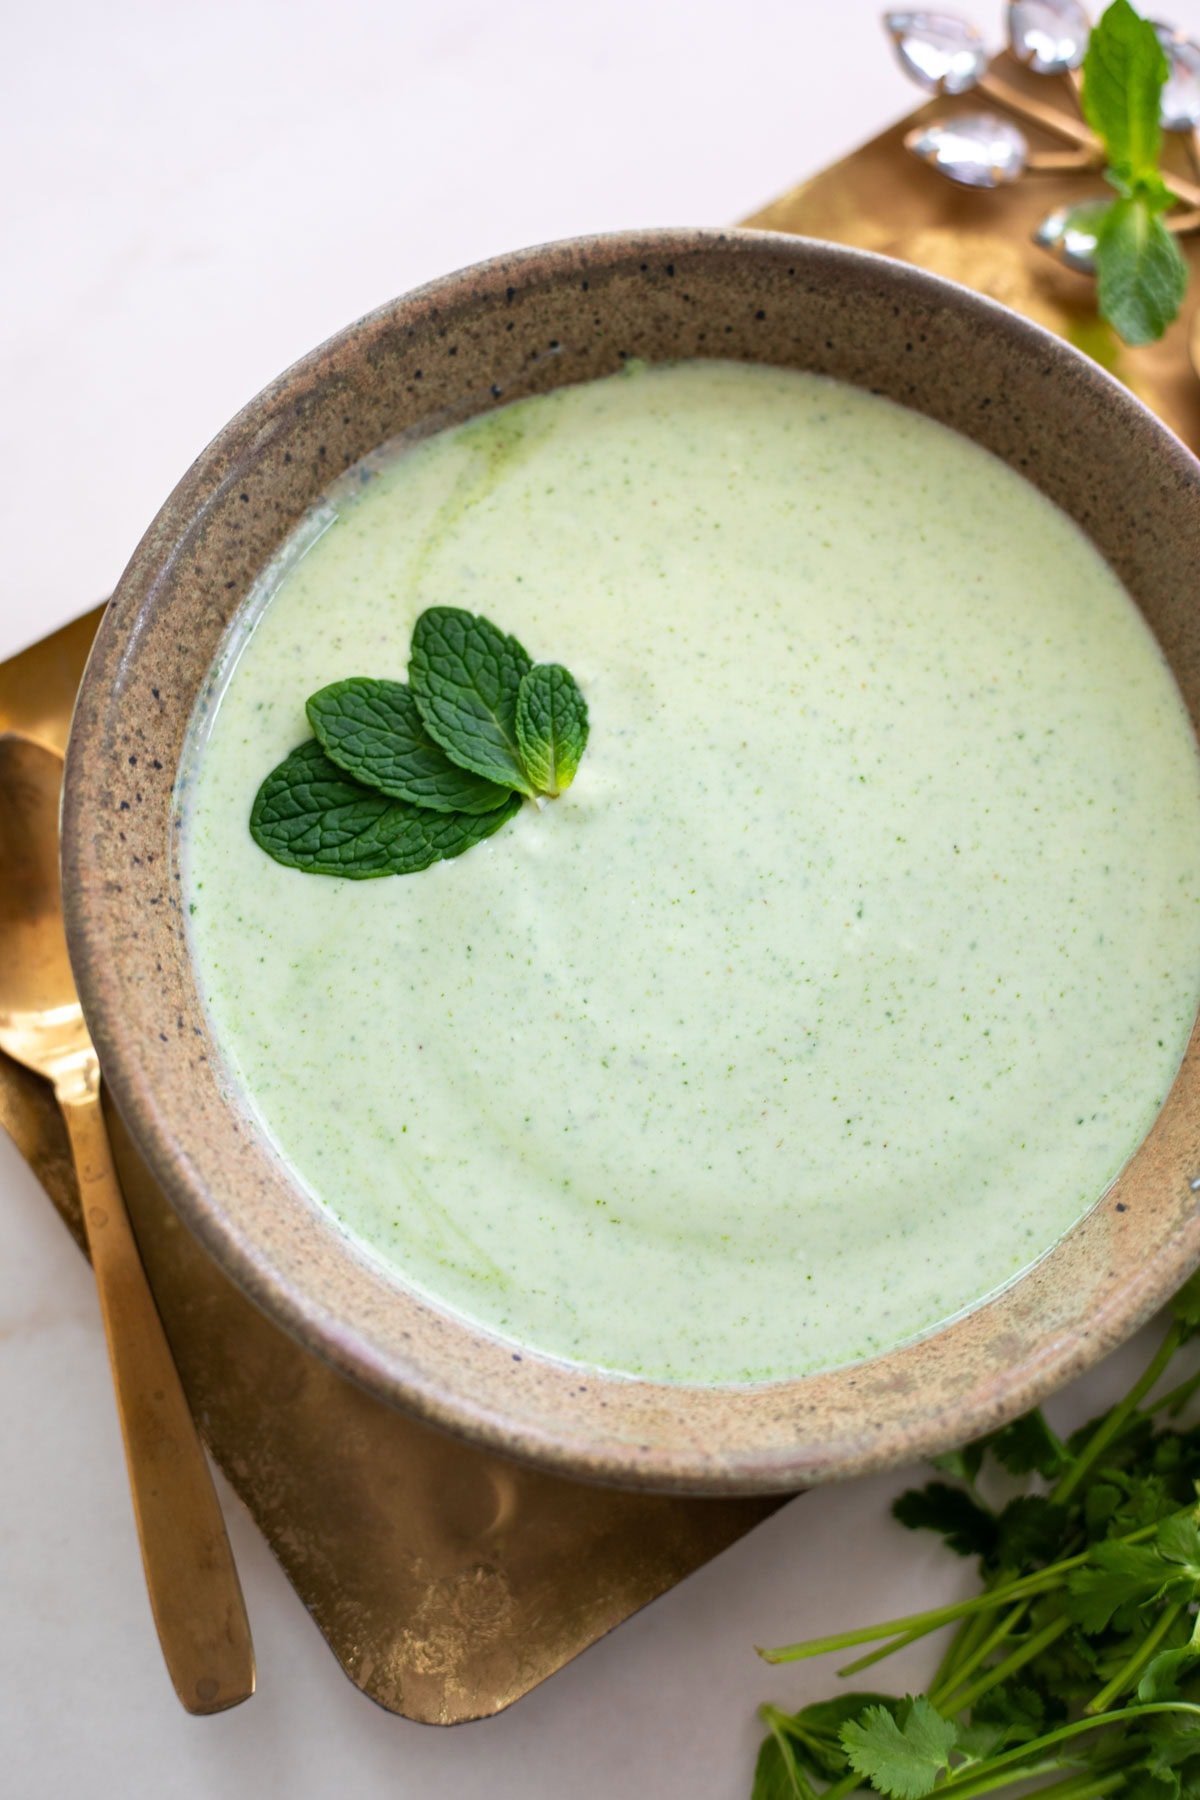
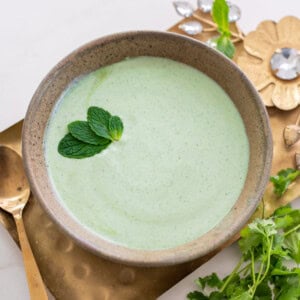
Known as Pudina Raita in Hindi, Mint Raita is a popular yogurt-based side dish in Indian cuisine. It can be made with just a few ingredients—fresh mint leaves, cilantro, yogurt, and mild spices—which keep it light and easy. It’s a great side dish to serve alongside biryani, pulao, or any Indian main course.
In our home, yogurt is almost a must-have with any Indian meal — it just feels like dinner isn’t complete without it. My kids love it too, and that cool, creamy mint raita is always a favorite because it perfectly balances the bold spices and heat of Indian food.
Table of Contents
Watch How to Make Mint Raita
What is Raita?
Raita is a side dish famous in the Indian sub-continent as an accompaniment to lunch or dinner. It is made with whisked and creamy yogurt, and often vegetables, fruits, and/or spices are added. Raita is often compared with Tzatziki, the Greek version of yogurt, but they are distinctively different, with a few common preparation steps.
Raita helps in cooling the palate after a sumptuous meal. I like to make yogurt in the Instant Pot. Here is my homemade pot-in-pot yogurt recipe.
Also, check out my other popular raita recipes – Cucumber Raita, Lauki Raita, and Boondi Raita.
What is Mint (Pudina)?
Mint, or Pudina as it’s called in India, is a refreshing herb commonly used in Indian recipes. Besides being an aromatic addition to dishes, mint is also packed with several nutritional benefits and is known for its cooling properties. It’s widely used in mint chutneys, drinks like mint lassi and chaas, and a variety of dishes that need a burst of freshness.
Ingredients
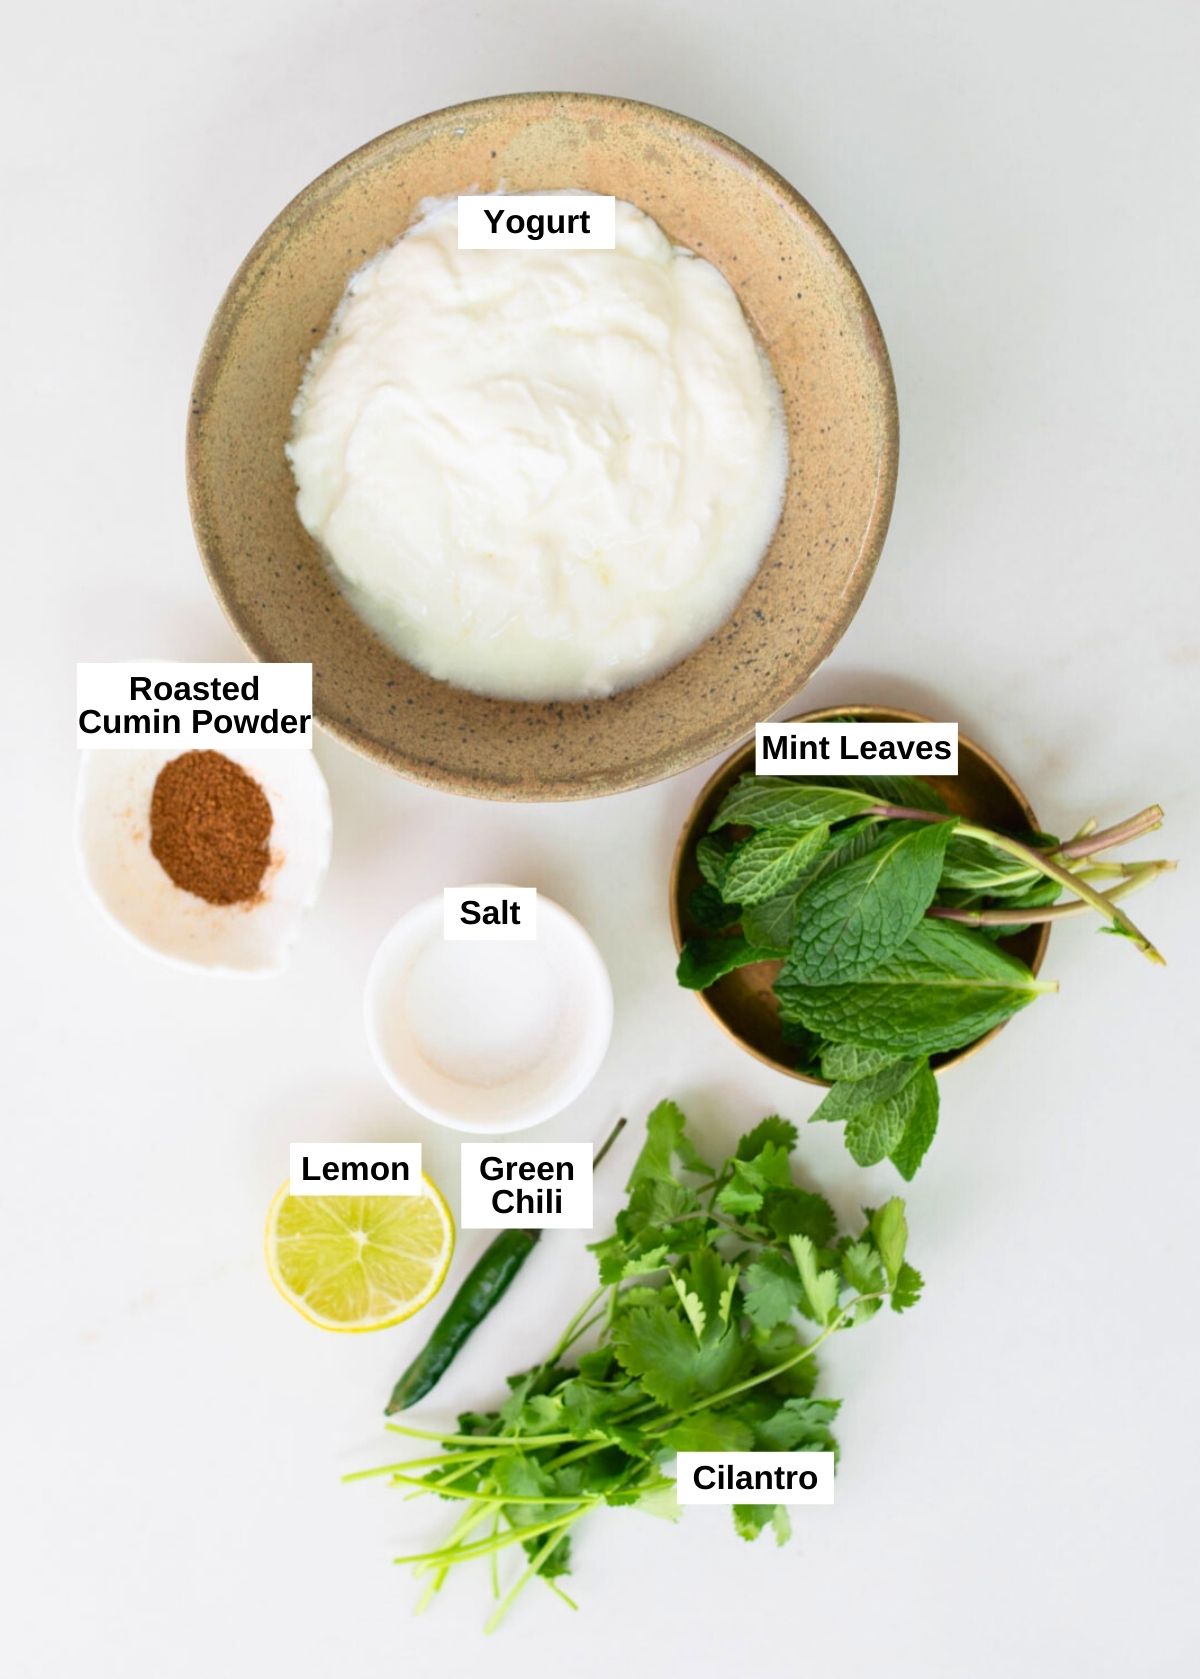
- Whisked Yogurt (Curd): This is the main ingredient of the raita. I make yogurt in Instant Pot. It is easily available in grocery stores as well. Use plain yogurt for this recipe, whole milk or low fat, either would work.
- Fresh Mint Leaves: Use fresh mint leaves. And a few for garnishing.
- Cilantro leaves: I added some chopped cilantro leaves.
- Green Chili (Optional): For a hint of heat, slit and add green chili. This is totally optional. You can add it and take it out before serving.
- Spices: You’ll need roasted ground cumin, chaat masala, and salt. Mild red chili powder is optional and can be sprinkled on top for garnish.
- Lemon: Add lemon juice to make the flavor better and last longer. You can also use chaat masala instead.
If you prefer a touch of sweetness or if the yogurt is too sour, you can add a pinch of sugar to balance the taste.
To make a vegan version, replace regular yogurt with your favorite non-dairy yogurt alternative.
How to make Raita?
- Dry roast cumin seeds in a pan on low heat until they are deep brown in color. Let them cool and grind them into powder. You can also use ready-made roasted cumin powder or use my recipe to make homemade cumin powder.
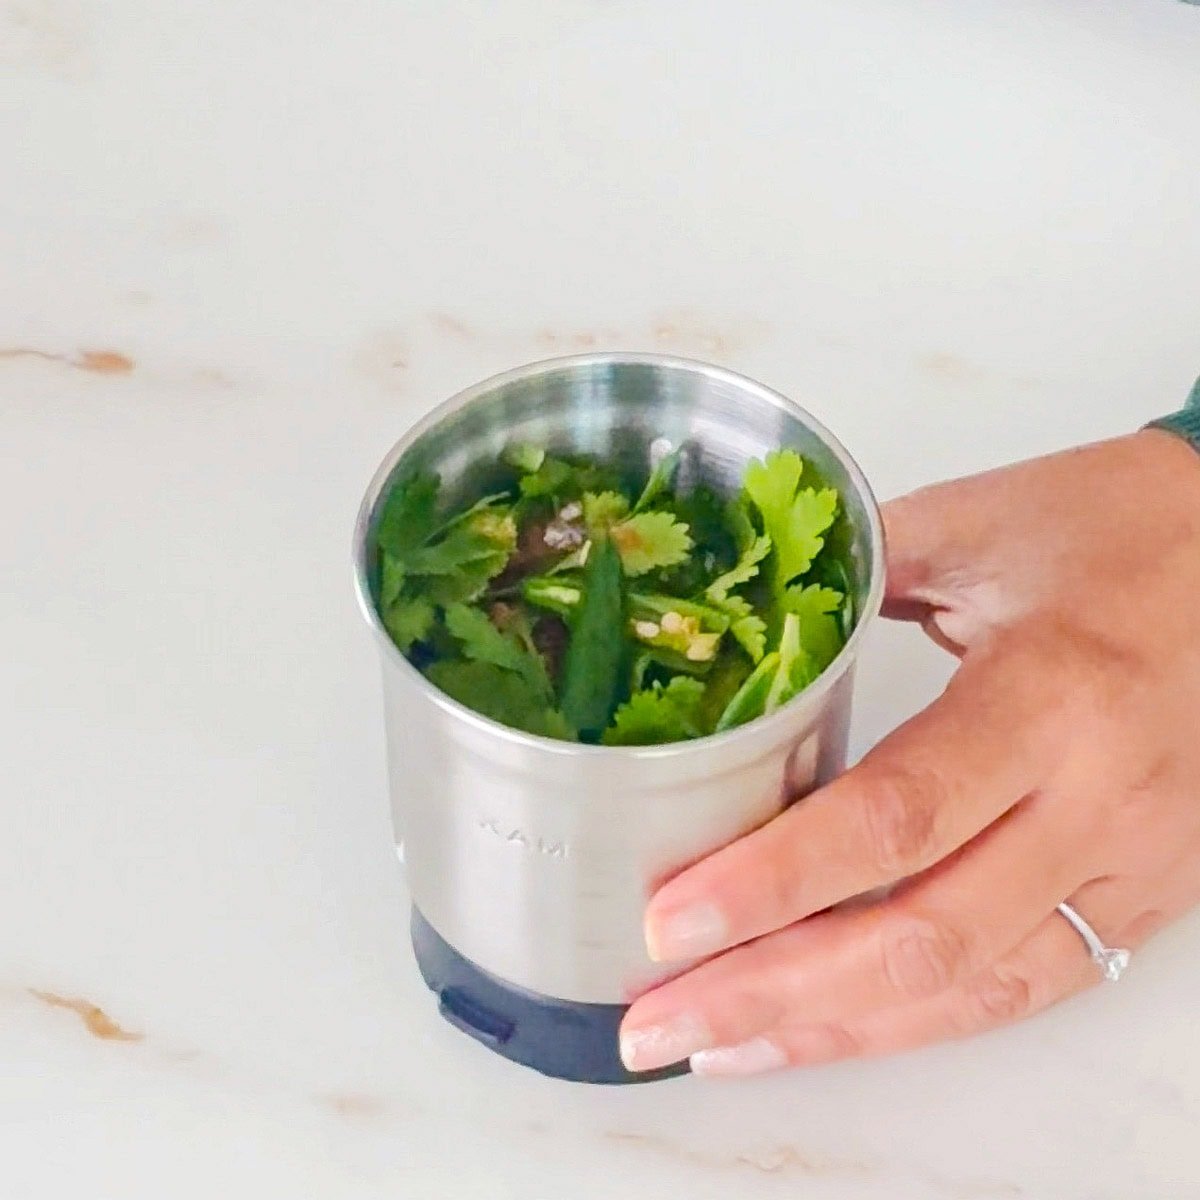
- In a small blender, combine mint leaves, cilantro leaves, green chili, roasted ground cumin, salt, lemon juice, and a couple of tablespoons of water. (Note: I use my mini grinder to blend the mixture, as it has a wet jar for chutneys. You can also use a small food processor or a regular blender.)
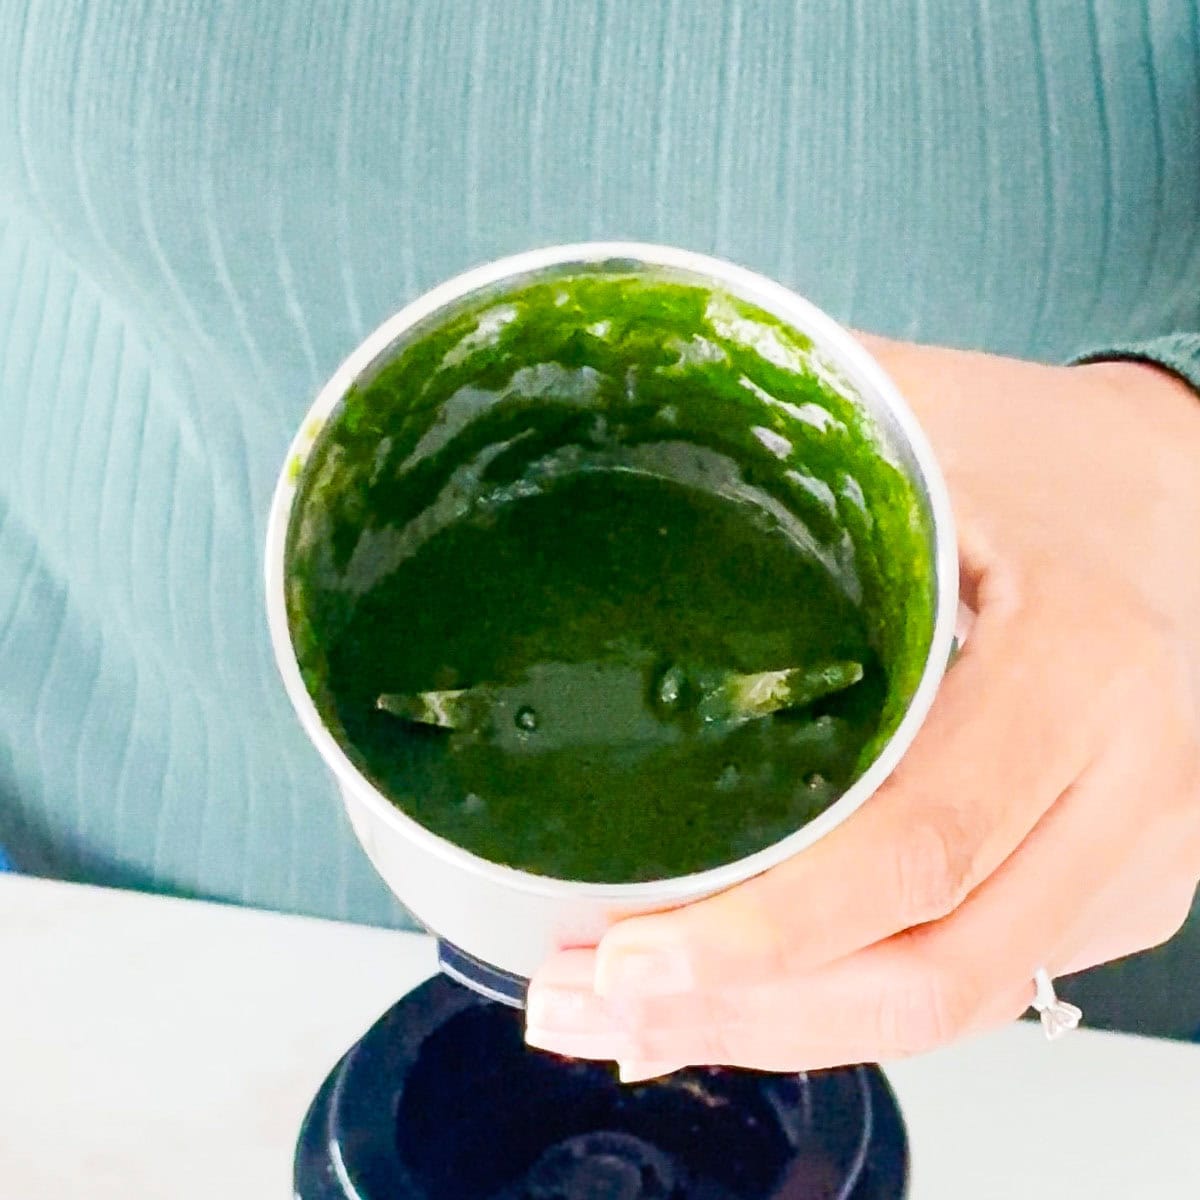
- Blend until smooth. If needed, add another tablespoon or two of water to make it easier to blend. It should become a runny paste, with the leaves no longer visible.
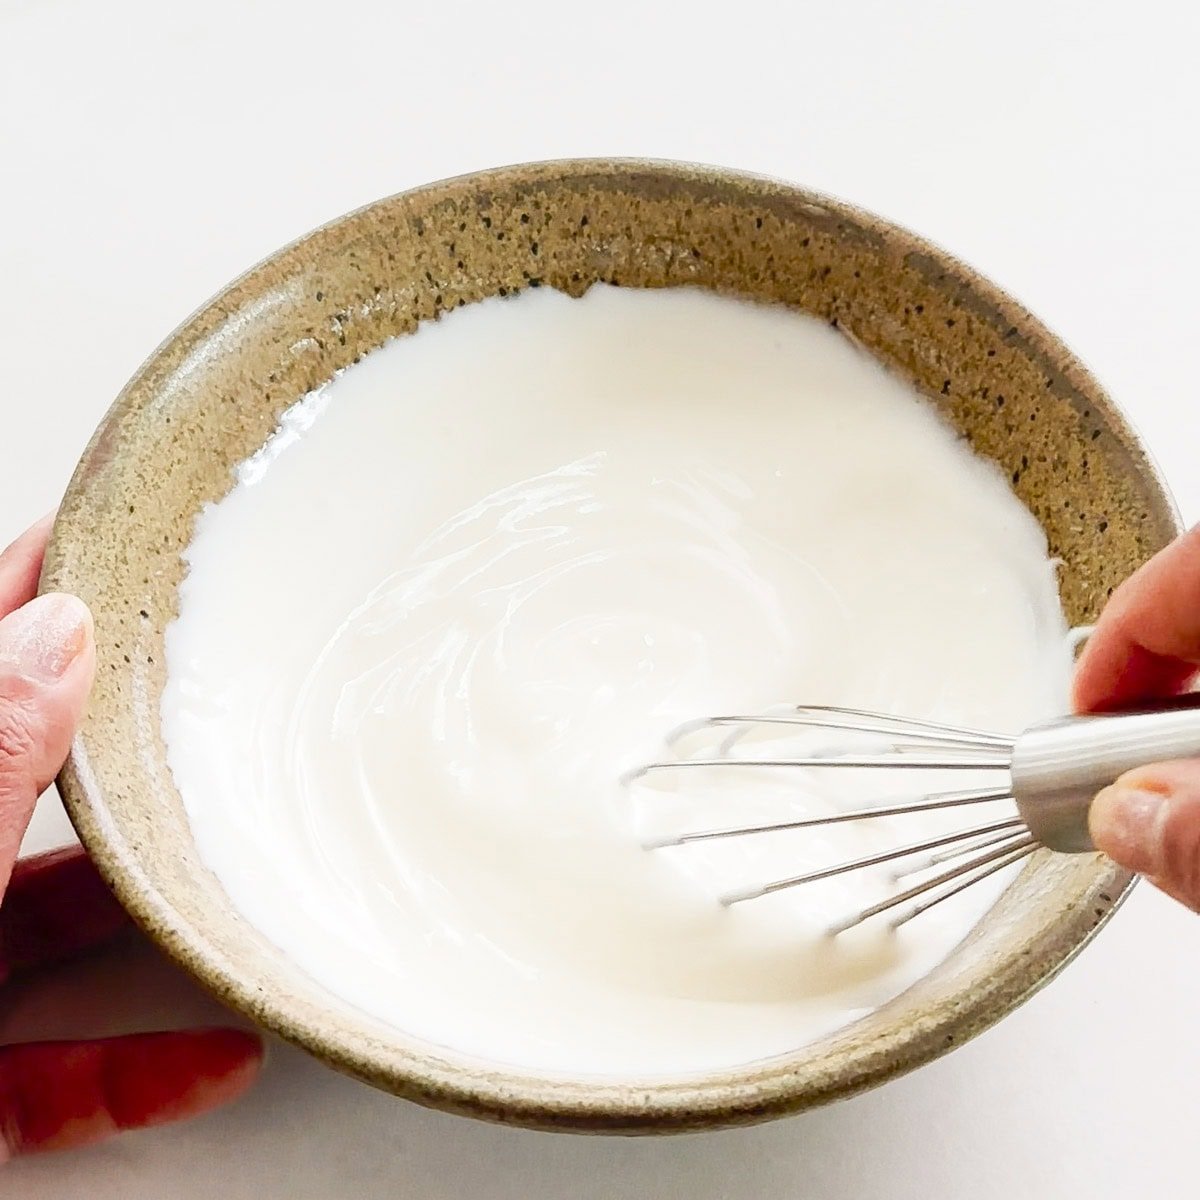
- Whisk the yogurt in a bowl until smooth and creamy.
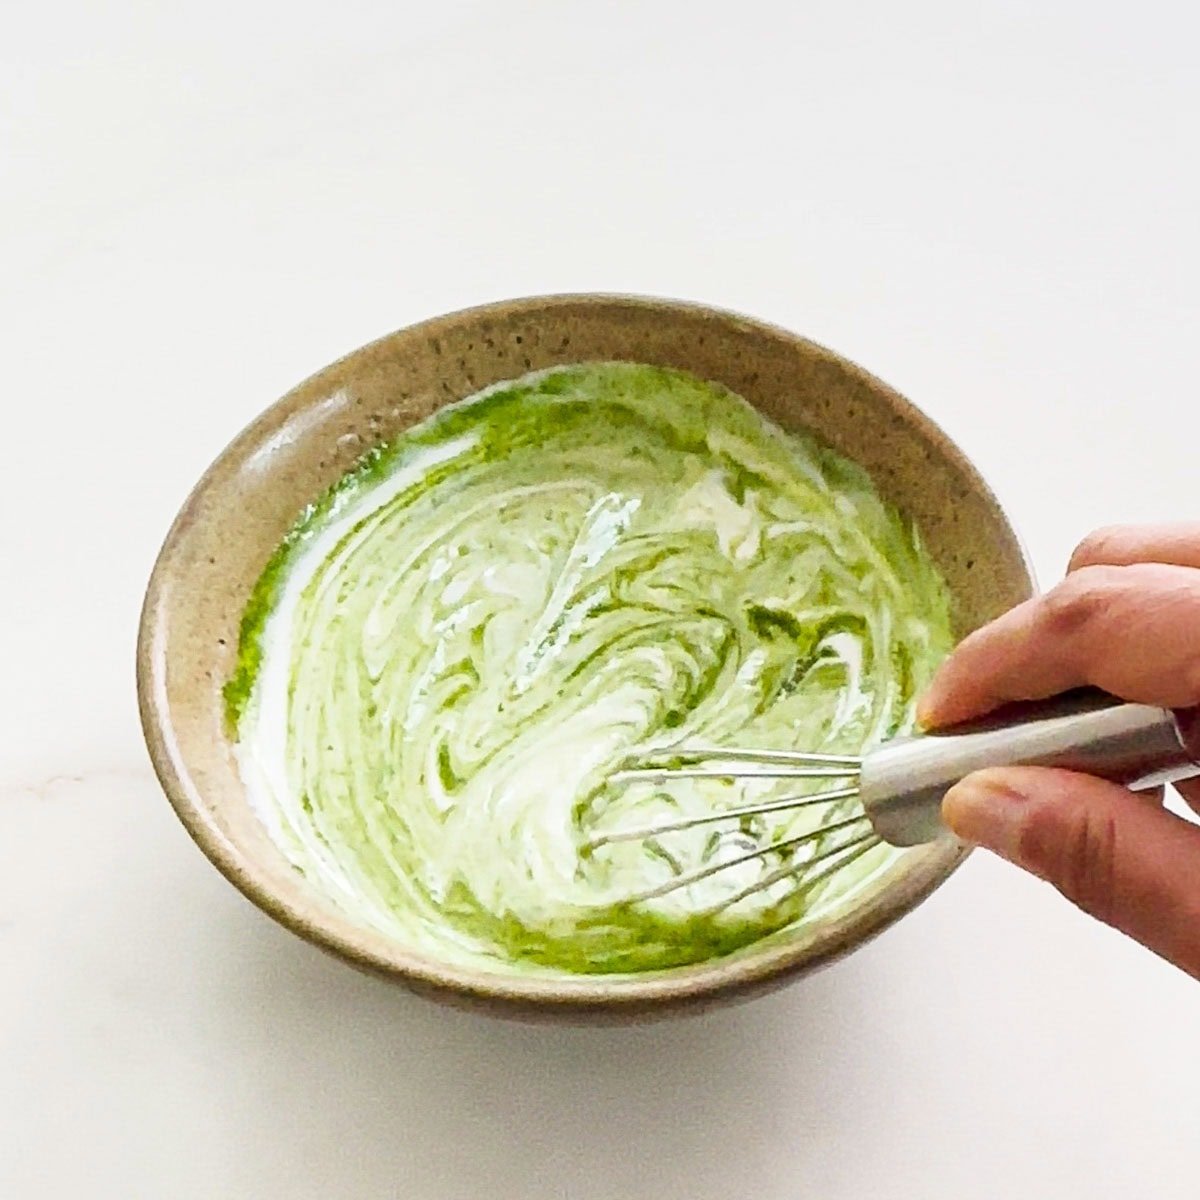
- Stir in the mint-cilantro paste until well mixed. For extra spice, add a slit green chili if you like. Taste and adjust salt or lemon juice as needed. To thin it out like restaurant raita, add some more water. I personally prefer thick and creamy raita.
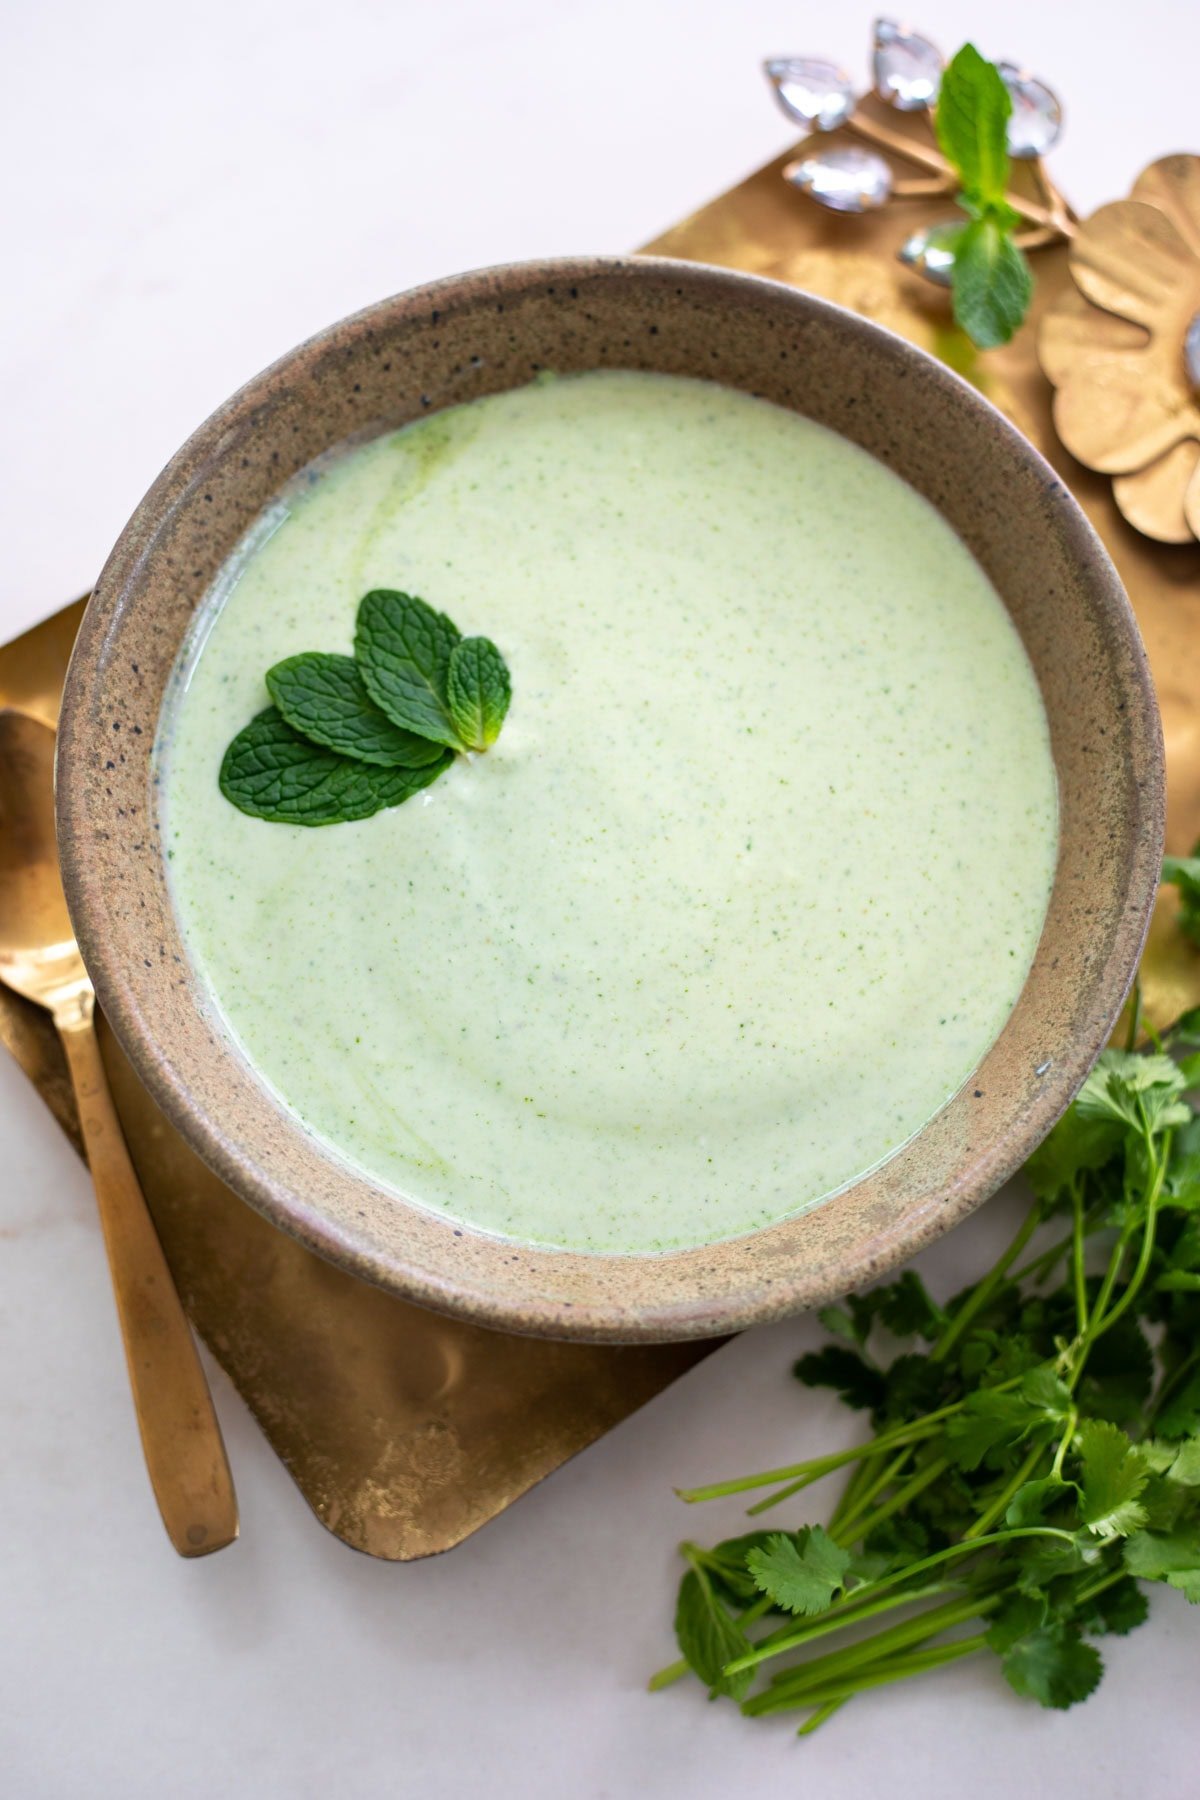
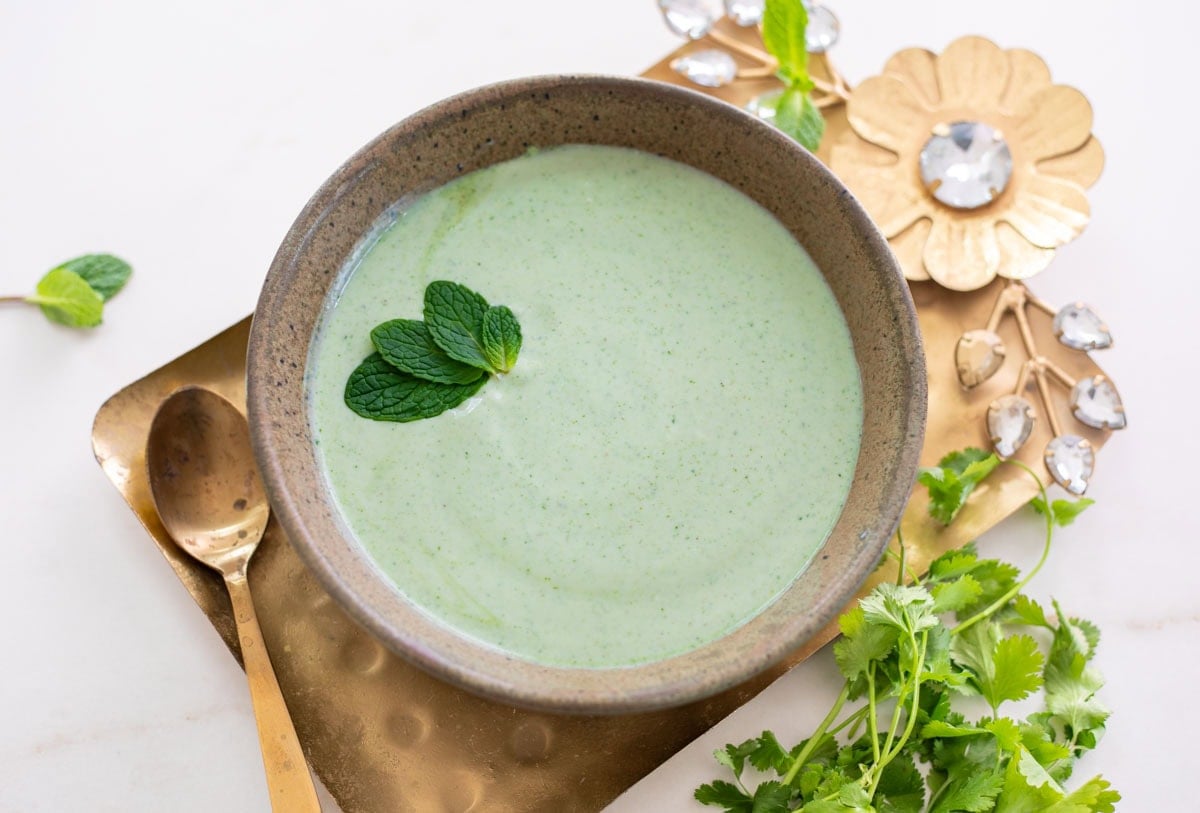
- Transfer to a serving bowl. If you have added the green chili, you can remove it before serving. Garnish with a sprinkle of roasted cumin powder and a few fresh mint leaves. Serve immediately or chill before serving.
Tips to Make Perfect Mint Raita
Use Fresh Mint and Cilantro: Always use fresh leaves for the best flavor and aroma.
Add Cucumber: Grate cucumber and add it to this mint raita. You can also check out my Cucumber Raita recipe.
Adjust Seasoning: To make it more flavorful, you can also add a variety of seasonings, such as a pinch of chaat masala or black salt.
Customize Heat: If you don’t want sliced green chilis, swap them for red chili powder or skip them altogether when serving kids.
Variations
Mint Raita is a versatile side dish that you can customize. Here are some variations:
- Make sure that the mint and cilantro mixture is well blended and smooth.
- Make sure the yogurt is also whisked smooth before adding the blended herbs.
- You can add grated cucumber, diced tomatoes, or chopped onions for extra texture and crunch.
- Feel free to add any different spices, such as chaat masala, black pepper, or red chili powder.
In South India, some people also add tempering (tadka) to raita. I have never seen my mom or my mom-in-law do it. If you want to add a tadka, you can use the following ingredients.
Tempering: Heat a small pan and add one tablespoon of oil. Add cumin seeds and dry red chilies (broken into pieces). Let them sizzle, then add them to the prepared raita.
What to pair with Mint Raita?
Mint Raita is a versatile side dish that pairs well with many Indian dishes. Here are some ideas:
Rice, Pulao, and Biryanis: This raita is a great accompaniment to chicken biryani, vegetable pulao, mutton yakhni pulao, chana pulao, quinoa pulao, etc.
Kebabs and Pakora: You can serve this raita as a side with kebabs such as chicken tikka kebab, paneer tikka, chicken pakora, and tandoori aloo tikka
Paratha: Pair mint raita with aloo paratha, paneer paratha, or mooli paratha.
Curries: You can always serve raita with any curries, such as paneer tikka masala, chicken karahi, or rajma.
Common Questions
Raita is best served fresh, but it can be refrigerated for up to 3 days. Store Mint Raita in an airtight container in the refrigerator. It does get a bit thinner in consistency as it is stored.
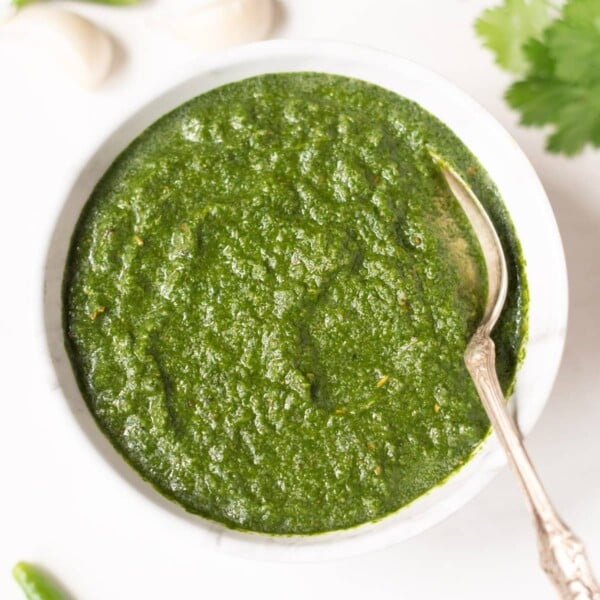
To freeze: I don’t recommend freezing the raita after making it. However, you can freeze the herb paste, as with the mint cilantro chutney. Transfer the herb paste to an airtight container and freeze. When ready to make raita, thaw it at room temperature or in the refrigerator overnight, then mix with smooth, whisked yogurt.
Yes, you can prepare the raita ahead of time by whisking the yogurt with spices and storing it in the refrigerator. Add the fresh mint and mix everything just before serving for the freshest taste.
I hope you enjoy this delicious, easy Mint Raita. Looking forward to seeing your creations. Do share with #pipingpotcurry!
10-minute Mint Raita (Pudina Raita)
Video
Ingredients
- 1/3 cup Mint leaves
- 1/2 cup Cilantro leaves
- 1 small Green Chili , optional
- 1/4 teaspoon Salt, adjust to taste
- 1/2 teaspoon Roasted Cumin Powder, freshly ground is best
- 1 teaspoon Lemon juice , optional, you can also use chaat masala
- 2 cups Plain Yogurt, whisked, I used full-fat
- Mint Leaves, for garnish
Instructions
- Add the cilantro leaves, mint leaves, green chili, ground cumin, salt, lemon juice, and 2 tbsp water into a small blender. Blend until it reaches a smooth, runny consistency. You may need to scrape the sides of the blender to get all the leaves to blend well. If needed, add 1-2 tablespoons of water to make it easier to blend.
- In a medium bowl, whisk the yogurt until it is completely smooth. Add in the mint cilantro paste and gently whisk until it is combined. Taste and adjust salt. You can also adjust consistency as desired by adding water.
- Transfer to a serving bowl. Garnish with roasted cumin powder and mint leaves. It's ready to serve. Enjoy it immediately or refrigerate it before serving.


Great, Thank you,
Thank you Meeta!