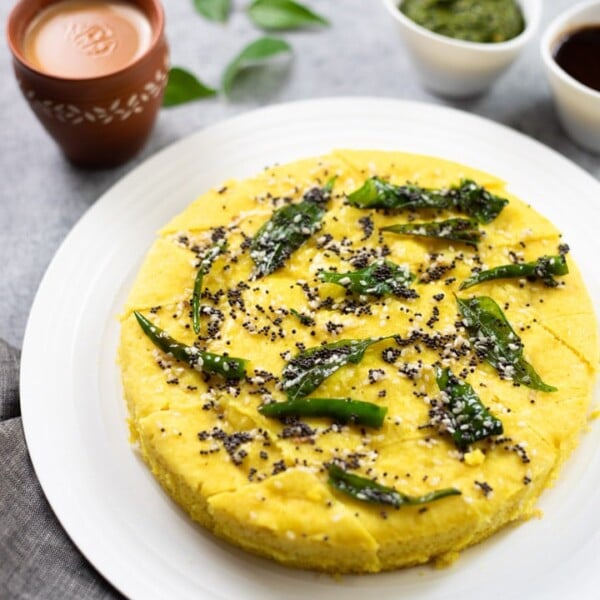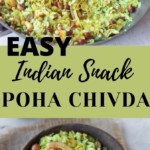
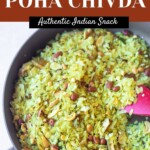
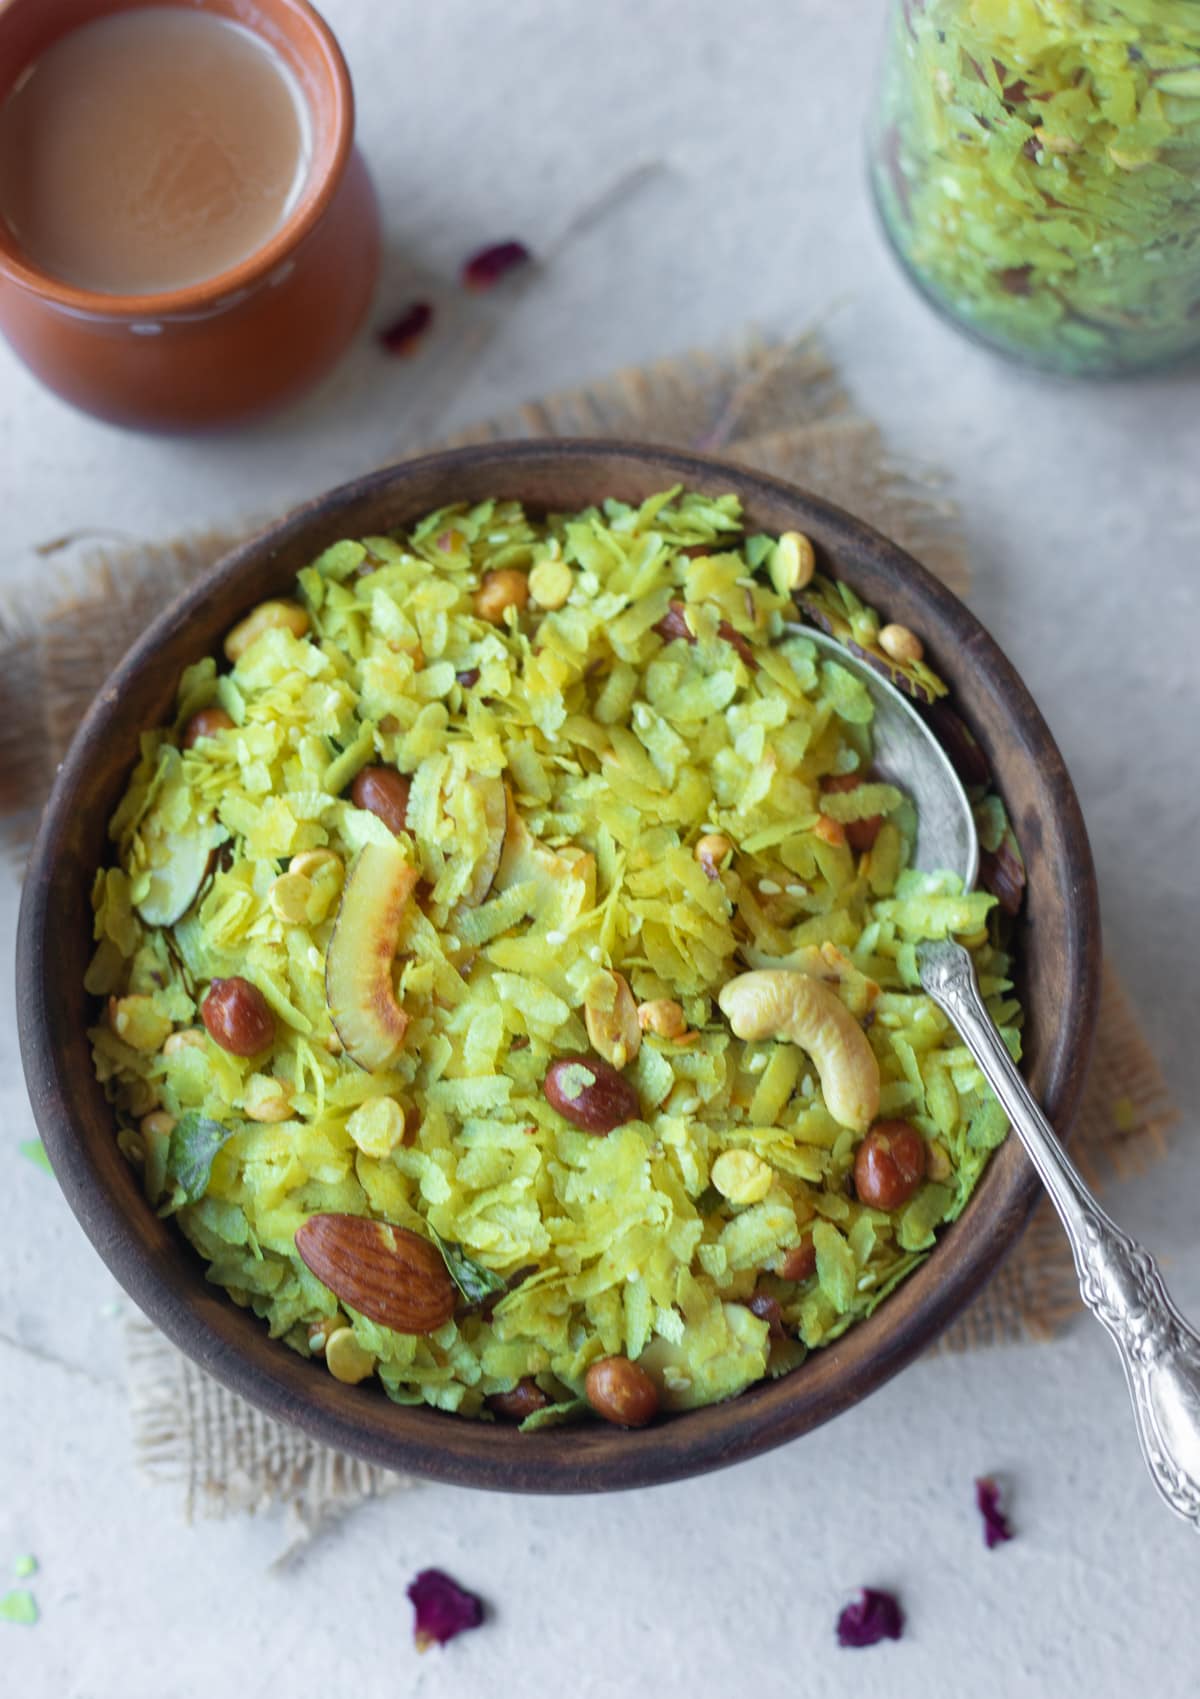
Roasted Poha Chivda is a delicious, savory snack that is sweet, tangy, and crunchy, with a hint of spicy kick—made from crispy, roasted poha (flattened rice), peanuts, cashews, almonds, and other seasonings.
Poha Chivda is frequently made as part of the Diwali sweets and savories known as “Faral,” in addition to being a regular snack.
This spiced, homemade cereal pairs well with a wide range of sweet and savory dishes. Along with traditional delights like besan ladoo, magas, shankarpali, namak para, and kalakand, chivda is a delicious dish to share with friends and family.
Roasted Poha Chivda is my absolute favorite. It’s perfect for a teatime snack, and it’s effortless to make at home, and so flavorful.
Table of Contents
Watch How to Make Roasted Poha Chivda
What is Chivda?
One of the most delectable Indian snacks is chivda (namkeen). Chivda is a savory snack prepared with poha (flattened rice) and a variety of nuts. Making chivda is a simple, quick, and hassle-free process.
Poha chivda is a classic dish that is relatively easy to make at home. This simple Chivda makes a great teatime snack. Poha chivda is most commonly prepared as a festive snack in Maharashtra, a state in Western India.
This poha chivda is also gluten-free and vegan. As this chivda contains many nutritious ingredients (peanuts, sesame seeds, roasted gram dal) and is relatively light, it is also often referred to as a diet poha chivda.
Different Variations of Poha Chivda
Poha Chivda is prepared in a variety of ways, with the primary variation being the method of cooking the poha. Many people enjoy frying it and using it in their recipes. Some prefer to roast it in the oven or in a pan on the stovetop to make it lighter and eliminate all the oil.
The type of poha used for fried and roasted chivda is another significant distinction. The thicker type of poha is best suited for frying, while the thin variety is ideal for roasting.
There are also variations in the ingredients added for tempering. The main ingredients added are peanuts, Roasted Chana Dal (dalia), curry leaves, green chilies, dry coconut slices, and raisins, along with cumin seeds and turmeric.
However, I also like to add halved cashews and almonds to this chivda. I also added sesame seeds. You can also add melon seeds. It adds a lot of nutrition and flavor.
Ingredients
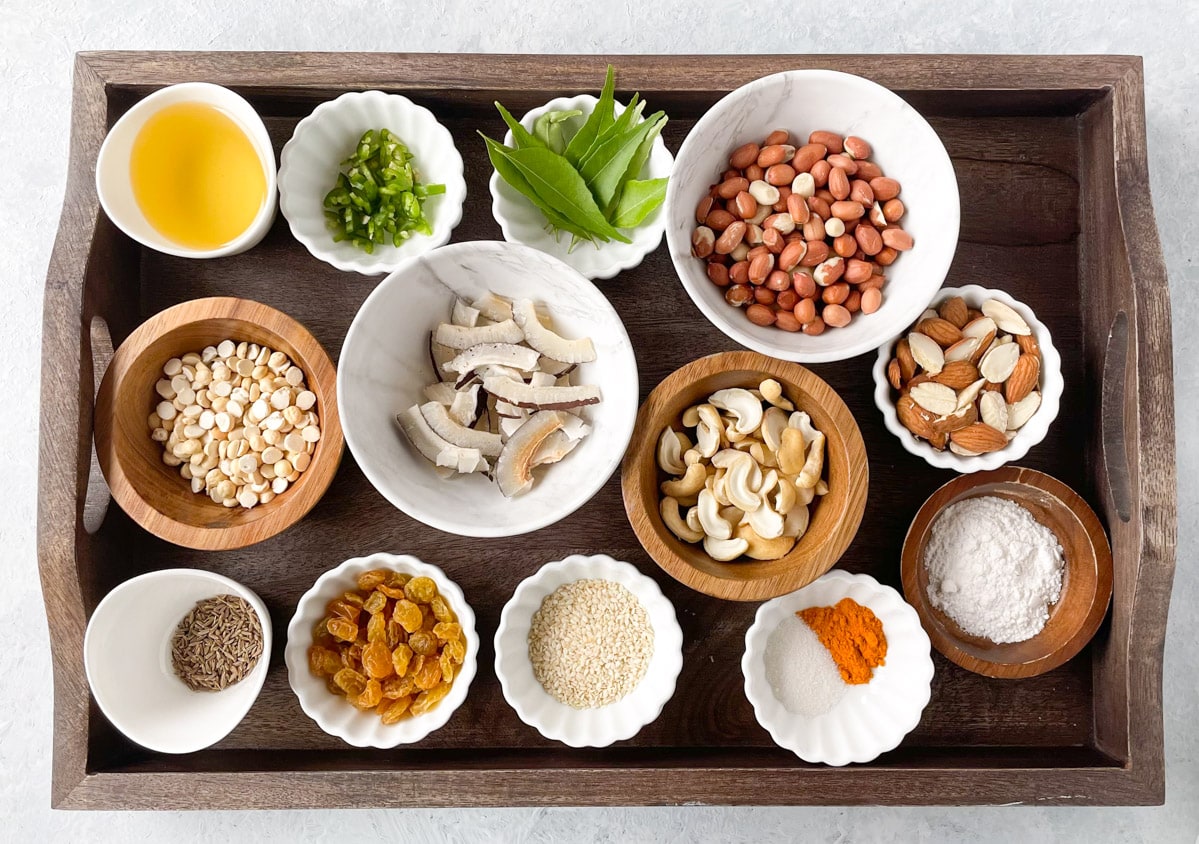
- Poha: You’ll need “thin” poha for this roasted Chivda, which can be found at any Indian grocery shop. You can also use nylon poha. This Chivda will not work well with the thick version, which is used for a poha meal.
- Nuts: You’ll need peanuts, almonds, and cashews.
- Oil: I usually use avocado oil, but you can use any oil you like.
- Green chilies, Curry leaves, Sesame seeds, Melon seeds, Dried coconut slices, and Roasted chana dal: They give the chivda all the wonderful flavors and crunchiness.
- Sugar & Raisins: They help to balance the flavors in this namkeen savory chivda.
- Spices: Turmeric powder, salt, cumin seeds, and asafoetida. These spices give the chivda wonderful fragrance and warmth.
How to Make Chivda?
There are 3 main steps to making the chivda:
- Roast the poha
- Make the tempering
- Mix it all together
Before you start, it is best to measure and have all the ingredients ready to make this chivda.
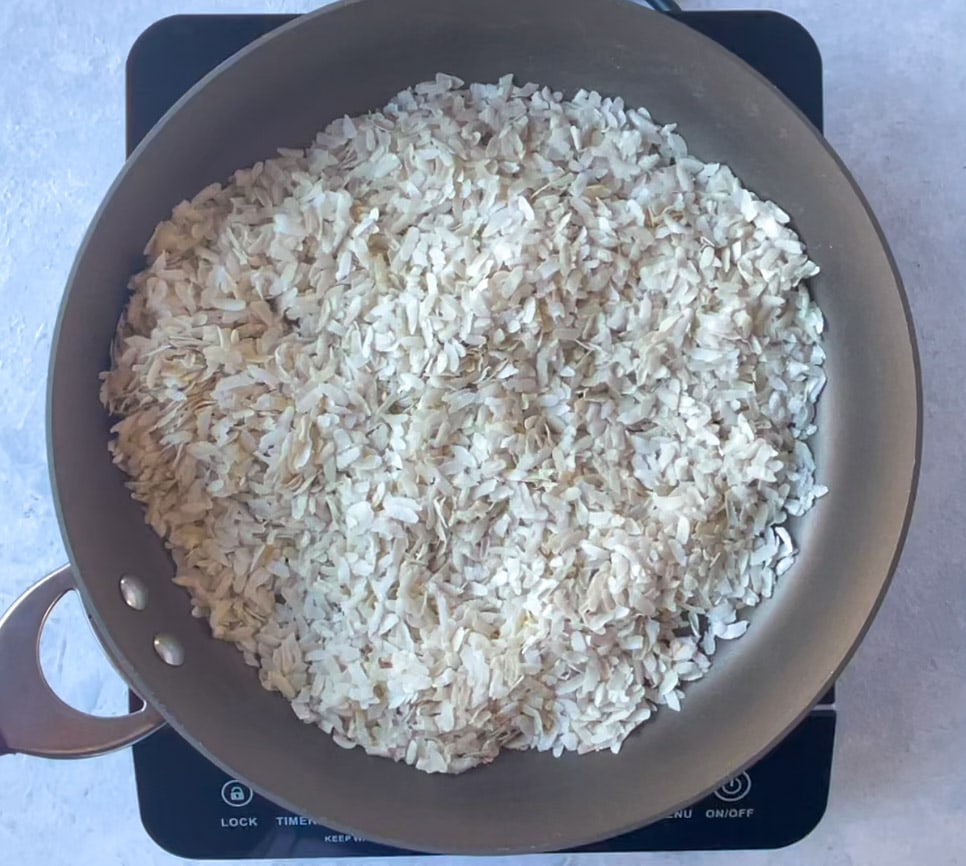
Roasting the Poha
- Heat a heavy bottom pan or kadhai on medium flame.
- Turn the flame to low, then add the thin poha and roast it while stirring gently (preferably using a silicone spatula). Use can also shake the pan so that the poha does not break. Roast for 6-8 minutes until the poha becomes crisp. Remove roasted poha in a large bowl and set aside. Let it cool while you prepare the tempering.
You can try the poha to check that it has crisped properly.
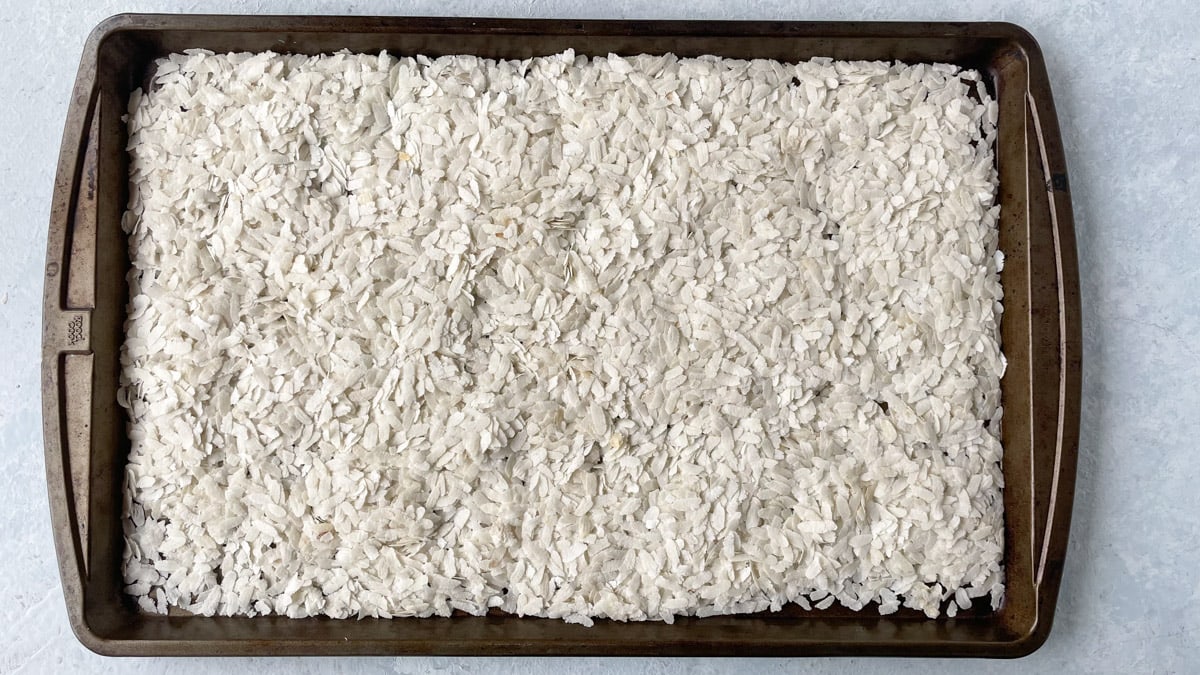
You can also roast the poha in the oven. Spread the poha on a large baking sheet.
Roast at 325F for 10-12 minutes. Stir halfway through. The poha should become crisp but should not change the color.
Pro-tip: If using nylon poha, which breaks easily, I highly recommend roasting in the oven so you don’t have to stir much
Prepare the Tempering
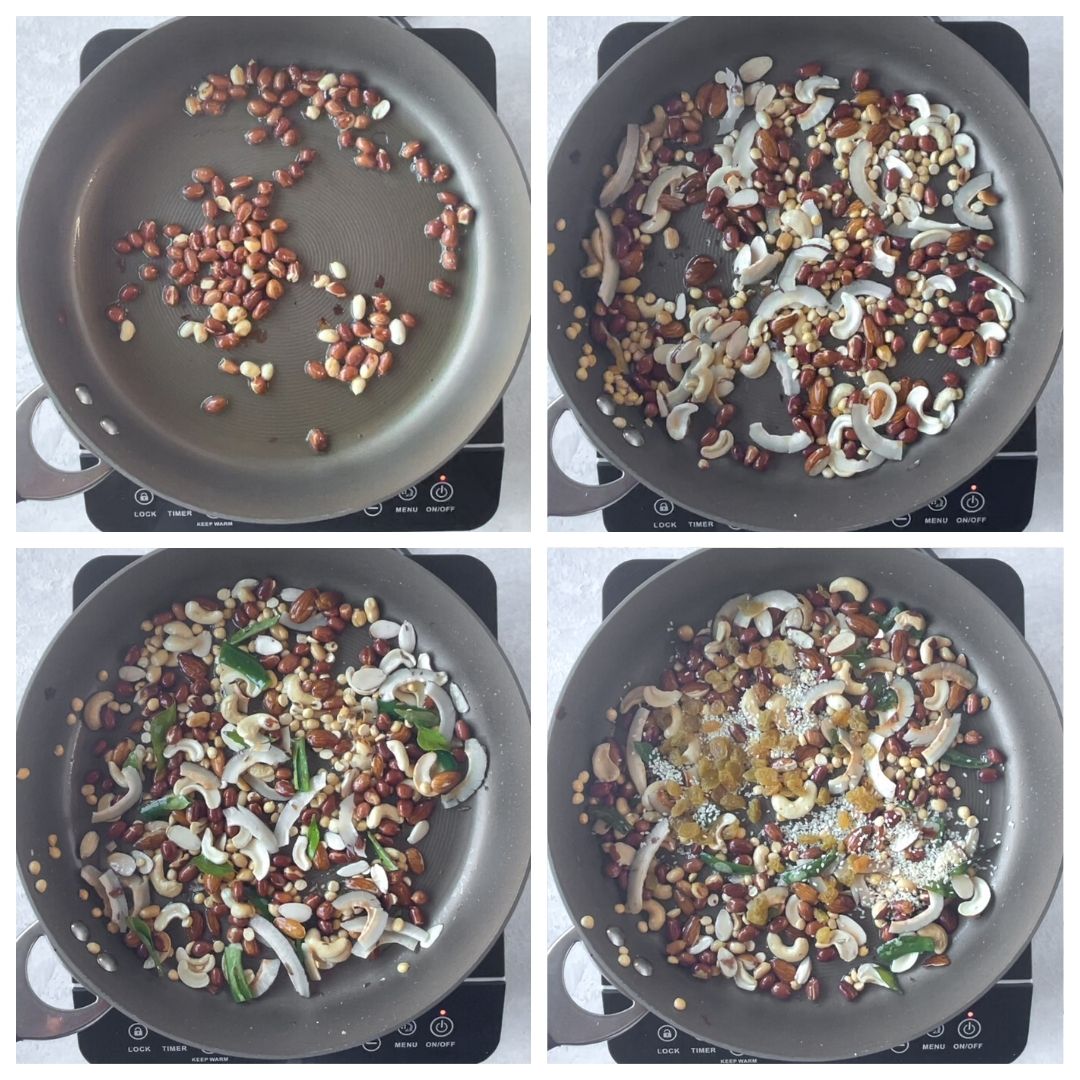
- Turn the flame to medium and add oil to the pan.
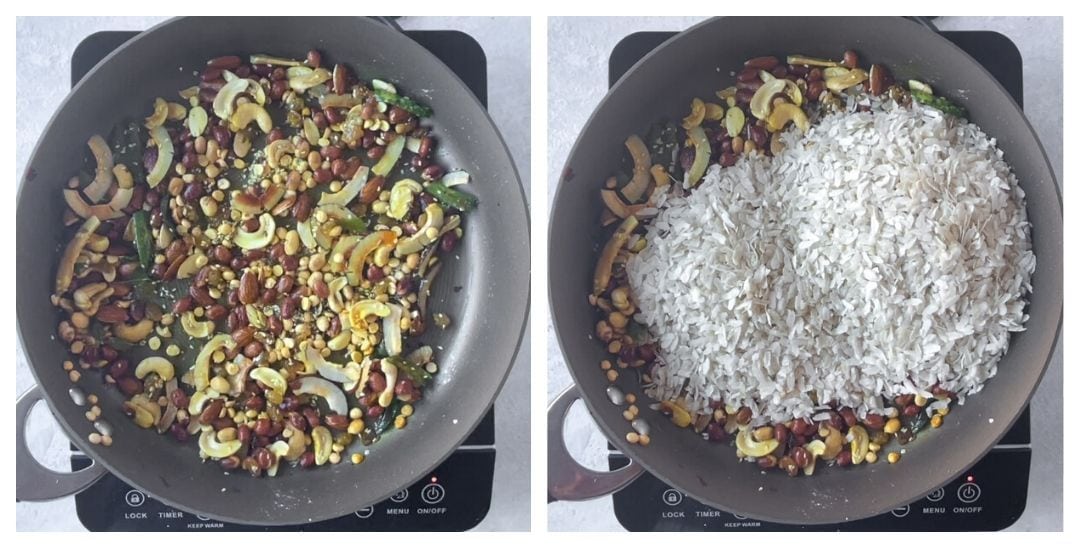
- Add the peanuts and roast them while stirring continuously. Once the peanuts start to pop, reduce the flame to low. This takes about 1-2 minutes.
- Then add the roasted Chana Dal (Dalia) and roast them together for about 1 minute.
- Then, add the cashews, almonds, and dry coconut slices. Stir and roast until the cashews turn light golden in color.
- Then add cumin seeds and asafoetida and stir. Then, add the chopped green chili and curry leaves. I prefer to chop the green chilies really small so that they cook easily. You want the curry leaves and the green chilis to not have any moisture, as otherwise, they can make the poha soggy.
- Then add the sesame seeds and raisins—roast for 30 seconds.
- Then add turmeric powder, salt and sugar. Stir well.
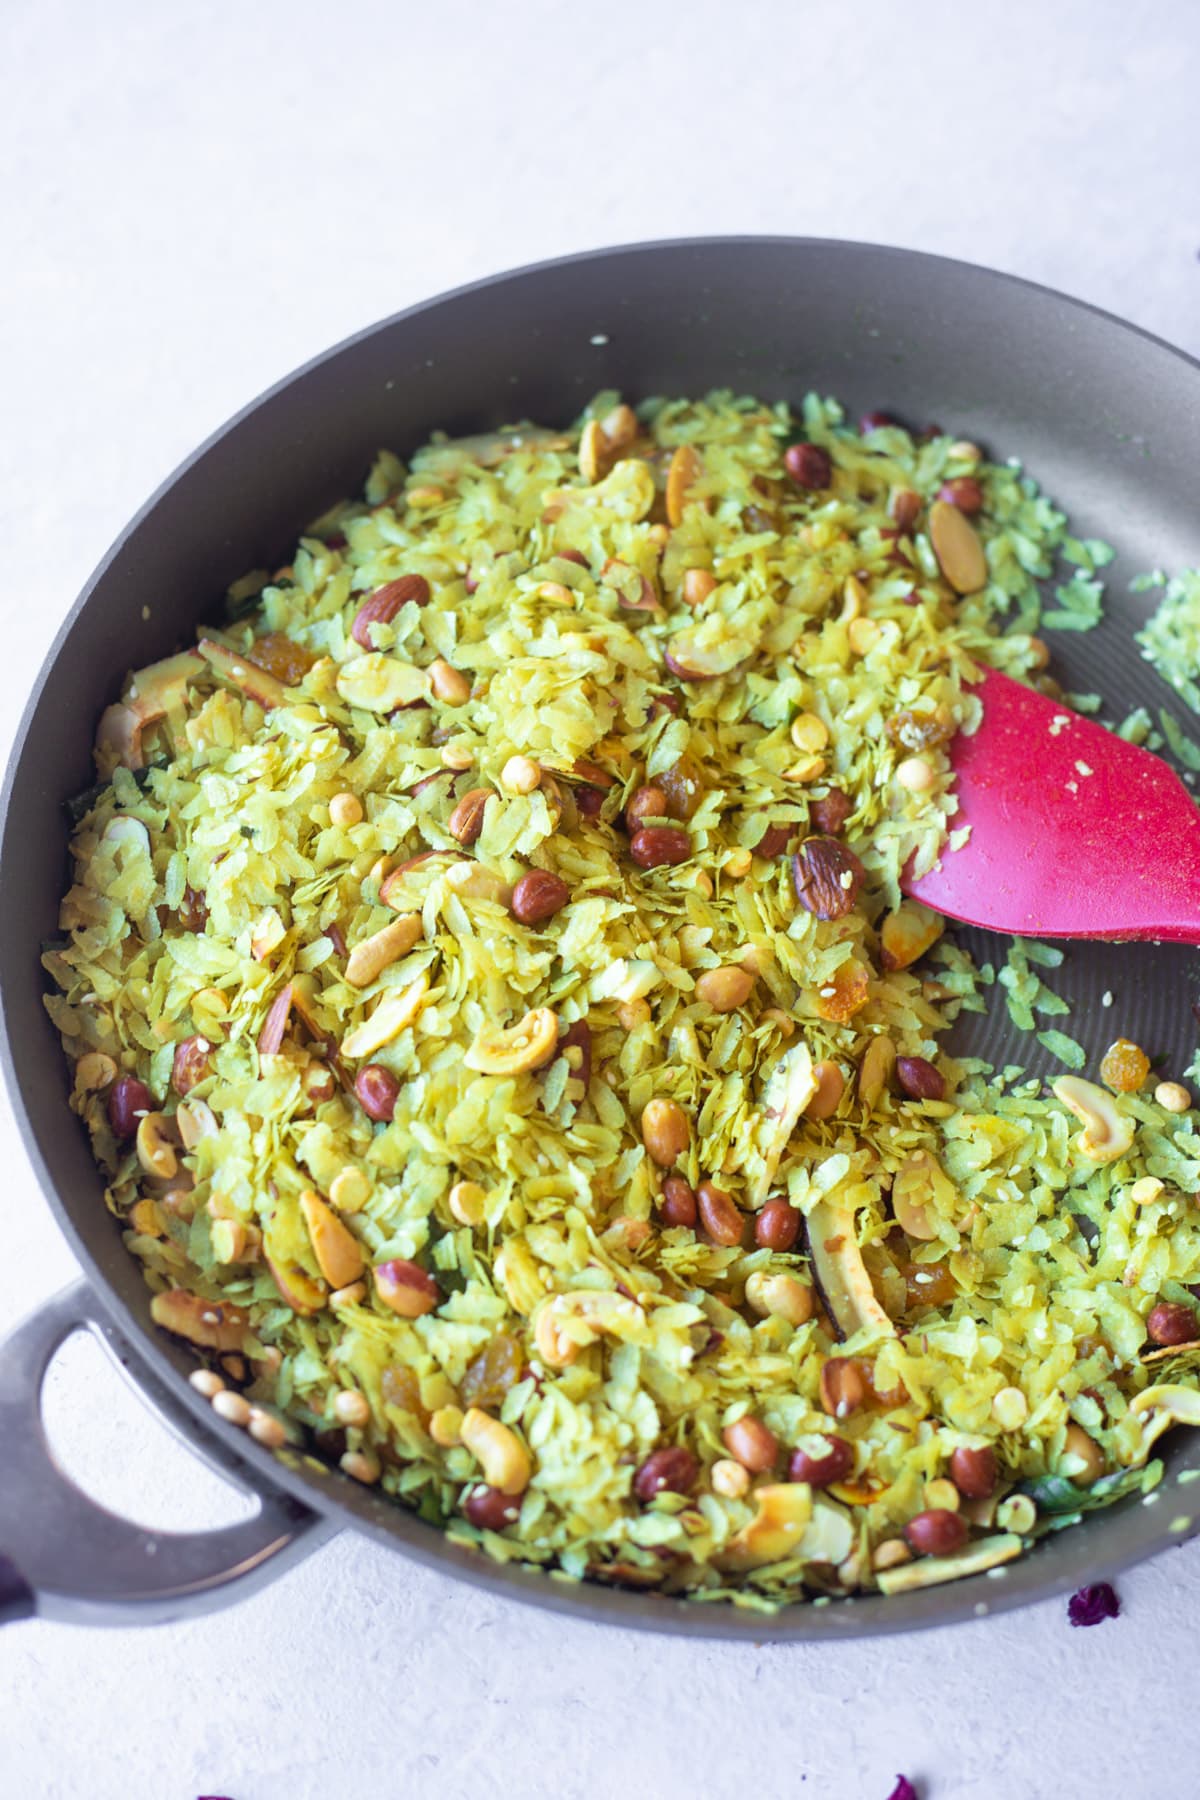
Mix it all together
- Now turn off the flame and let the tempering cool down a little.
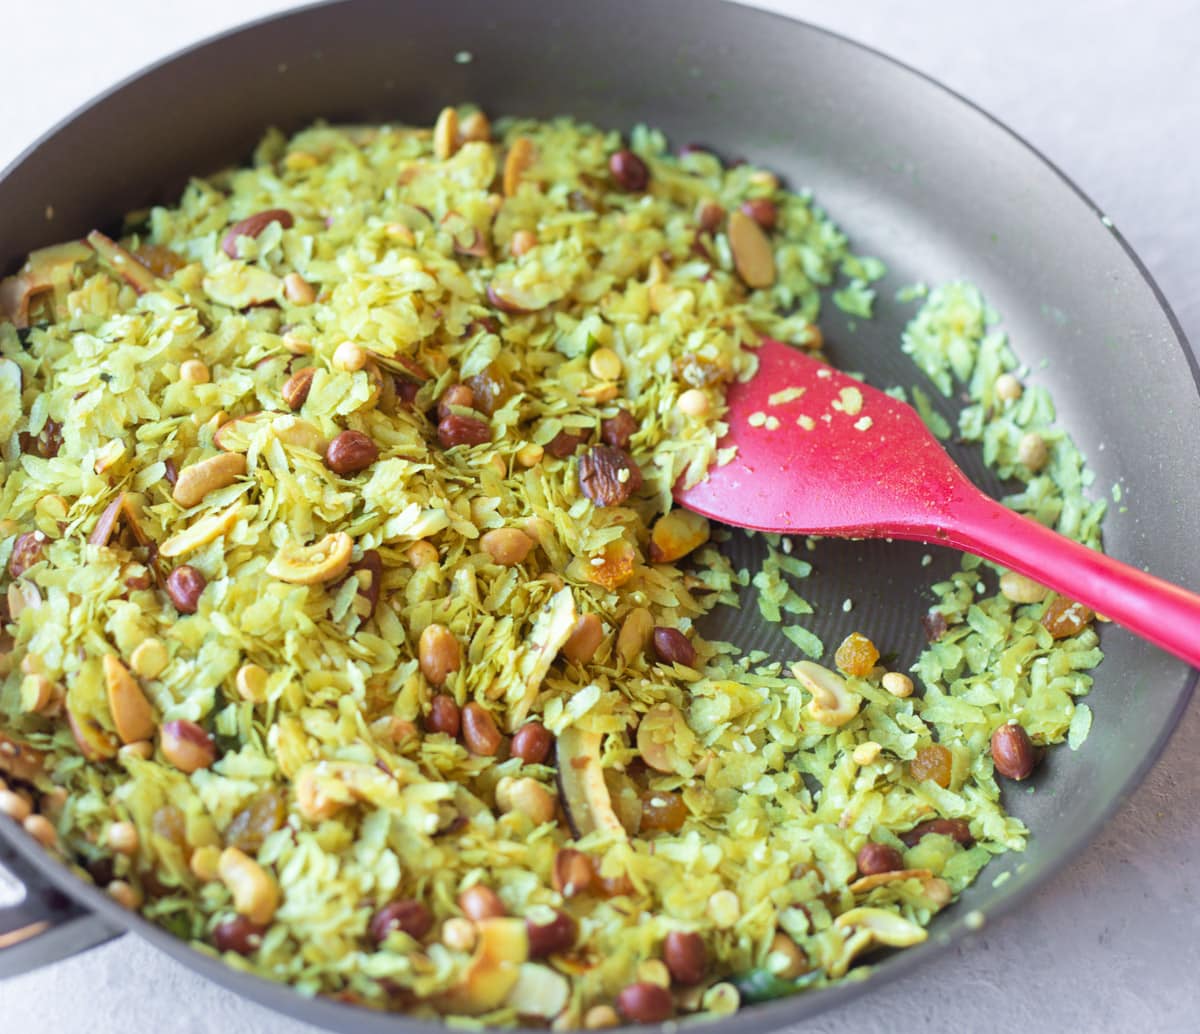
- Then, add the roasted poha back to the pan. Mix gently until all the poha has the perfect yellow color.
- Use a silicone spatula to mix or mix gently with your hands (you can use a glove if you prefer).
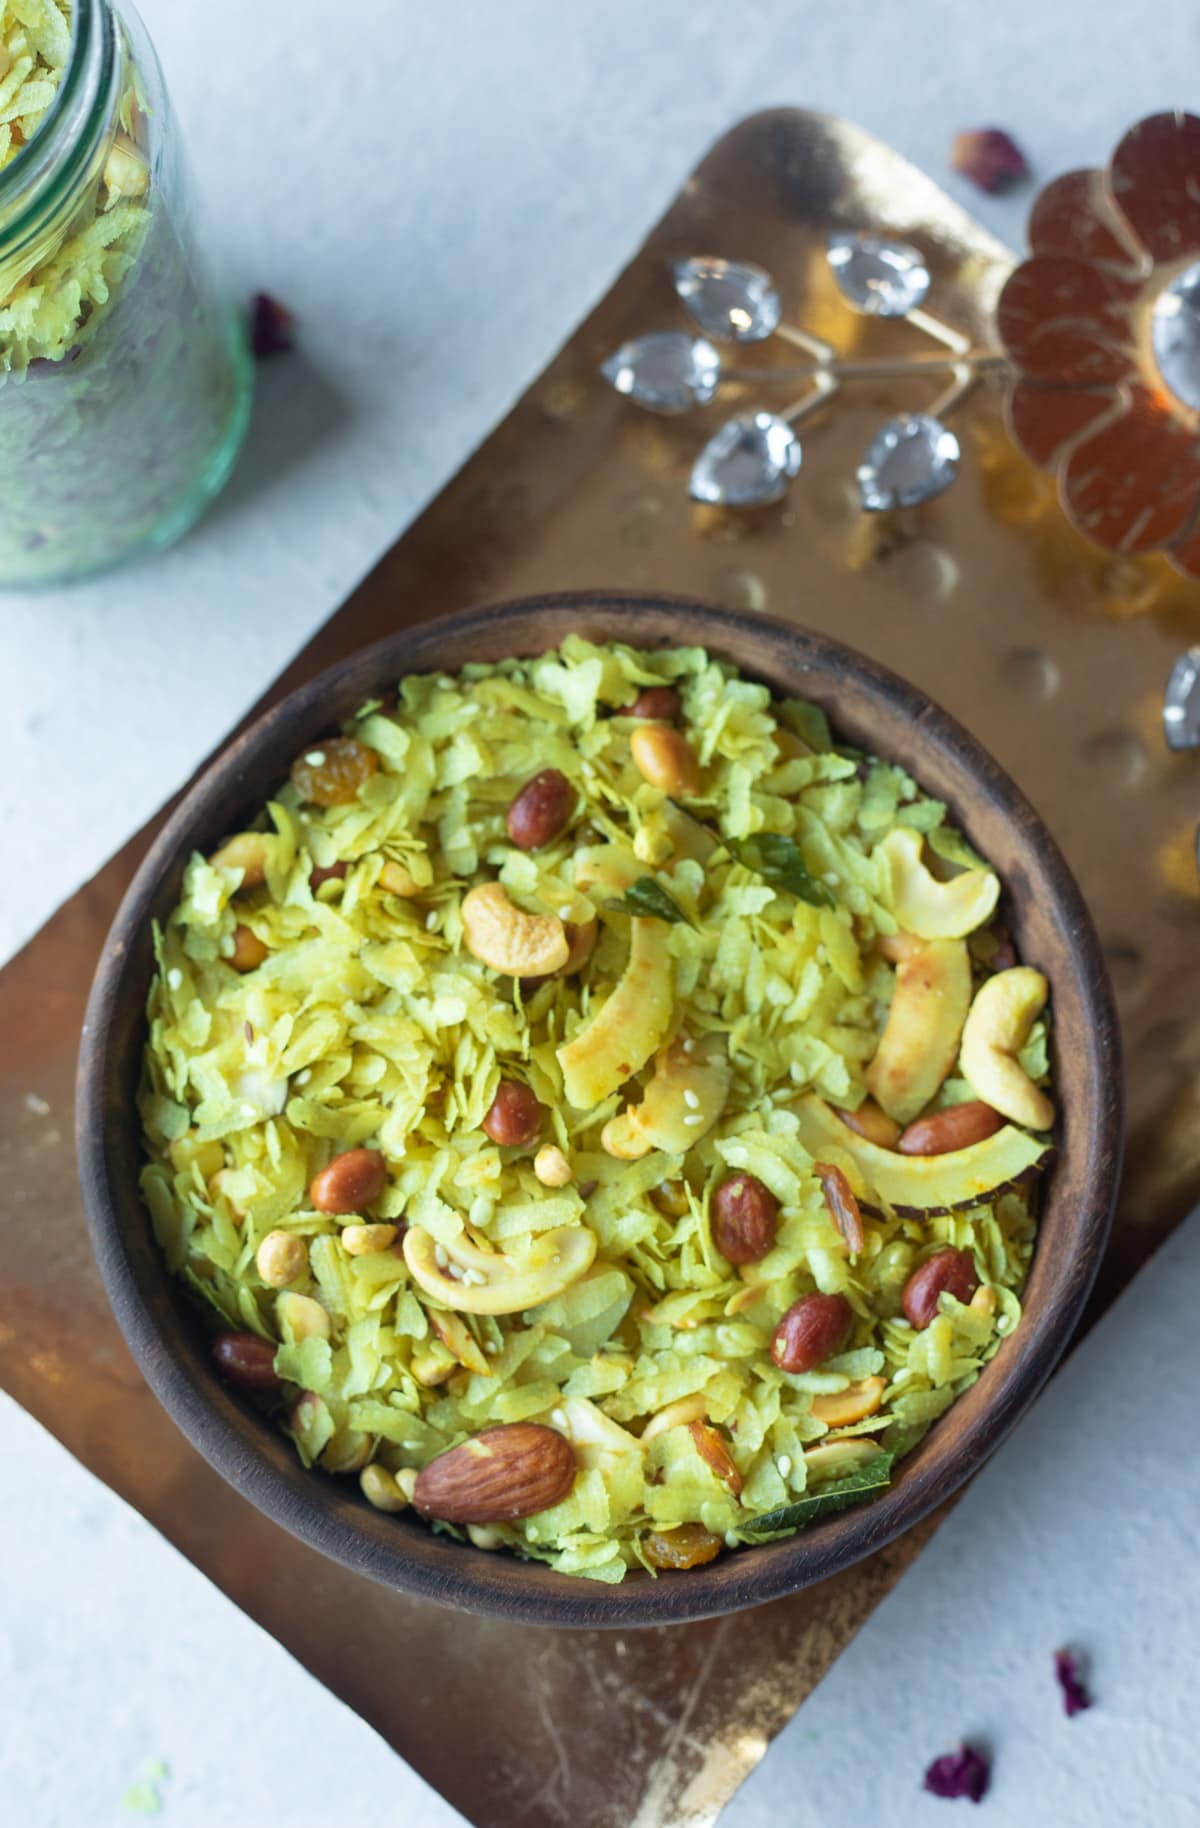
Let the poha cool completely, then store it in an airtight container.
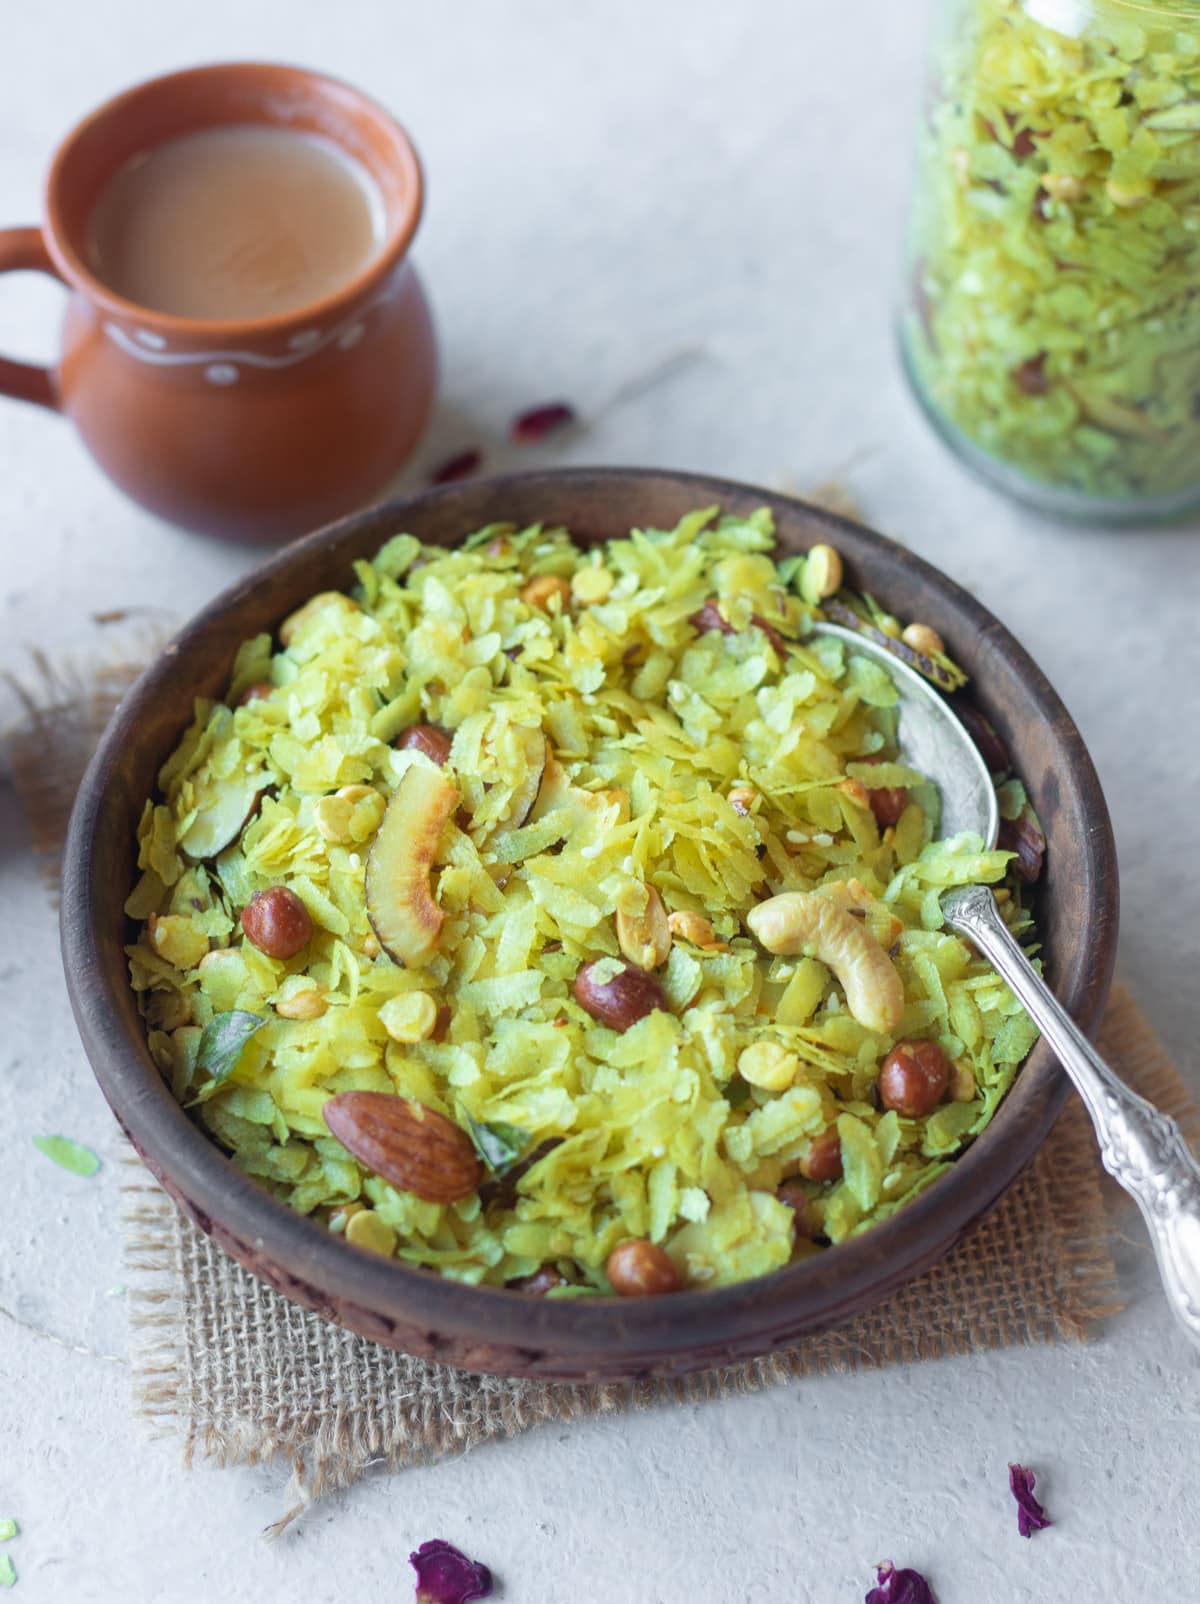
Serve this poha chivda with a cup of garam chai. It is the best!
Trust me, this is so much better than the store-bought version. And it can be made in no time!
Tips to Make Perfect Poha Chivda
- Roast over low heat in a heavy, thick-bottomed pan or kadhai with handles. Or roast it in the oven. Roasting on a high flame can cause the poha to burn or brown, which will cause it to break.
- Instead of stirring the poha, shake the pan to toss the poha so that it does not break much. Also, it is best to use a silicone spatula when stirring.
- Chivda should be thoroughly cooled before being stored in an airtight container. This poha chivda stays good for up to 2 weeks.
Is Homemade Chivda Good for You?
This chivda is a light snack packed with wholesome ingredients – flattened rice, nuts, raisins, seeds, and aromatics. These are all tasty, easy to digest, vegan and gluten-free. This makes the chivda a nutritious snack to enjoy even when you are watching your diet.
I hope you enjoy this chivda along with the other festive snacks.
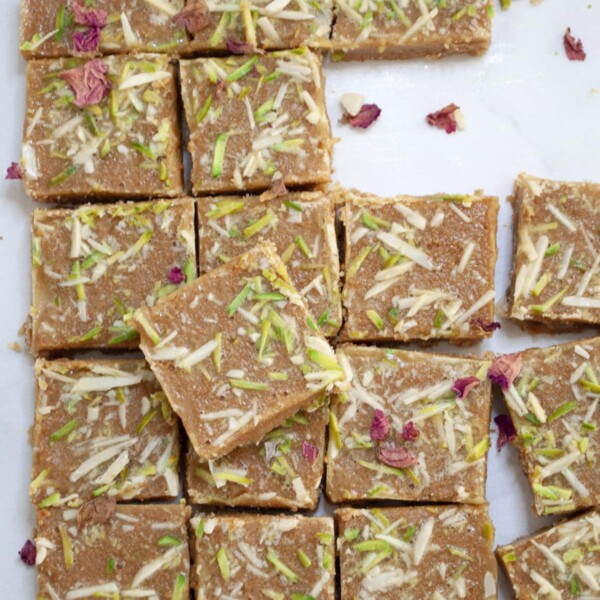
Gujarati Magas
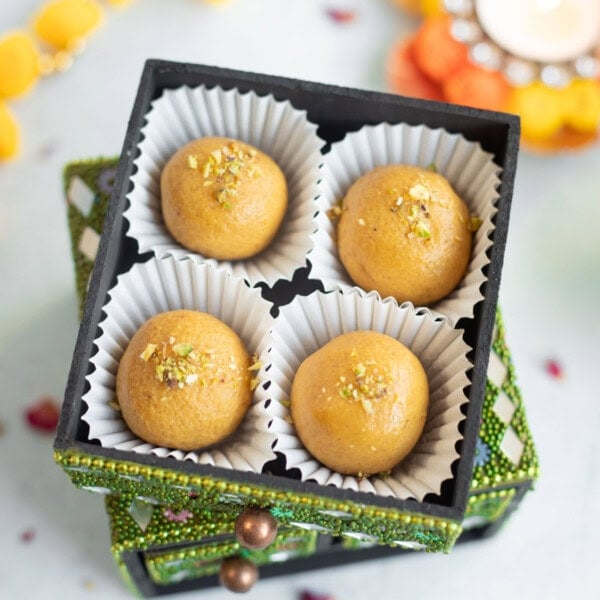
Besan Ladoo
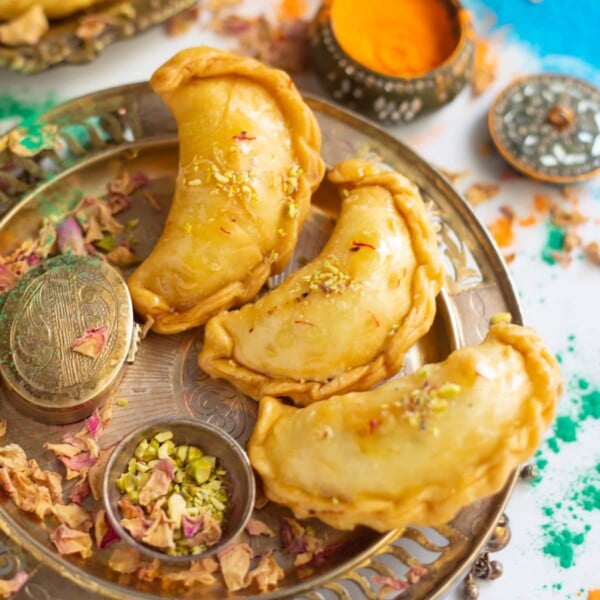
Gujiya
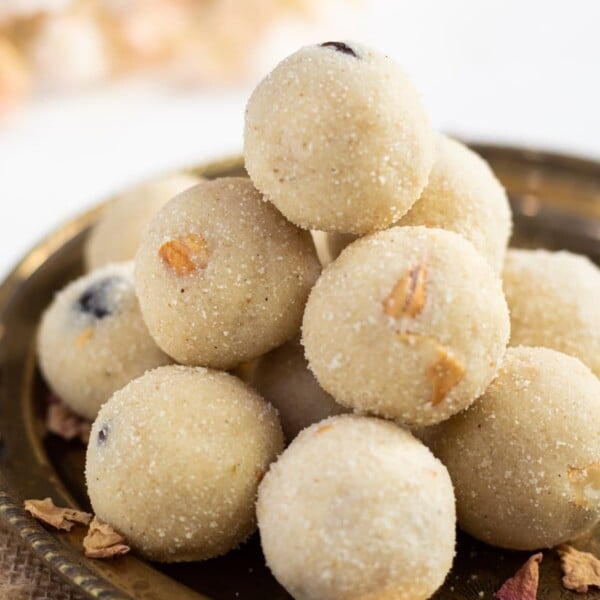
Rava Ladoo (Suji Ladoo)

Poha Chivda Recipe
Video
Ingredients
- 4 cups Thin Poha, Flattened Rice, 250 grams
- 4 tablespoon Oil
- 1/2 cup Peanuts, with the skin on
- 1/4 cup Roasted Chana Dal (dalia), 50 gram
- 1/4 cup Cashew nuts , about 15, each divided in 2 parts
- 1/4 cup Almonds, about 15, each divided in 2 parts, optional
- 4 tablespoon Dry Coconut Slices
- 1 teaspoon Cumin seeds (Jeera)
- 1 pinch Asafoetida (Hing)
- 2 Green Chillies , diced, remove seeds for less spicy, adjust to taste
- 10 Curry Leaves
- 2 tablespoon Raisins
- 1 tablespoon Sesame Seeds, optional
- 1/2 teaspoon Turmeric powder (Haldi), Haldi Powder
- 1 teaspoon Salt, or as per taste
- 1/2 tablespoon Powdered Sugar, additional 1/2 tablespoon if more sweet needed
Instructions
- Measure and have all the ingredients ready before you start making the chivda.
Roast the poha
- Heat a heavy-bottomed pan or kadhai on medium flame.
- Turn the flame to low and add the thin poha. Roast it while stirring gently (preferably use a silicone spatula). You can also gently shake the pan to prevent the poha from breaking. Roast for 6-8 minutes until the poha becomes crisp. Remove roasted poha to a large bowl and set aside to cool.
- Option: You can also roast the poha in the oven. Spread the poha on a large baking sheet. Roast at 325F for 10-12 minutes. Stir half way through. The poha should become crisp, but should not change the color.
Make the tempering
- Turnt the flame to medium and add oil to the pan.
- Add the peanuts and roast them while stirring continuously. Once the peanuts start to pop, reduce the flame to low. This takes about 1-2 minutes.
- Then add the roasted Chana Dal (Dalia) and roast them together for about a minute.
- Then add the cashews, almonds, and dry coconut slices. Stir and roast until the cashews turn light golden in color.
- Then add cumin seeds, asafoetida, and stir. Then add the chopped green chili and curry leaves. You want the curry leaves and the green chilis to not have any moisture, as otherwise they can make the poha soggy.
- Then add the sesame seeds and raisins. Roast for 30 seconds.
- Then add turmeric powder, salt, and sugar. Stir well. Turn off the flame and let the tempering cool a little.
Mix it all together
- Now add the roasted poha back to the pan. Mix gently until all the poha has the perfect yellow color. You can use a silicone spatula or your hands to mix the poha.
- Let the poha cool completely, then store it in an airtight container or serve this poha chivda with a cup of garam chai.