

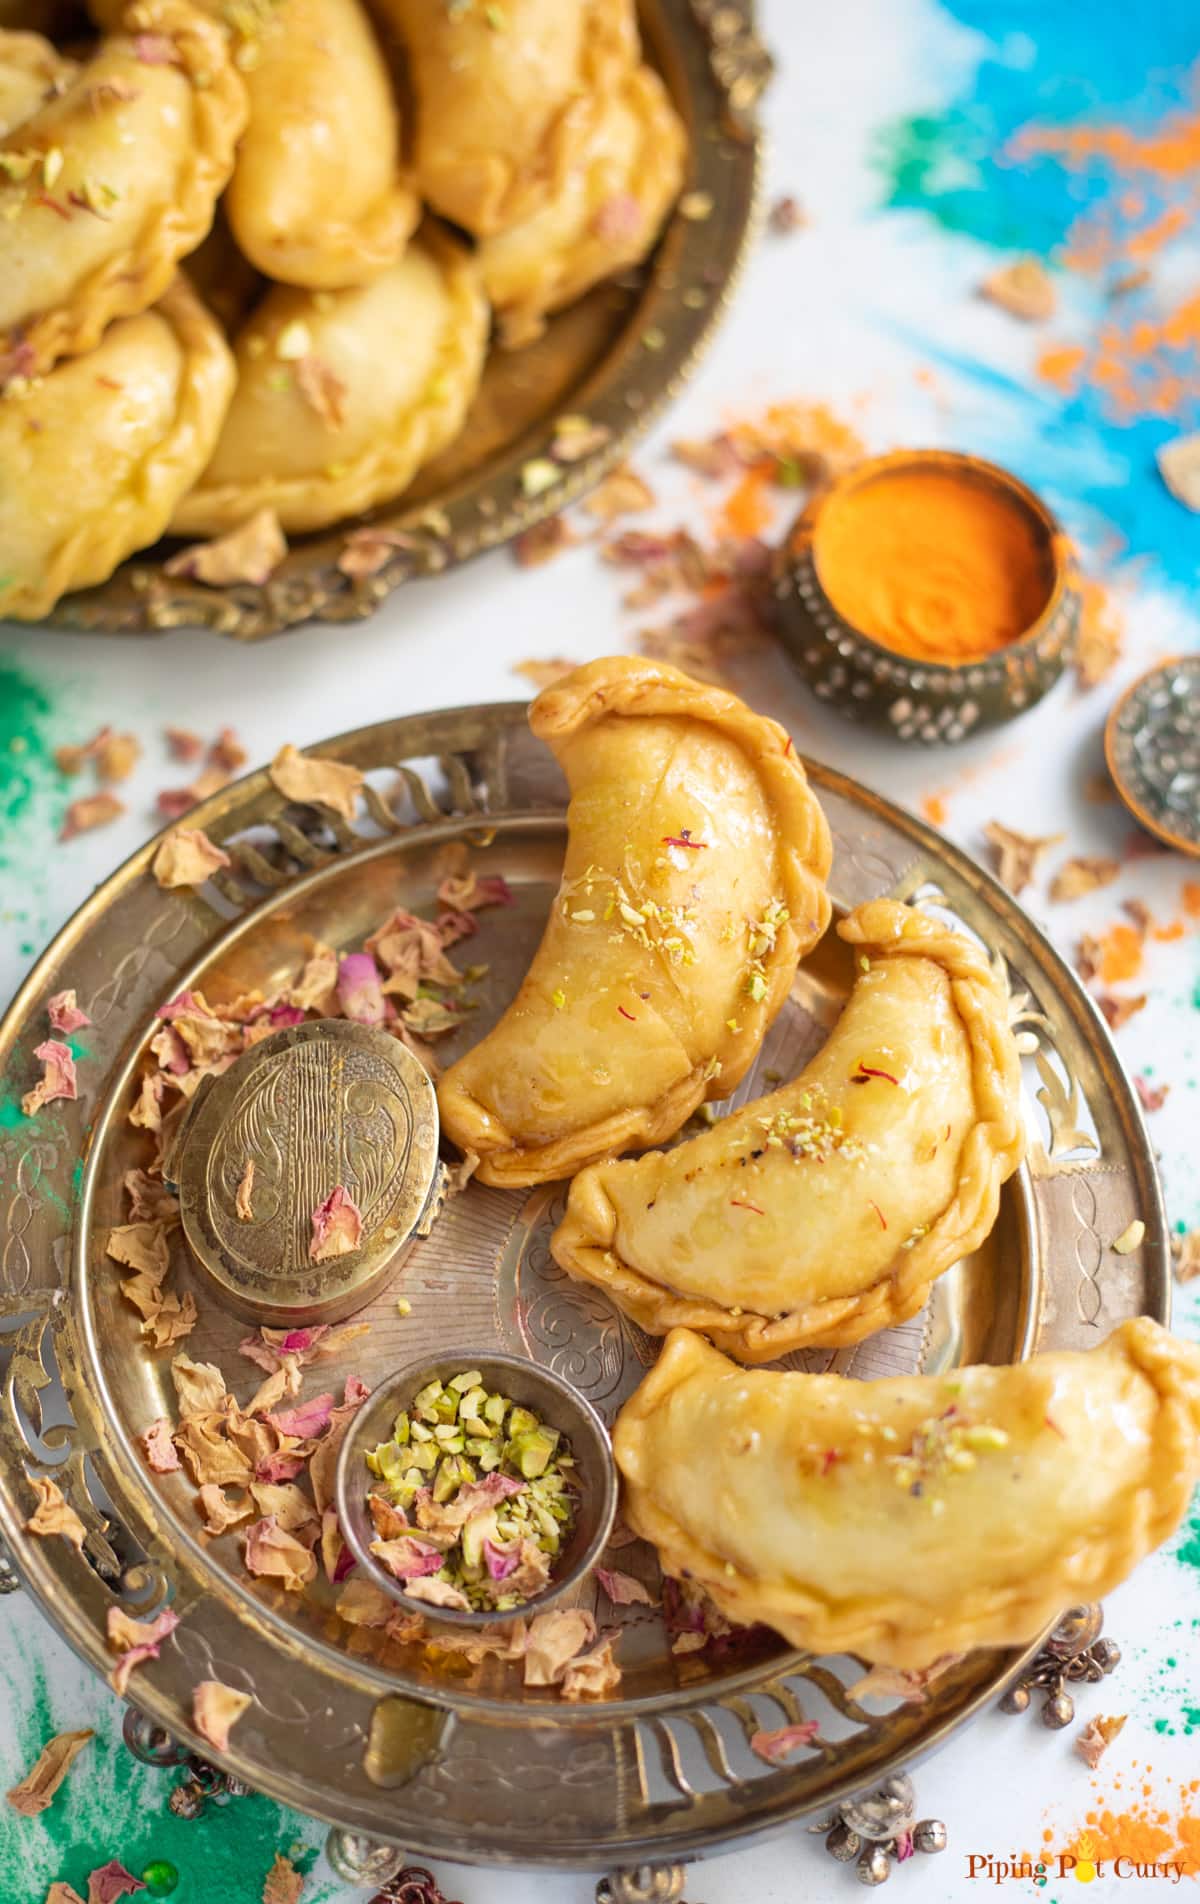
Gujiya is an authentic Indian sweet fried dumpling filled with a mixture of mawa (milk solids), nuts, and coconut. It is a delicious treat made during the festivals of Holi and Diwali. Learn how to make both fried and baked gujiya with this authentic recipe.
I want to share this delicious treat of Gujiya with you all. It is made in different forms all over India during festivals.
I am not going to lie; making Gujiya is a labor of love! They are easy to make but take time and patience. But once you make them, you won’t regret the time spent, as they are so amazing!
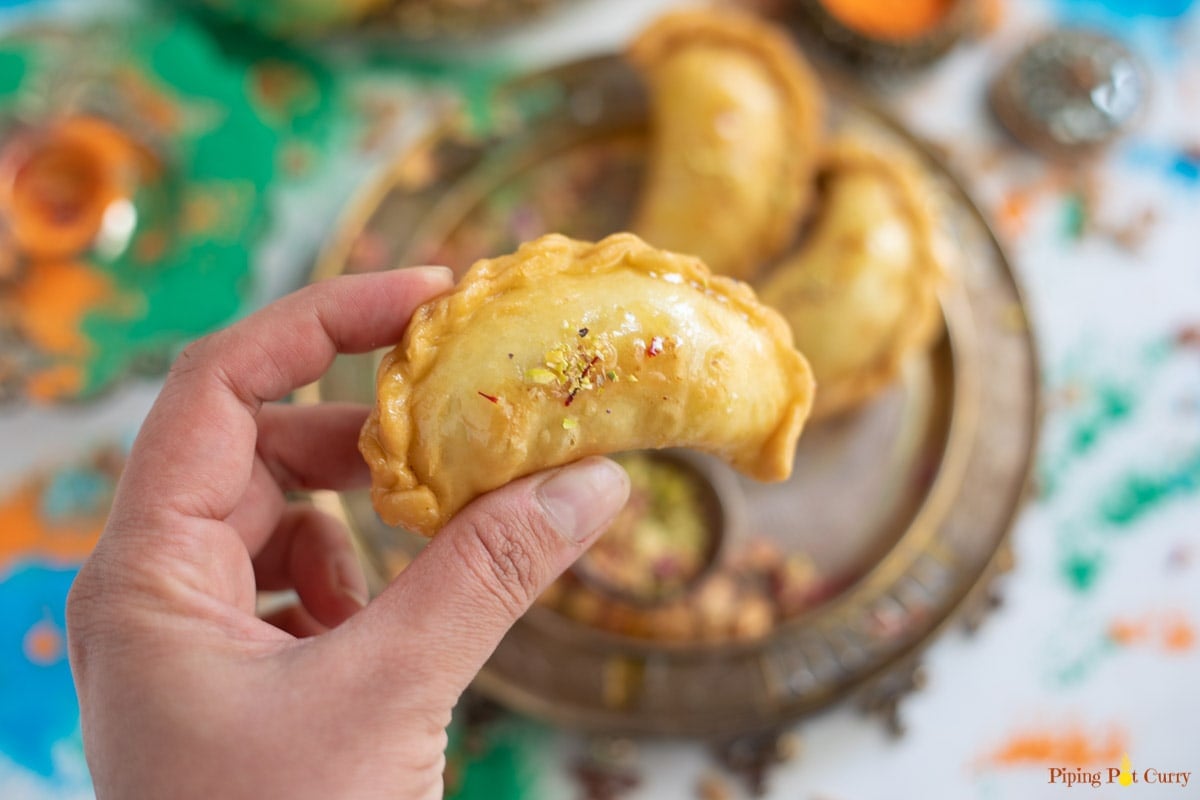
The crispy, flaky crust, with the sweet filling of mawa, nuts, and coconut. These dumplings resemble empanadas.
I will share various ways to make Gujiya, so you can choose one that is easiest for you. I will also share the fried, baked, and air-fried version, so you can make it any way you like.
When eating Gujiya’s, my preference is definitely the fried Gujiya. In my opinion, they have better taste and texture. As I only make this treat during festivals, I prefer not to worry about the calories and enjoy all the sweets, including my super soft Gulab Jamun and Besan Ladoo 🙂
Table of Contents
Watch How to Make Gujiya
What is Gujiya?
Gujiya is a sweet fried dumpling made with flour and filled with a mixture of mawa (milk solids), nuts, and coconut.
This delicious sweet is made during the festivals of Holi and Diwali in North India and the Central Indian states of Uttar Pradesh, Madhya Pradesh, and Rajasthan. But it is popular all over India by different names – Ghughra in Gujarat, Karanji in Maharashtra, Purukiya in Bihar, Nevri in Goa, Kajjikayalu in Andhra Pradesh, Somas in Tamil Nadu, and Karjikai in Karnataka.
The filling of gujiya is mainly mawa, which is milk solids. The filling of this dumpling varies – in karanji, the filling is mainly of coconut, nuts, and poppy seeds.
You can make gujiya by hand or using a mold. Some people like to soak it in sugar syrup, called chashni wali gujiya, and some eat it as is.
How to Make Gujiya?
Let’s start with talking about the ingredients for gujia; then, we will go into the step-by-step procedure to make them.
Gujiya Ingredients
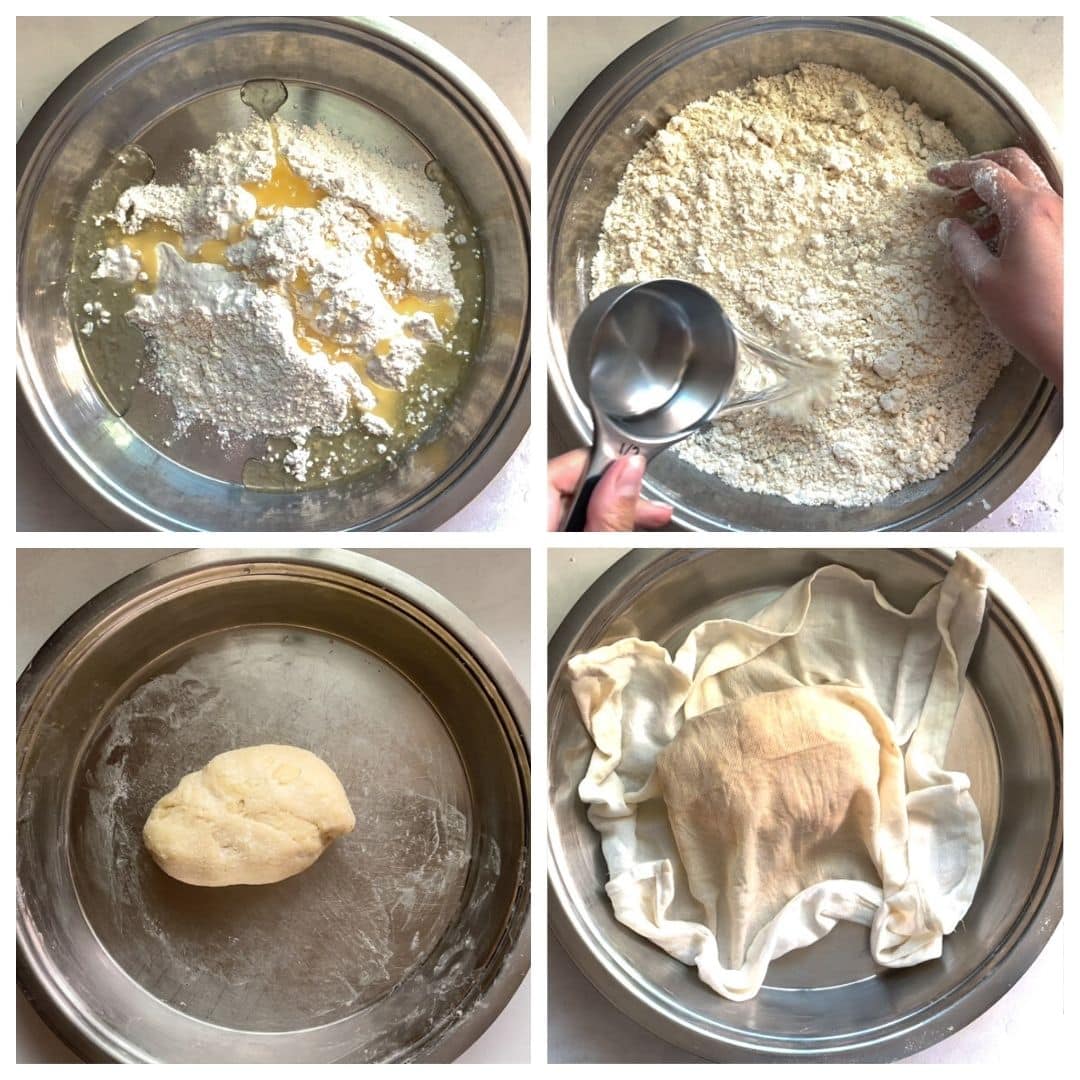
Dough – The dough for gujiya is made with all-purpose flour, ghee, and water. We also add a pinch of salt when making the dough.
You can also make the dough with half whole wheat flour and half all-purpose flour.
Mawa (Khoya) – The filling for this gujiya is mainly mawa. I used store-bought frozen mawa, as that is what I have easily available here. You can use freshly made mawa too. Or you can make mawa with milk powder.
Sugar – Make sure to use fine powdered sugar in this recipe. We add the sugar after cooking the mawa to the mixture; hence, granulated sugar won’t work. If you don’t have powdered sugar, you can grind the sugar to make a fine powder.
Other filling ingredients – You can use a variety of nuts in this recipe. I also add raisins and dry coconut powder. Add some cardamom powder for flavor.
Ghee/Oil – Use ghee or oil for frying. You can use either or equal parts of both to fry the gujiya.
Make the dough
- In a large, flat bowl, add the flour, salt, and ghee. Mix them well with one hand. The mixture should have a crumbly texture. You want to make sure the flour holds its shape, as that is what gives the flaky, crispy texture to the gujiya.
- Add water a little at a time and knead the dough. Use minimum water to make a stiff dough.
- Cover with a damp cloth and let it rest for about 30 minutes.
Make the filling
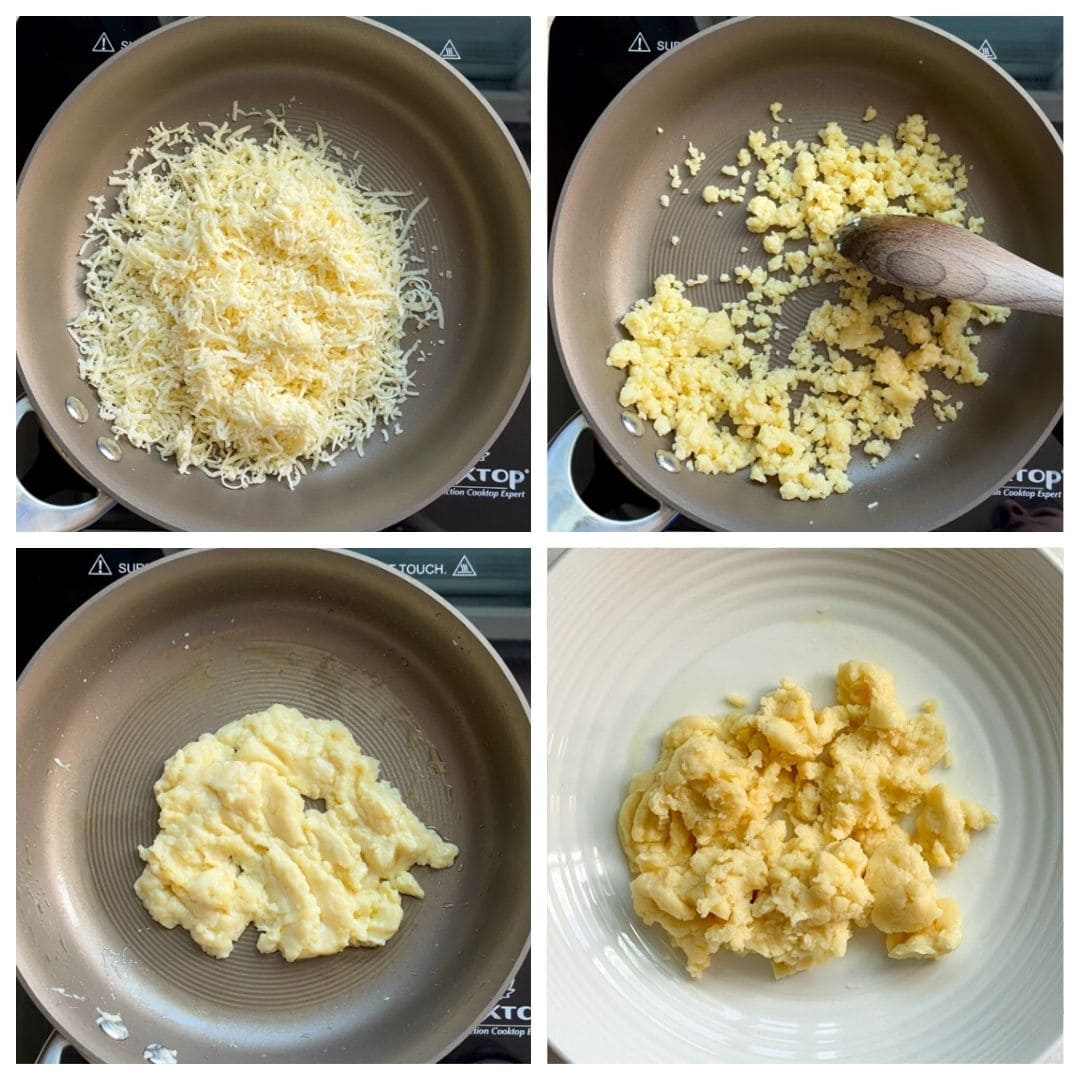
- Add the grated khoya (mawa) to a pan on medium-low heat. Roast for 5-6 minutes while stirring continuously until the mawa turns golden in color and starts to gather around itself.
- If the mixture looks too dry, add 1-2 tablespoons of milk while roasting the mawa. This is only needed if using frozen mawa.
- Transfer the stuffing to a large bowl and let it cool completely.
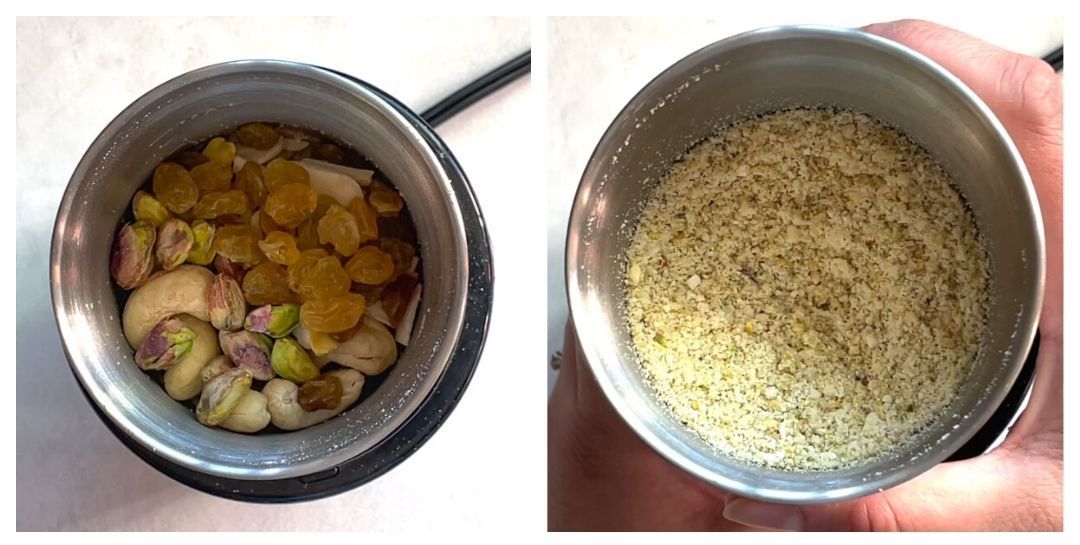
- To a grinder, add dry fruits such as cashews, almonds, pistachios, and raisins. Grind to form a coarse mixture.
- If you prefer, you can also just chop the nuts and raisins.
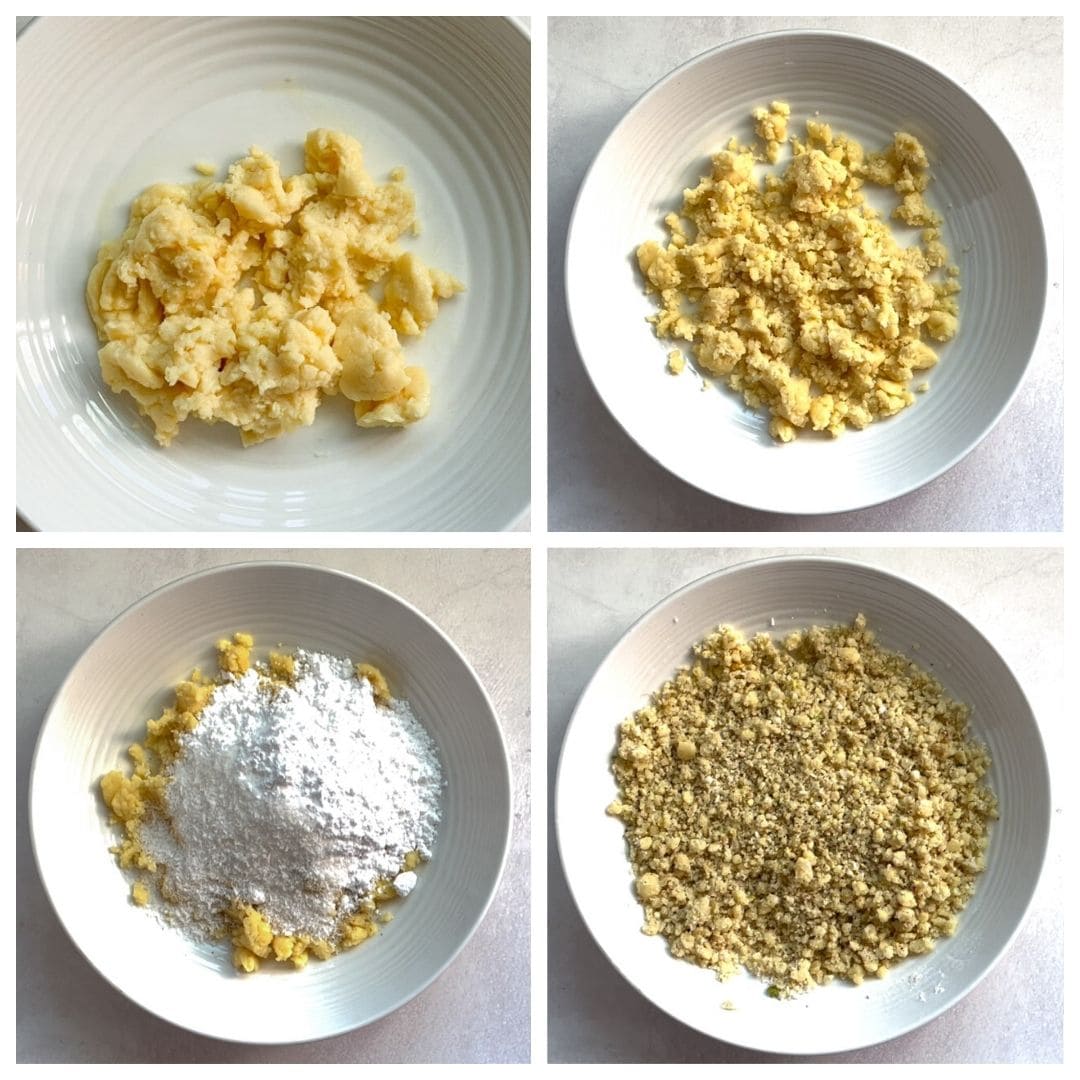
- After the mawa has cooled down, crumble it with your fingers.
- Add the nut mixture, cardamom powder, desiccated coconut, and powdered sugar. Mix well. The filling is ready.
- Here you can taste the filling and add more sugar based on your preference.
Make the Sugar Syrup
Dipping gujiya in sugar syrup is optional. It makes the gujiya moist and gives a wonderful glaze.
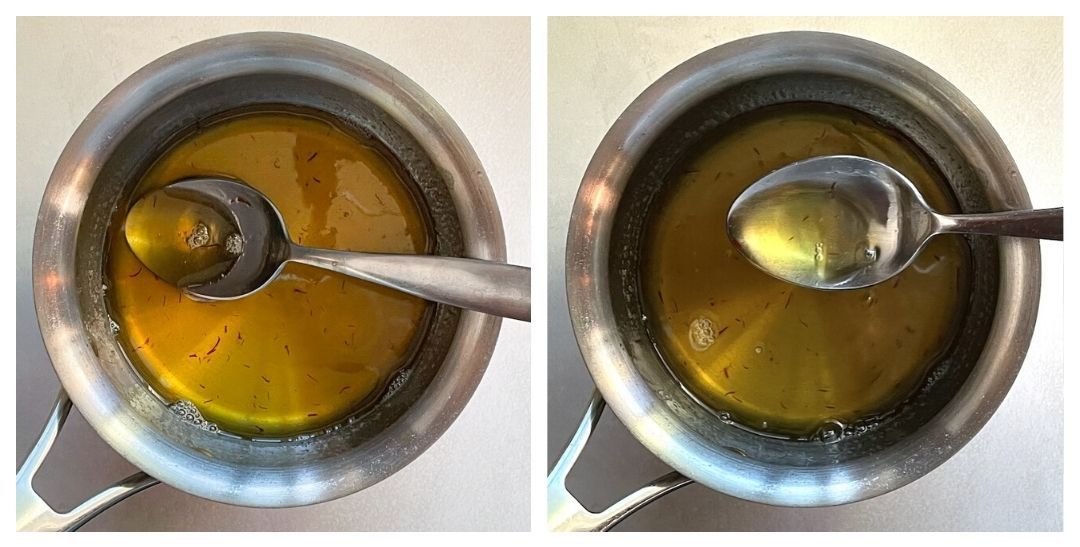
Add water and sugar to a pan. Add the saffron. Boil for about 5 minutes on medium-high heat to make a sticky sugar syrup. Transfer to a bowl and let the syrup cool down.
You don’t need 1 string consistency for this syrup. Test the syrup by taking some with a spoon, cooling it a little, and holding it between your fingertips to check that it is sticky.
Make the Mawa Gujiya
I will share multiple ways to make gujiya – by hand with a pleated pattern, with a fork pattern, and with a mold.
Roll the base
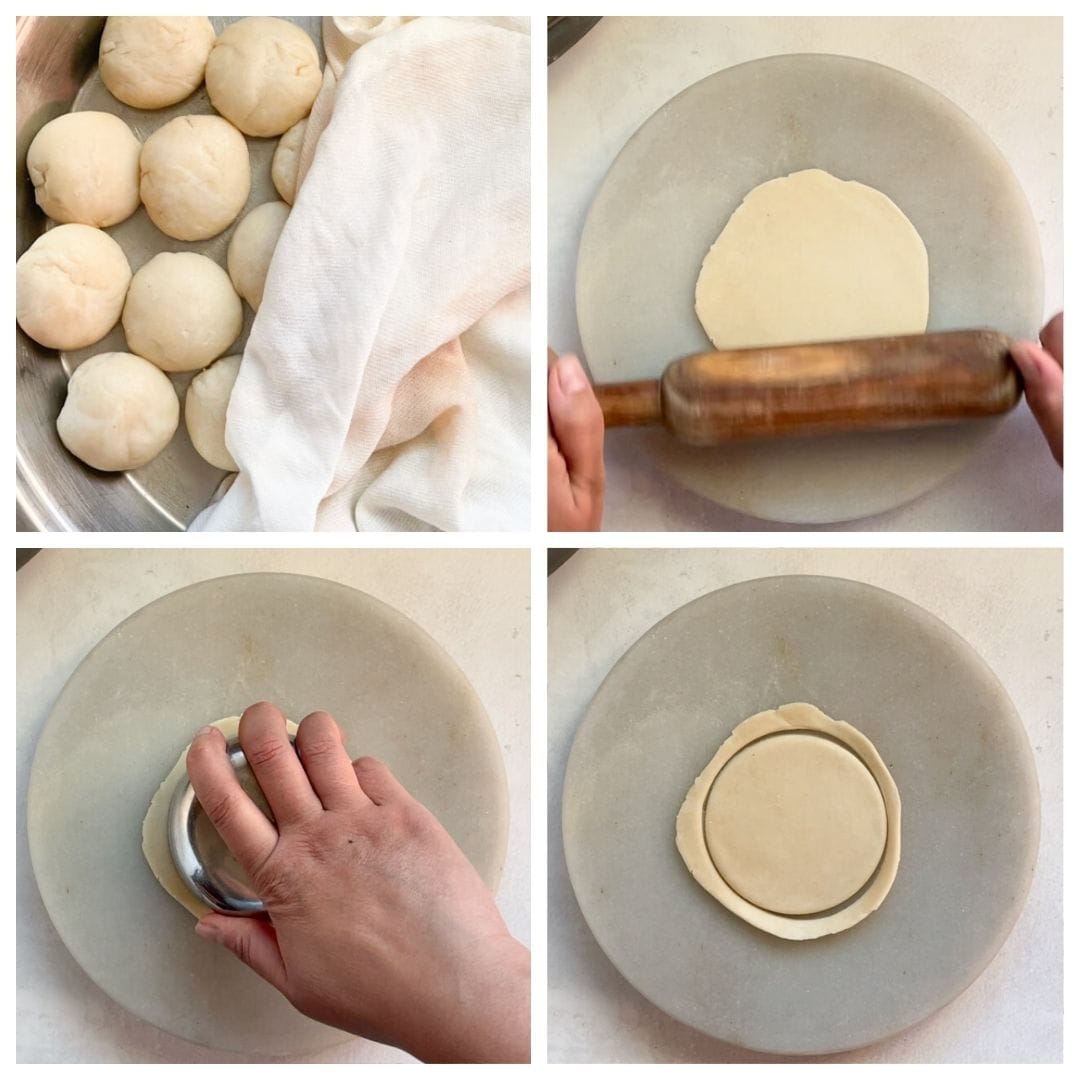
- Knead the dough with your hands a bit. Then, divide the dough into equal parts to make balls. Keep the balls covered with a damp cloth.
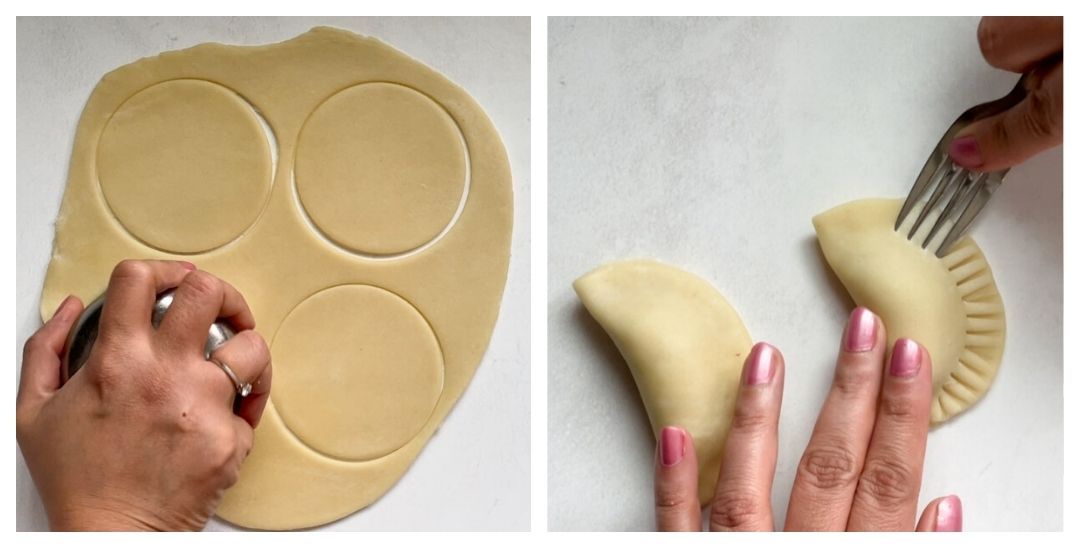
- Take one ball at a time and roll it in a small circle about 4-5 inches in diameter. You can use it as is, or use a cookie cutter or a bowl to make a circular shape. This is not needed if you are using a gujiya mold.
- Another option is to make a large ball and roll it in a large circle. Then, use a cookie cutter to cut multiple circles. Use the excess dough to make more gujiya. (See the image in the fork pattern section)
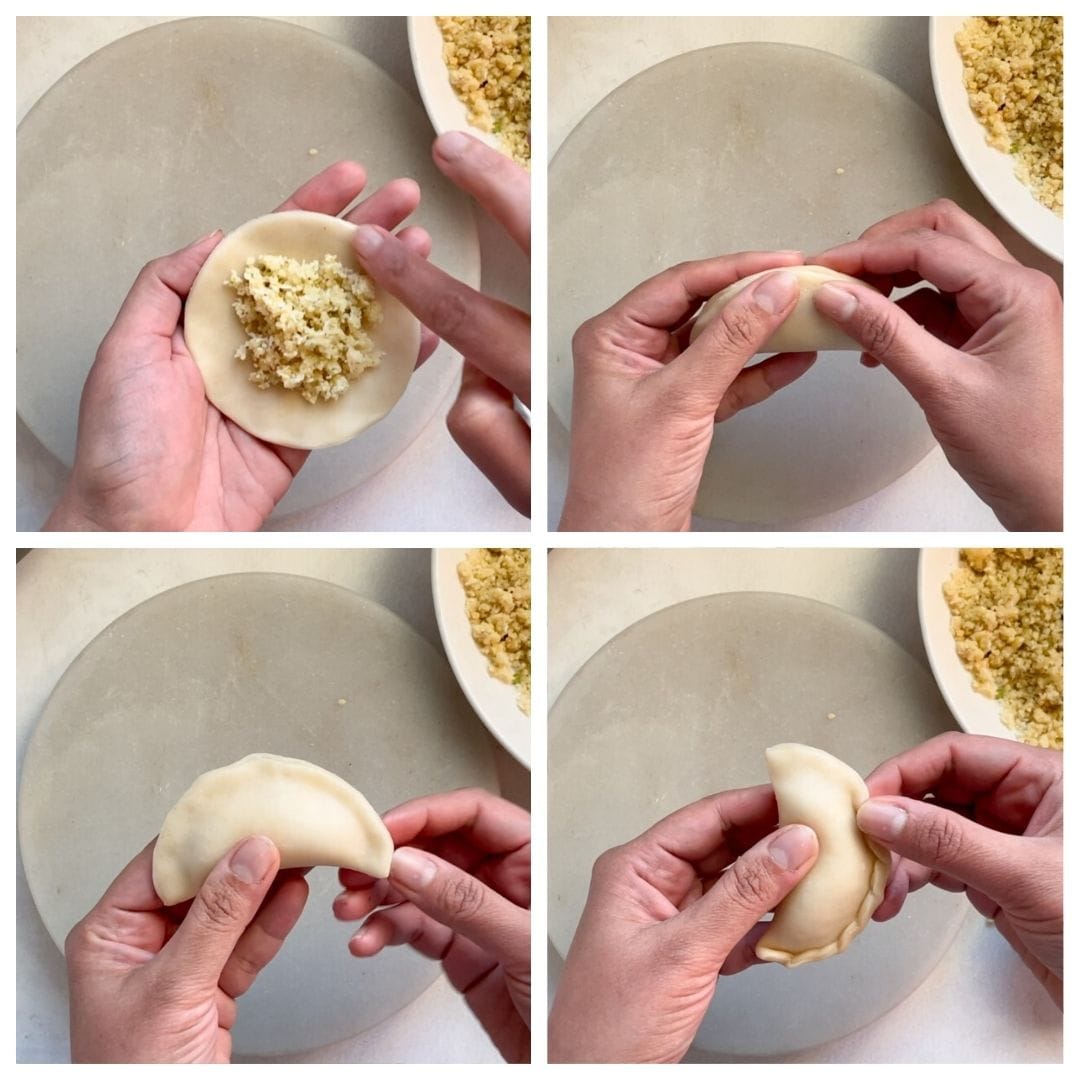
Pleat the gujiya
- Take the rolled dough in your hands. Add about one tablespoon of the filling to the center. Do not overfill; you want to seal them well, otherwise they can open when frying.
- Apply water to the edges using your fingertip. Carefully bring the edges together to form a semicircle, then gently press with your fingertips. Seal it very well, pinching with your fingertips.
- Create a pleated edge by folding a little dough at a time. This helps seal the gujiya and ensure the filling does not come out when frying.
Seal with Fork Pattern
Using a fork, make insertions at the edges. Turn and repeat the fork pattern. This helps to seal the gujiya.
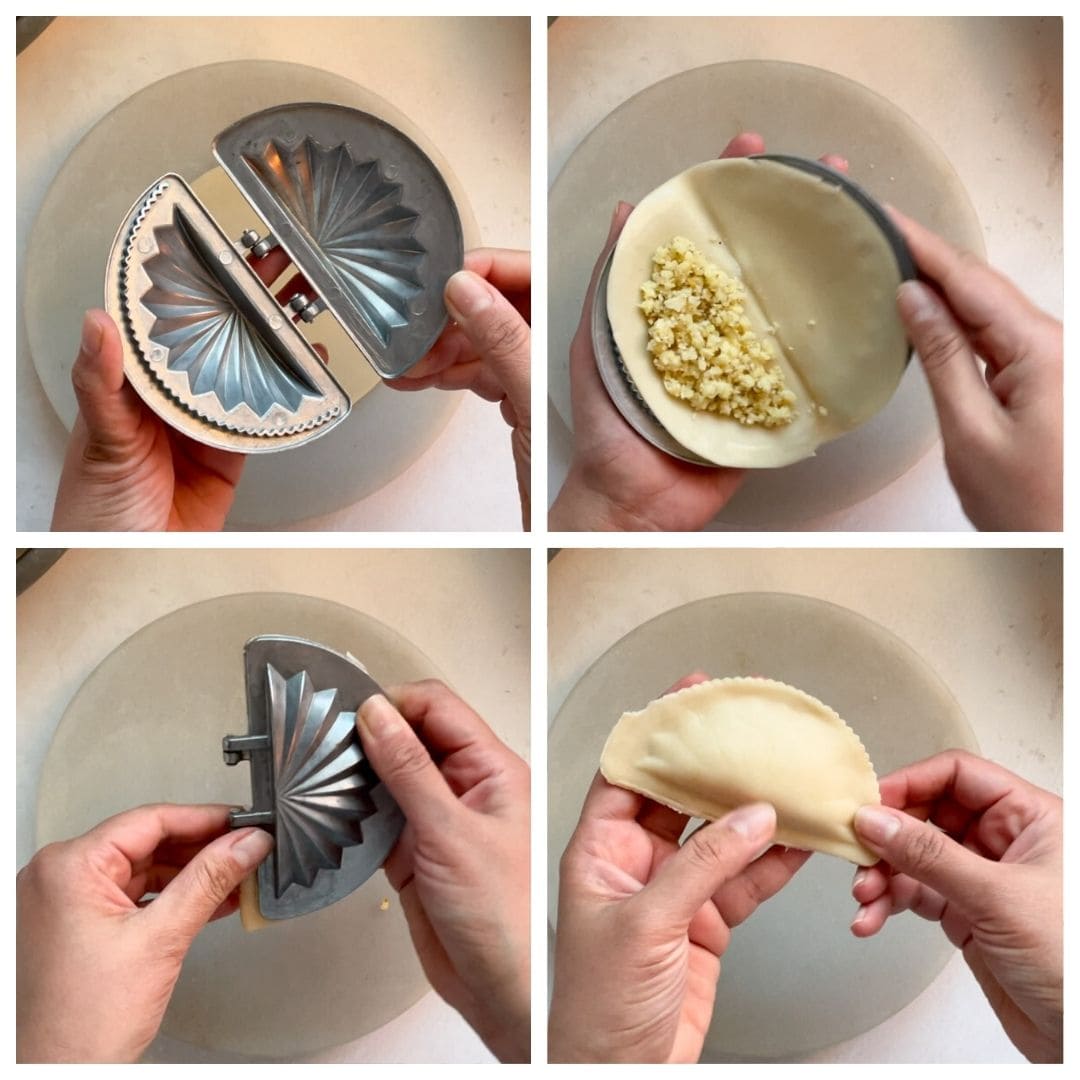
Using a gujiya mold
Place the rolled dough on top of a gujiya mold. Add the filling, then apply water to the edges. Press the ends of the mold together to seal the gujiya. Remove any excess dough from the sides of the mold.
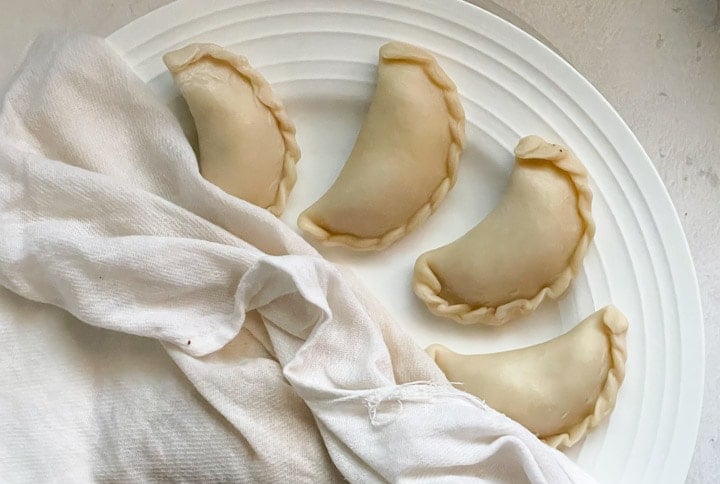
Make all the gujiya’s. Keep them covered under a damp cloth while you are making more, so that they don’t dry out.
Fry the Gujiya
- While filling the gujiya, heat ghee/oil in a pan (kadhai) on medium-low heat. Put a very small ball of dough in the oil, and it should come up gradually.
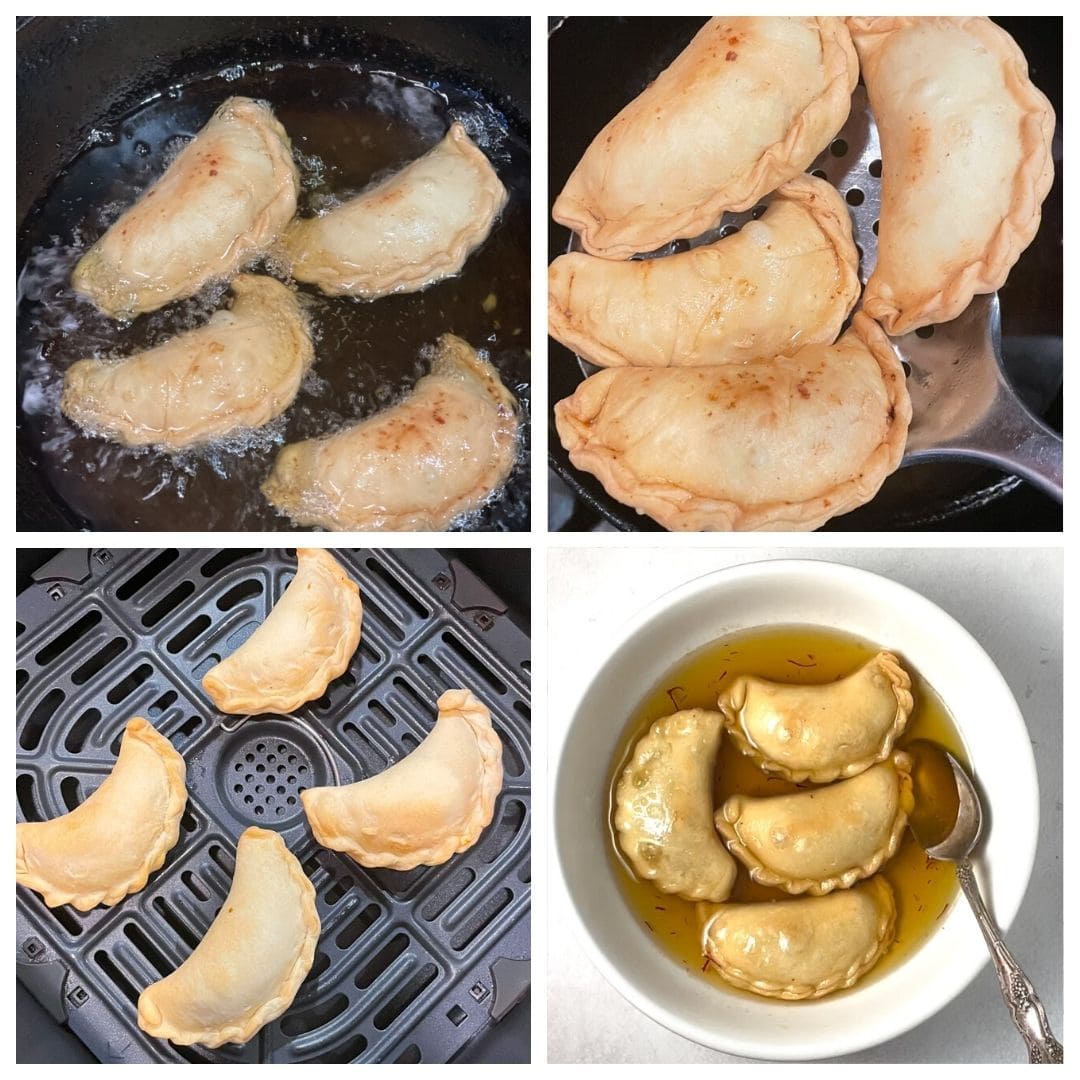
- Add 3-4 gujiya at a time, depending on the size of the pan. Let them cook for 2-3 minutes, then turn to fry the other side. Fry until they are golden brown on both sides. Fry on medium-low heat at all times so that the gujiya cooks properly. Be patient while frying; each batch will take about 7-8 minutes to cook.
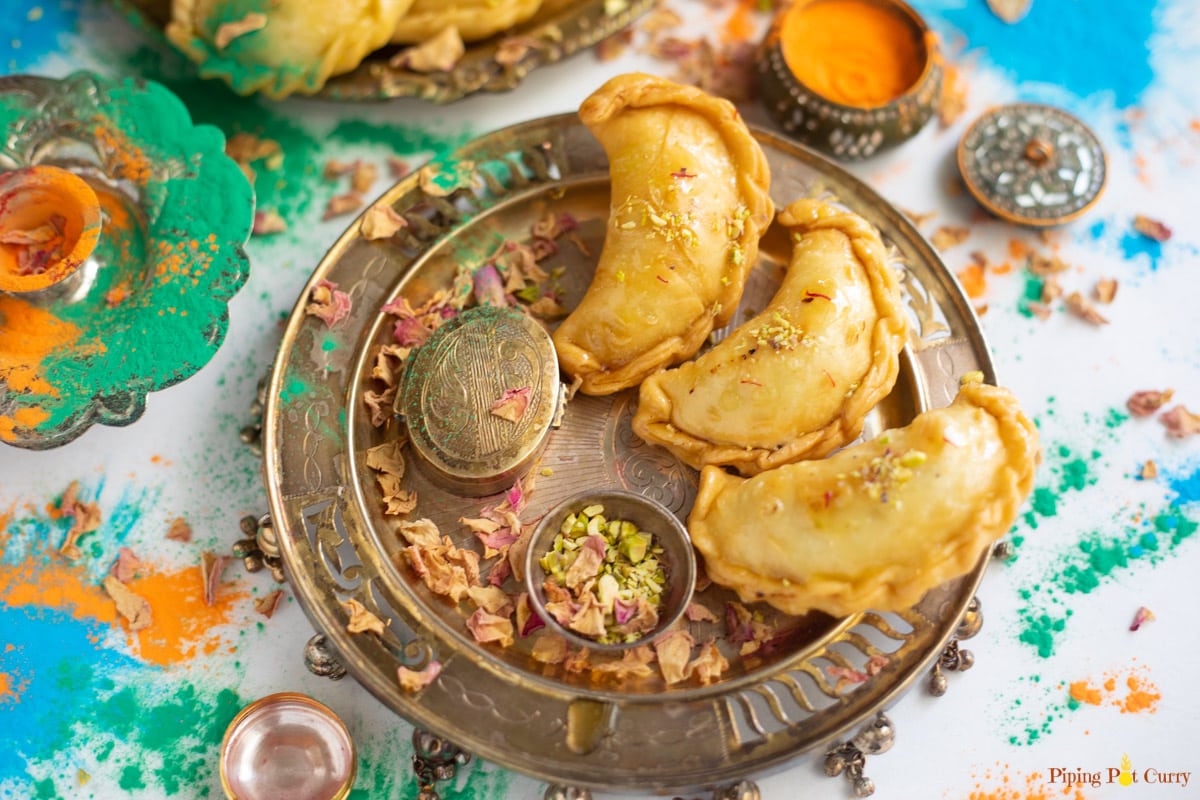
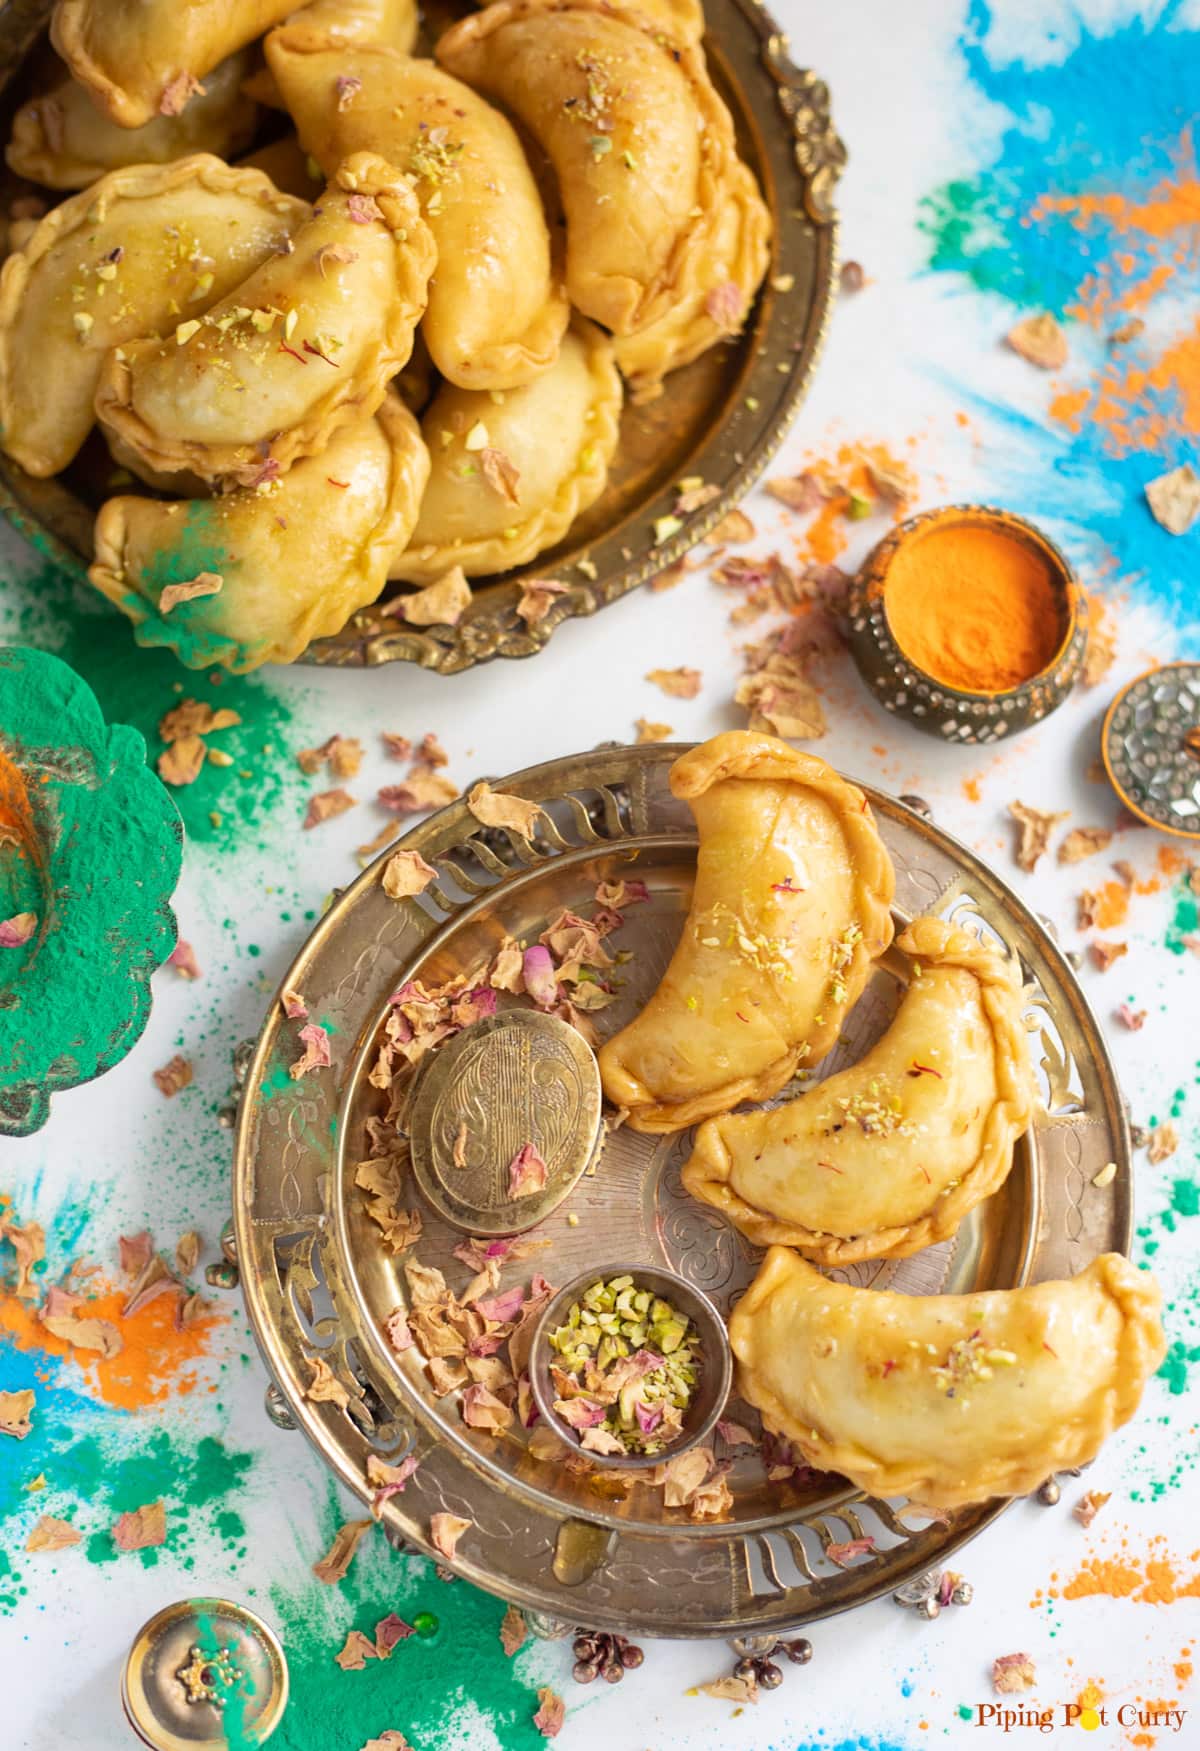
Dip the cooked gujiya in the sugar syrup. Flip after 2-3 minutes, so they are covered with the syrup on all sides. Soak for max 4-5 minutes.
Baked Gujiya Method: Preheat oven to 400F. Place the gujiya on a baking tray. Brush melted ghee or oil on all sides of the gujiya. Bake for 20-30 minutes until they turn golden.
Air Fryer Gujiya
Place the gujiya in the air fryer basket. Brush melted ghee or oil on all sides of the gujiya.
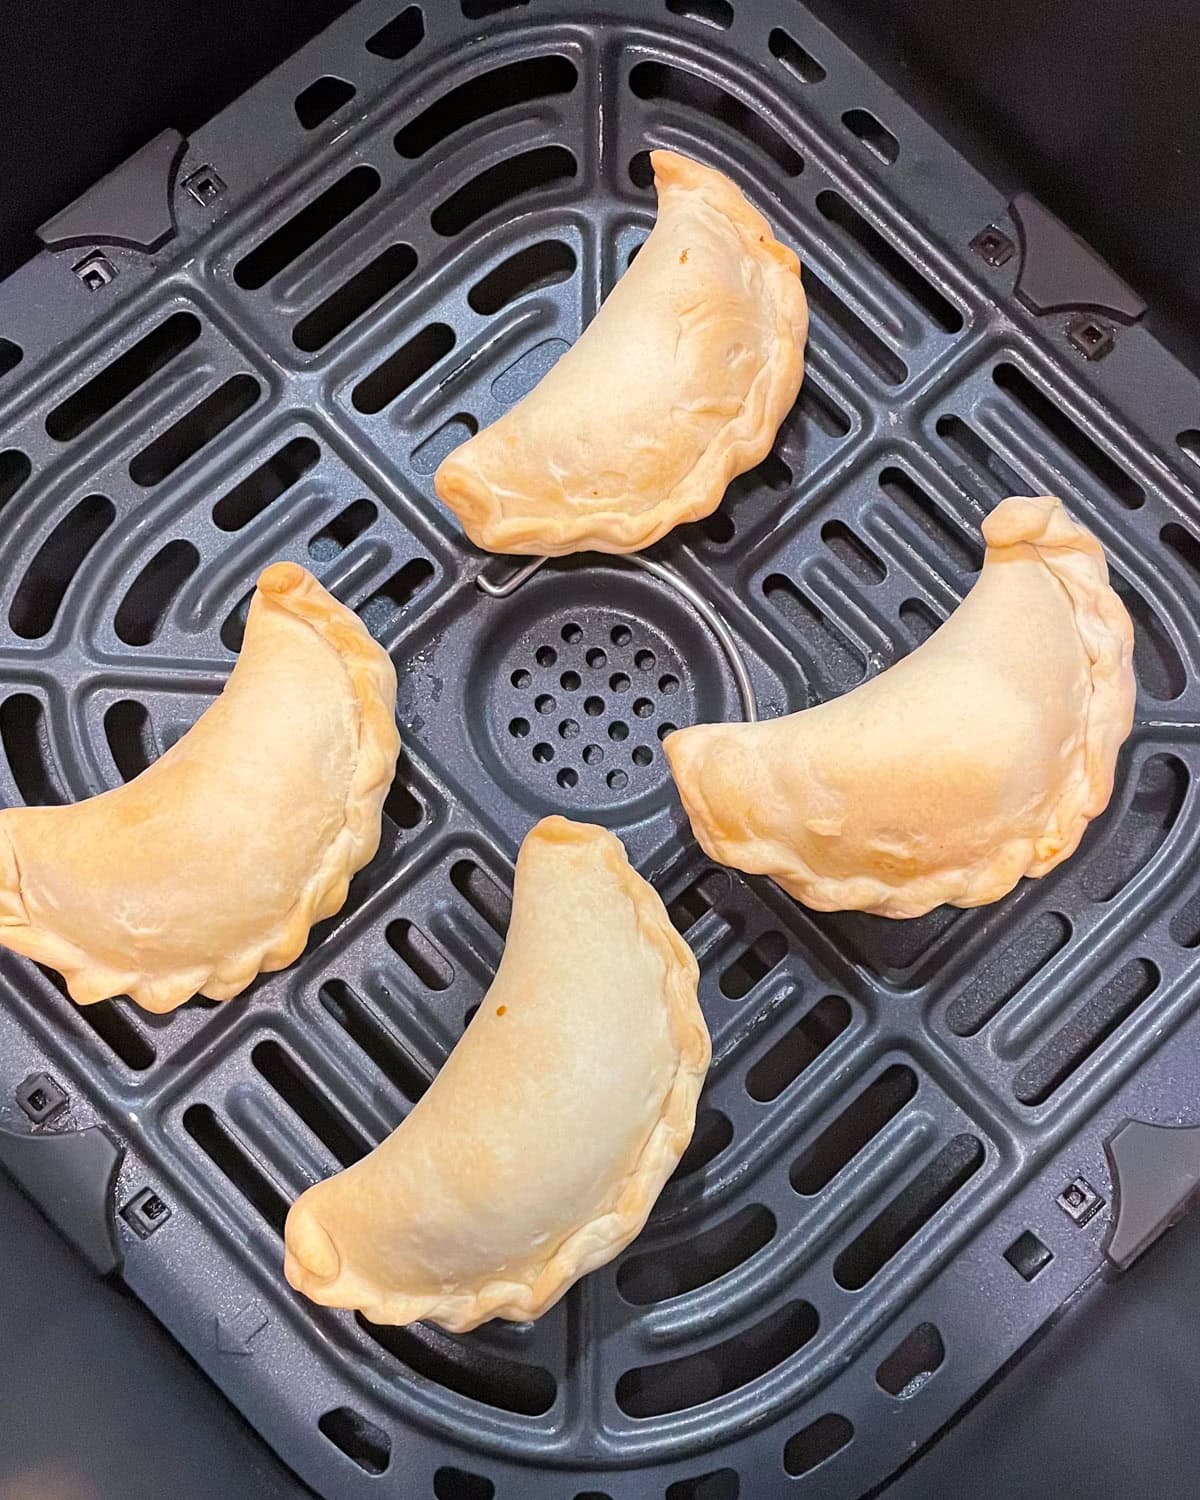
Bake at 380F for 8-10 minutes until they turn golden. Flip them halfway through.
Serve immediately. You can store it in an airtight container once cooled. They will stay good for about a week.
Tips to make the best Gujiya
- Stiff Dough: Make sure to use a minimum of water to make a stiff dough. Add the ghee to the flour, as that is what gives the flaky, crispy texture to the gujiya. Keep the dough (and the filled gujiya) covered with a moist, damp cloth at all times.
- Do not overfill: It is important not to add too much filling and seal the gujiya properly. Otherwise, they can break while frying, and the filling will be all over the other gujiyas. The only way out then is to strain the ghee/oil and start frying again.
- Frying temperature: Fry the gujiya at a low to medium heat to ensure they are cooked through. This will take time, so be patient as you fry each batch. For the best taste, fry in ghee similar to gulab jamuns.
Common Questions
Once the gujiya is cooled, store it in an airtight container at room temperature for up to a week.
This could happen if there is too much filling and the gujiya is not sealed properly at the ends. Use the pleated method shown above to seal the gujiya before frying for the best results.
I hope you enjoy this Gujiya recipe. Share your photos and enjoy the festivities!
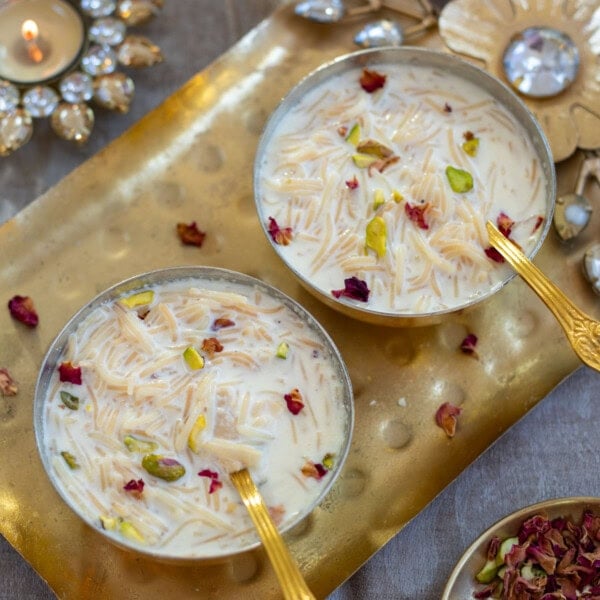
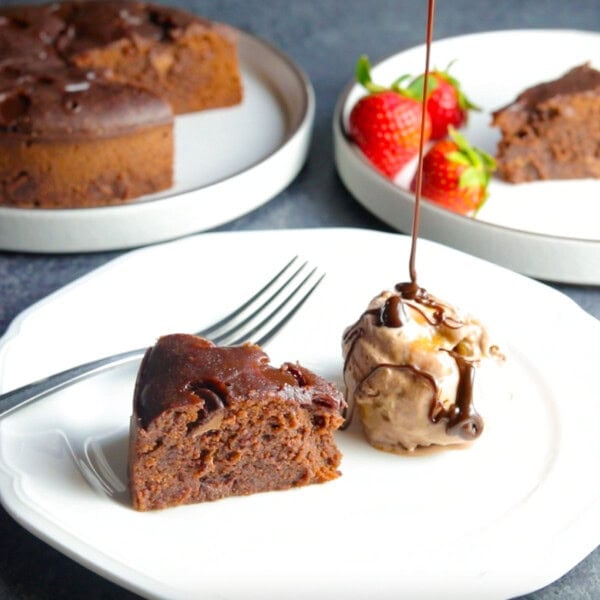
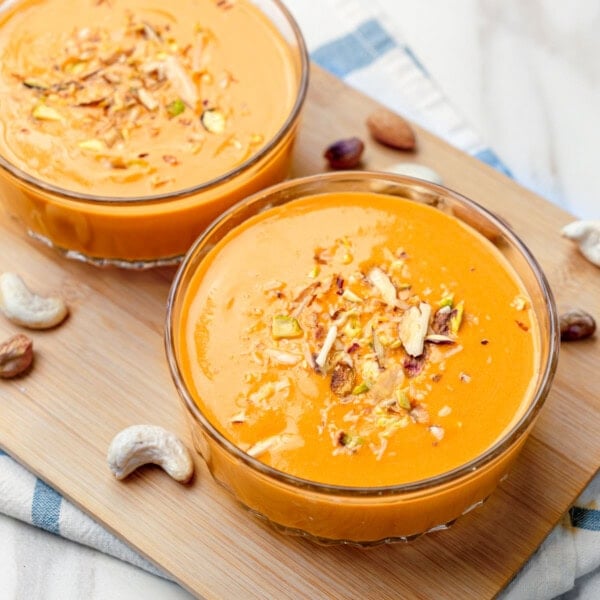
More Indian Dessert Recipes You’ll Love
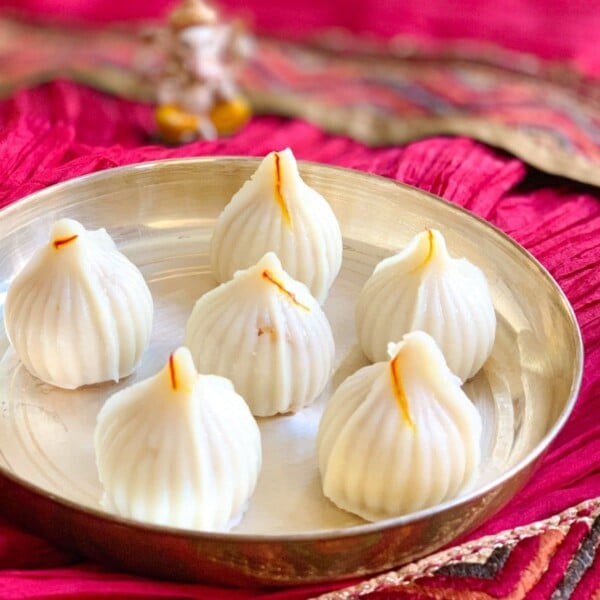
Ukadiche Modak (Steamed rice dumplings with sweet coconut filling)
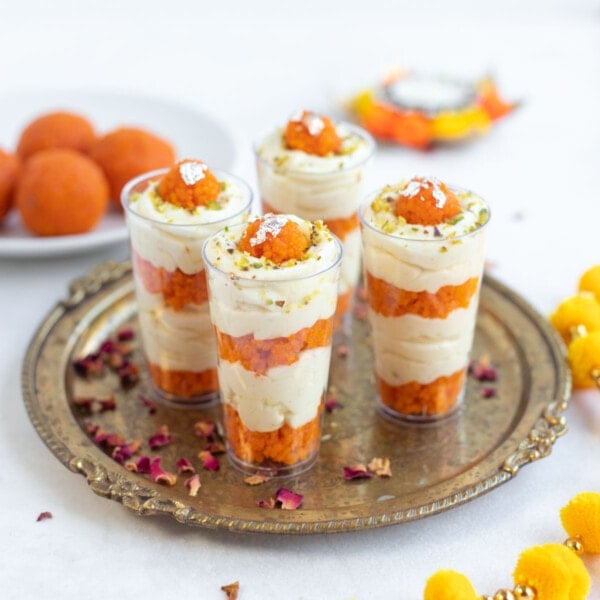
Motichoor Ladoo Cheesecake Parfait
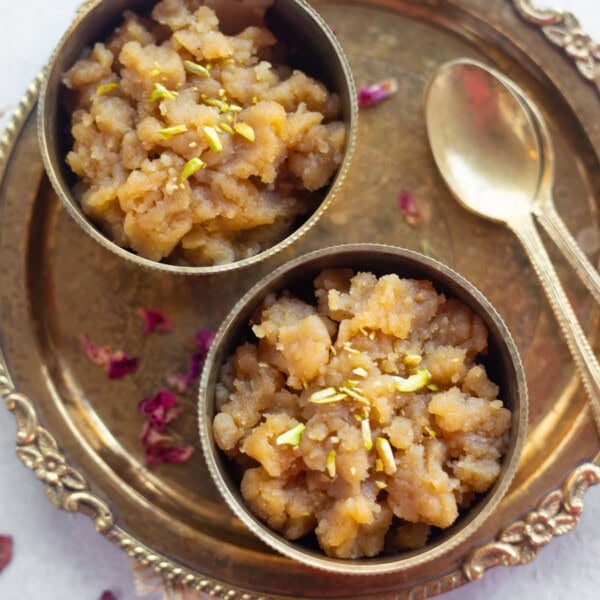
Atta Halwa | Kada Prasad

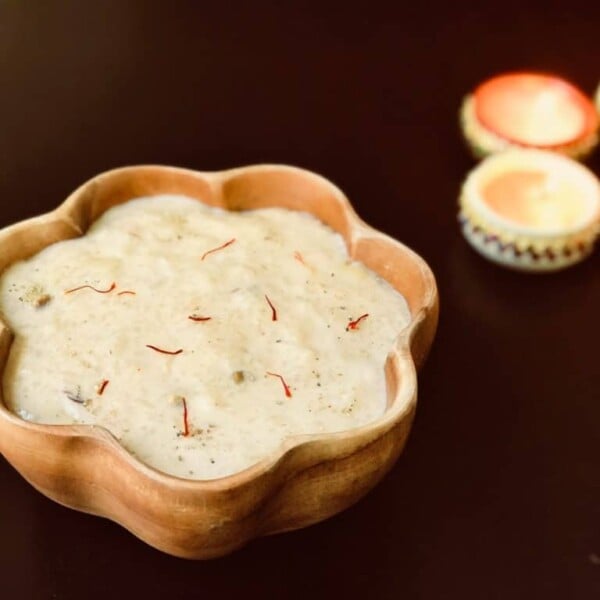
Mango Coconut Almond Ladoo
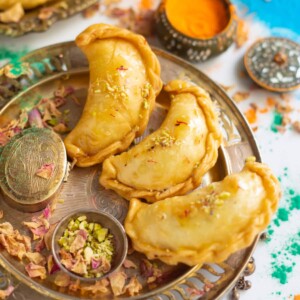
Mawa Gujiya
Video
Equipment
- Gujiya Mold
Ingredients
Dough
- 2 cup All-purpose flour (maida)
- 1/4 cup Ghee, melted
- 1/3 to 1/2 cup Cold water, to knead dough
- 1 pinch Salt
Filling
- 1 1/4 cup Khoya (Mawa), grated, I used frozen
- 1-2 tablespoon Milk , or as needed
- 1 tablespoon Raisins
- 1 tablespoon Cashews
- 1 tablespoon Almonds
- 1 tablespoon Pistachios
- 1/2 teaspoon Cardamom powder
- 2 tablespoon Desiccated Coconut
- 1/2 cup Powdered sugar
Sugar Syrup
- 1/2 cup Water
- 1/2 cup Sugar
- 8-10 strands Saffron (Kesar)
Frying
- Ghee or Oil, for frying
Garnishes
- 1 tablespoon Pistachios, chopped
Instructions
Make the dough
- In a large flat bowl, add the flour, salt, and ghee. Mix them well with one hand. The mixture should have a crumbly texture. Add water little at a time and knead the dough. Use the minimum amount of water to make a stiff dough.
- Cover with a damp cloth and let it rest for about 30 minutes.
Make the filling
- Add the grated khoya (mawa) to a pan on medium-low heat. Roast for 5-6 minutes while stirring continuously until the mawa turns golden in color and starts to gather around itself. If the mixture looks too dry, add 1-2 tablespoons of milk while roasting the mawa. Transfer to a large bowl and let it cool.
- To a grinder, add the cashews, almonds, pistachios, and raisins. Grind to form a coarse mixture.
- After the mawa has cooled down, crumble it with your fingers. Add the nut mixture, cardamom powder, dessicated coconut, and powdered sugar. Mix well. Taste the filling and add more sugar based on your preference.
Make the sugar syrup (optional)
- Add water and sugar to a pan. Add the saffron. Boil for about 5 minutes on medium-high heat to make a sticky sugar syrup (you don't need 1 string consistency for this recipe). Transfer to a bowl and let the syrup cool down.
Make the Gujiya
- Knead the dough with your hands a bit. Then divide the dough into equal parts to make balls. Keep the balls covered with a damp cloth.
- Take one ball at a time and roll it in a small circle about 4-5 inches in diameter. You can use it as is or use a cookie cutter or bowl to make a circle shape. (Not needed if you are using a gujiya mold. You can also make a big ball and roll a large circle. Then, using a cookie cutter to cut multiple circles. Use the excess dough to make more gujiya.)
- Take the rolled dough in your hands. Add about one tablespoon of the filling to the center (do not overfill). Apply water to the edges using your fingertip.
- Carefully bring the edges together to form a semicircle and gently press with your fingertips. Seal it very well, pinching with your fingertips.
- Make a pleated design at the edge by folding a little dough at a time at the edge. This helps to seal the gujiya and make sure the filling does not come out when frying.
- (option) Using a fork, make insertions at the edges. Turn and make the fork pattern again. This helps to seal the gujiya.
- (option) Place the rolled dough on top of a gujiya mold. Add the filling and apply water at the edges. Press the ends of the mold together to seal the gujiya. Remove any excess dough from the sides of the mold.
- Make all the gujiya's. Keep them covered under a damp cloth while you are making more, so that they don't dry out.
Cook Gujiya
- Deep Frying Method: While filling the gujiya, heat ghee/oil in a pan (kadhai) on medium-low heat. Check that the ghee/oil is medium hot. Put a very small ball of dough in the oil. It should come up gradually. Add 3-4 gujiya at a time, depending on the size of the pan. Let them cook for 2-3 minutes, then turn to fry the other side. Fry until they are golden on both sides. Fry on medium-low heat at all times, so that the gujiya cooks properly. Be patient while frying; it will take about 7-8 minutes for each batch to cook.
- Baking Method: Preheat oven to 400F. Place the gujiya on a baking tray. Brush melted ghee or oil on the gujiya on all sides. Bake for 20-30 minutes until they turn golden.
- Air Fryer Method: Place the gujiya in the air fryer basket. Brush melted ghee or oil on the gujiya on all sides. Bake at 380F for 8-10 minutes until they turn golden. Flip them halfway through.
Dip in syrup (optional)
- Dip the cooked gujiya in the sugar syrup. Flip after 2-3 minutes, so they are covered with the syrup on all sides. Soak for max 4-5 minutes.
- Serve immediately. You can store it in an airtight container once cooled.


I’ll definitely be making these again and again
Hi Shaheen – So happy to hear that. Thank you for sharing it 🙂