
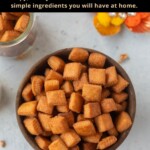
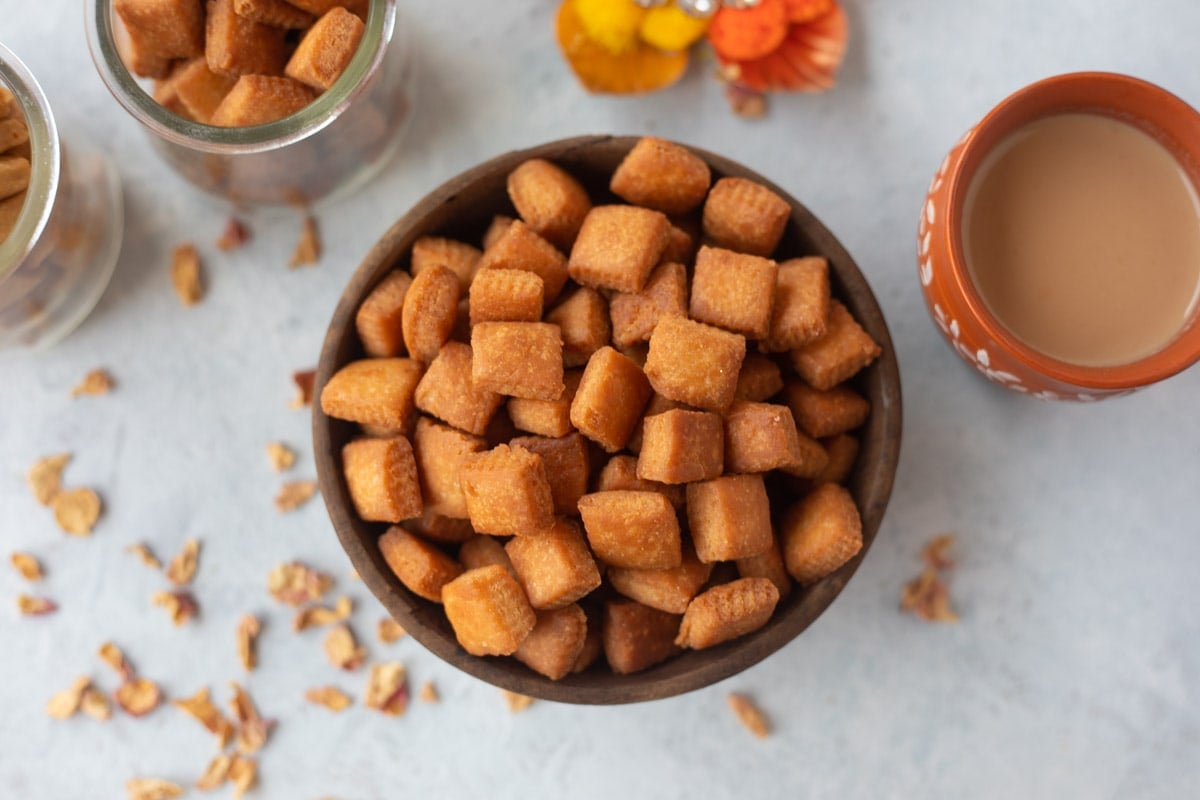
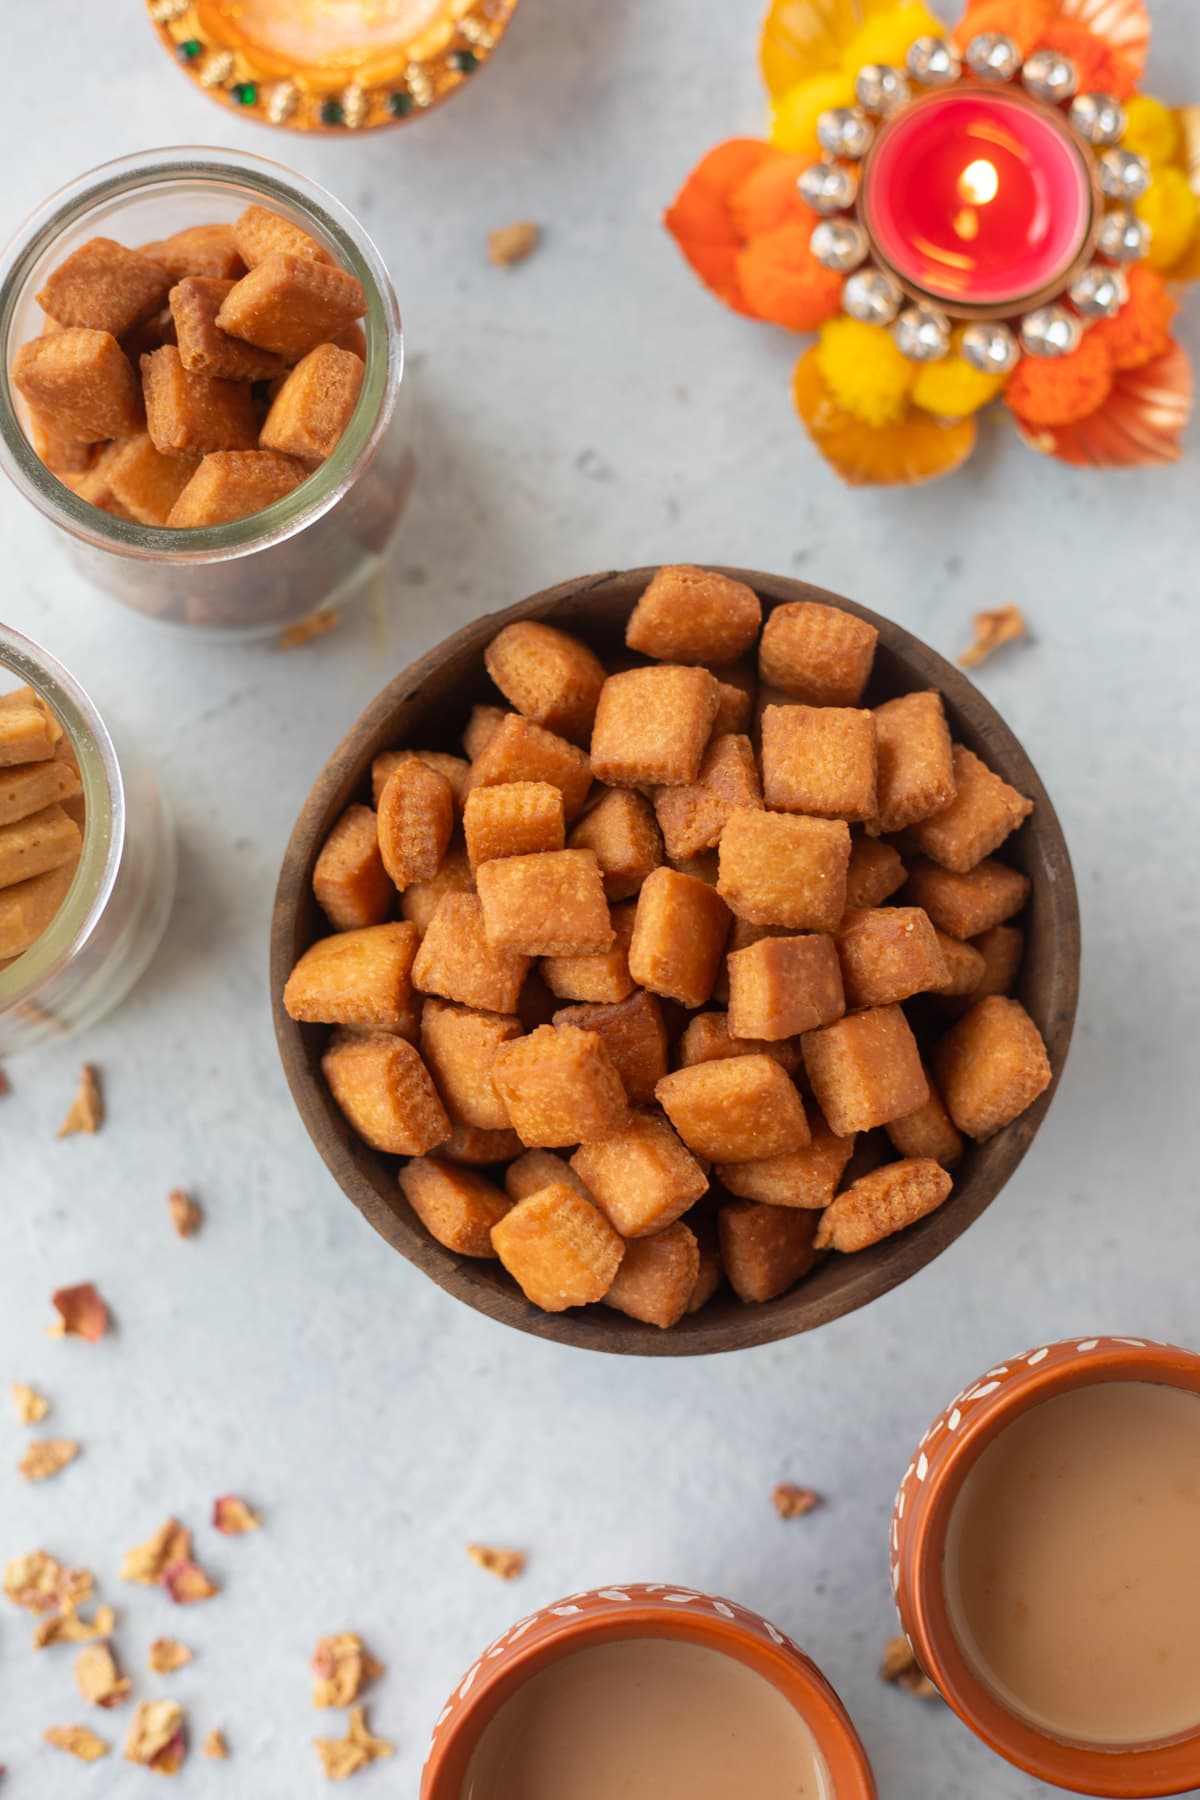
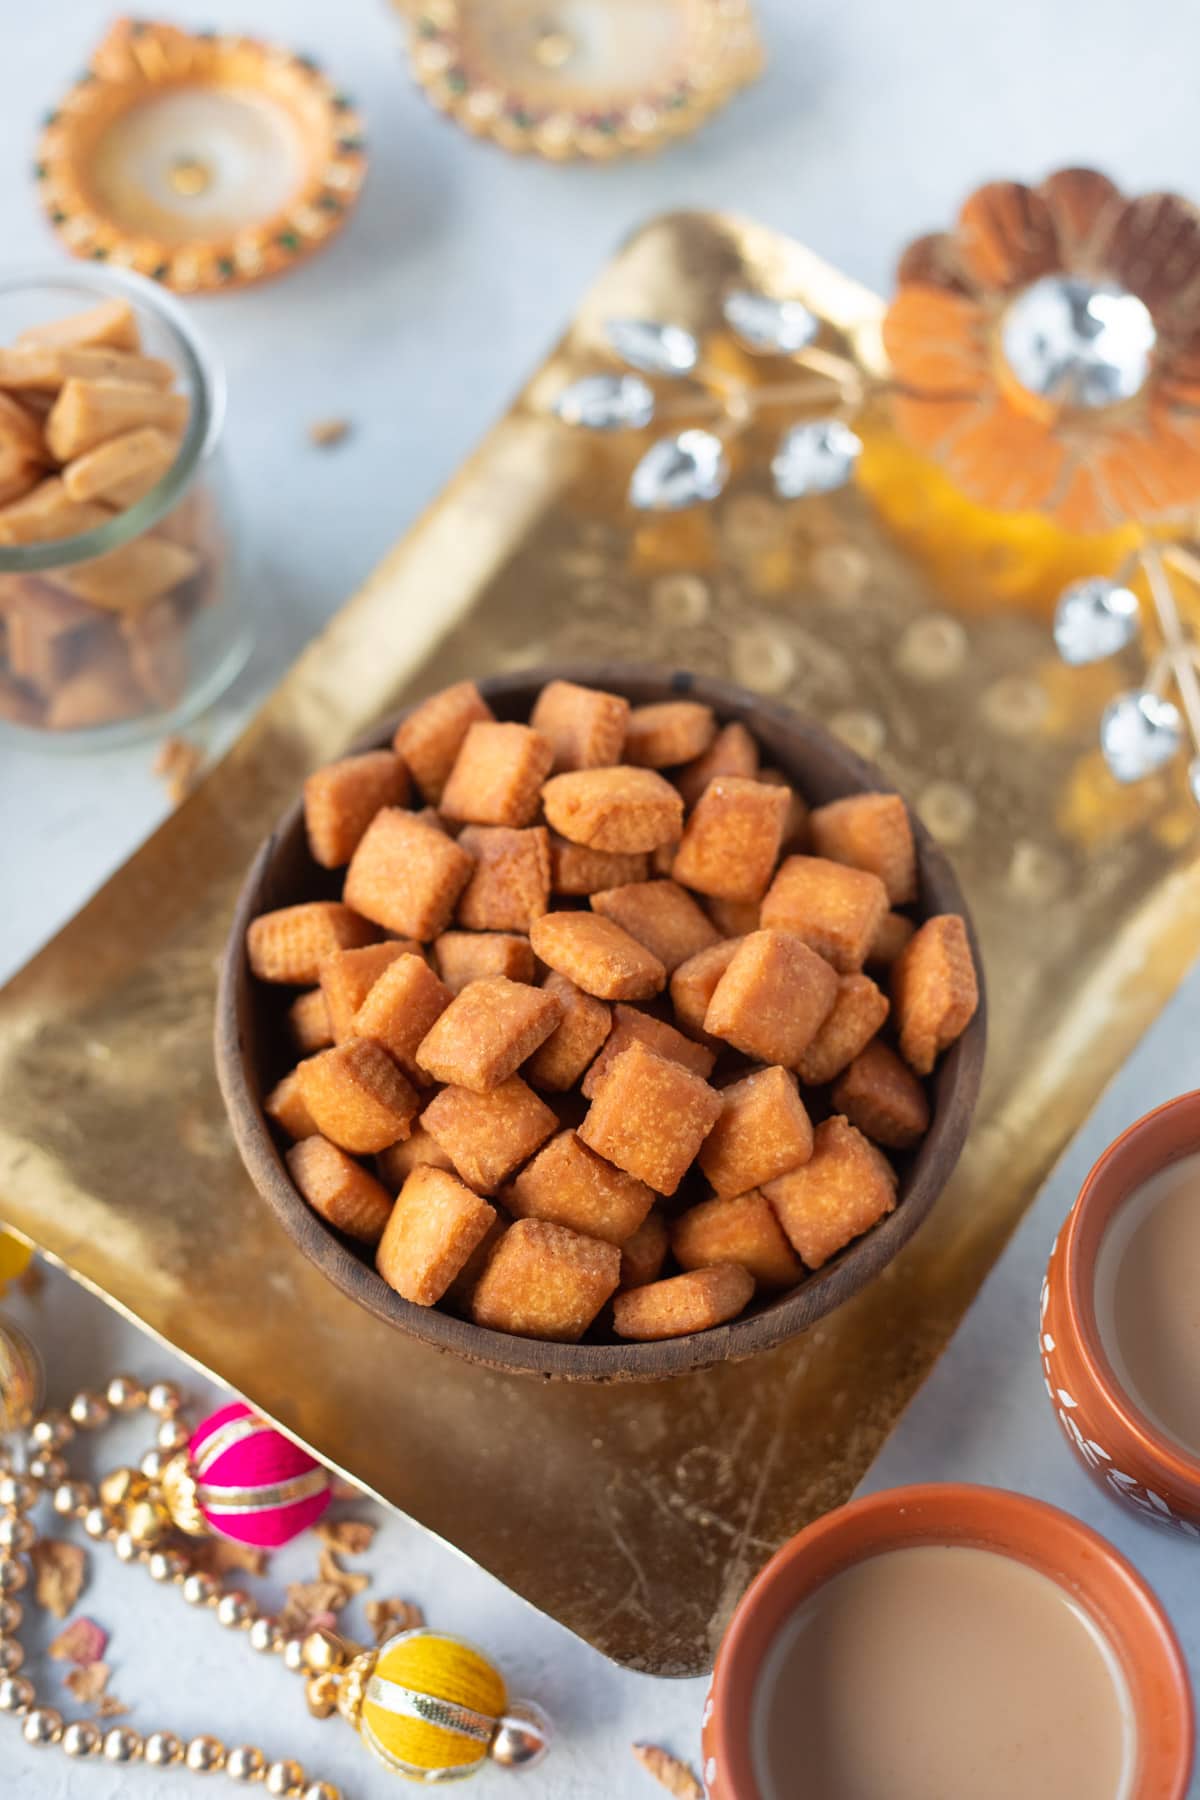
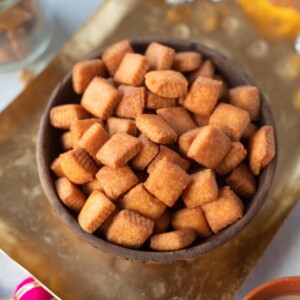
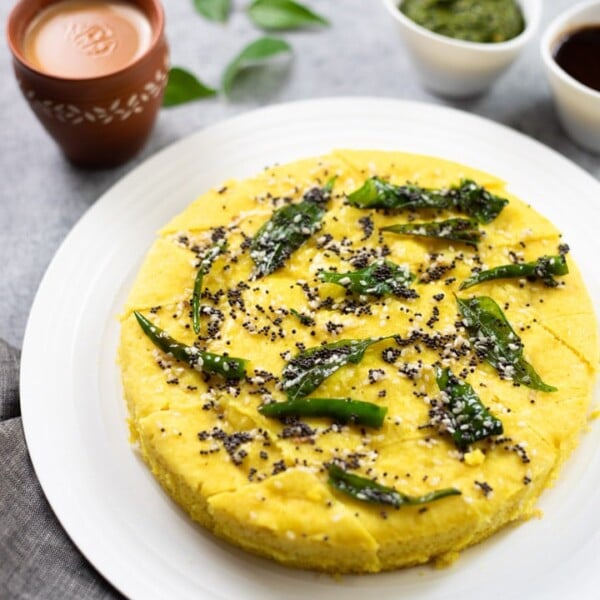
Shakarpara, also known as Shankarpali, is a crispy, mildly sweetened snack made with 4 simple ingredients you will have at home. These bite-sized fried Indian cookies come together quickly and are popularly made during festivals such as Diwali and Holi.
Growing up, I was a huge fan of them. And it’s the same now. They’re delicious and hard to stop eating when served with a cup of chai.
My mom used to make these Shakarpara, also called Shankarpali, all the time, along with namak para, the savory version. And guess what? I could get her recipe from a notebook that was written about 30 years ago.
This easy Shakarpara is famous not only during holidays like Diwali, Ganesh Chaturthi, and Holi but all year long. They are a perfect little snack.
I made them last year for Diwali, and they were a hit with my family and friends. Finally, after a year, I’m finally getting to share the recipe.
Trust me, the recipe is spot on! I’m sure you’ll be smitten by the subtle sweetness and extremely crunchy texture of this shakarpara. I love to add this shakarpara to my Indian snacks and sweets charcuterie board.
Table of Contents
Watch How to Make Shakarpara
What is Shakarpara?
Shankarpara is a delicious fried sweet biscuit made in Indian homes for holidays such as Holi and Diwali. They are the excellent Indian teatime snacks popular in Maharashtra, Gujarat, and Karnataka. In western India, specifically in Maharashtra, it is known as Shankarpali.
Typically, shakarpara are made using all-purpose flour, but they can also be made with whole wheat flour for a more wholesome variation. While they’re traditionally fried, some people also enjoy baking them.
Another variation involves dipping the fried Shakarpare in sugar or jaggery syrup (called Gur-para). They are sweeter and more popular in North India. There is also a savory variation to these cookies called namak-para.
My personal favorite is the recipe I am sharing here without the syrup. I’m going to share the original deep-fried recipe with you. However, they can also be baked. Let me warn you: You cannot stop eating them!
Why You’ll Love This Recipe?
- It’s an excellent teatime snack.
- Made with basic ingredients and is easy to make at home.
- It’s a fantastic snack for kids’ lunch boxes or after-school snacks, and it’s also great for on-the-go snacking while driving them about.
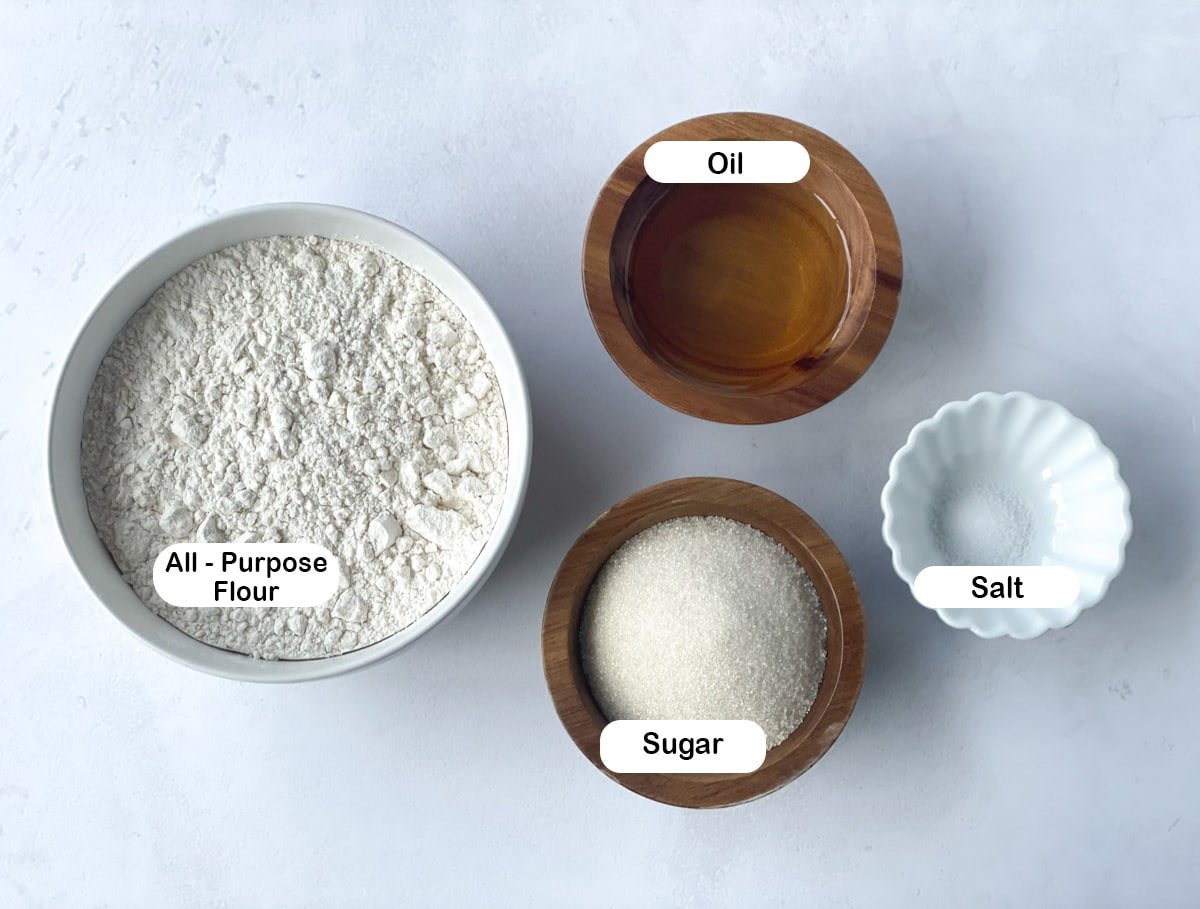
Ingredients
- All-purpose flour (Maida): For this authentic recipe, use all-purpose flour, also known as maida. To make it more wholesome, you can also use whole wheat flour in this recipe.
- Sugar: A key ingredient in this sweet Shankarpali recipe. You can also use the same amount of jaggery.
- Salt: Add a little to balance the flavors.
- Oil: We add oil when kneading the dough. This helps to make the shakarpara “khasta”, which roughly translates to a layered, crispy texture similar to that found in some cookies. We also use oil for frying. I used canola oil.
- Water: Before adding the sugar to the dough, make sure it is completely melted in water.
How to Make?
There are three main steps in this recipe:
1. Make the dough
- Mix the sugar in warm water for a few minutes, or until the sugar has dissolved.
- Add the maida (all-purpose flour), oil, and salt to a large bowl. Mix using one hand so that the oil is completely incorporated into the dough. Keep mixing for 1-2 minutes. Check that the dough retains its shape when handled. This step is crucial as it helps give the shakarpara its crispy, layered texture – “khasta”.
- Now, add the sugar water to the flour and mix until a stiff dough forms. Add a minimum of additional water to make the dough. I just needed two more tablespoons of water to make the dough.

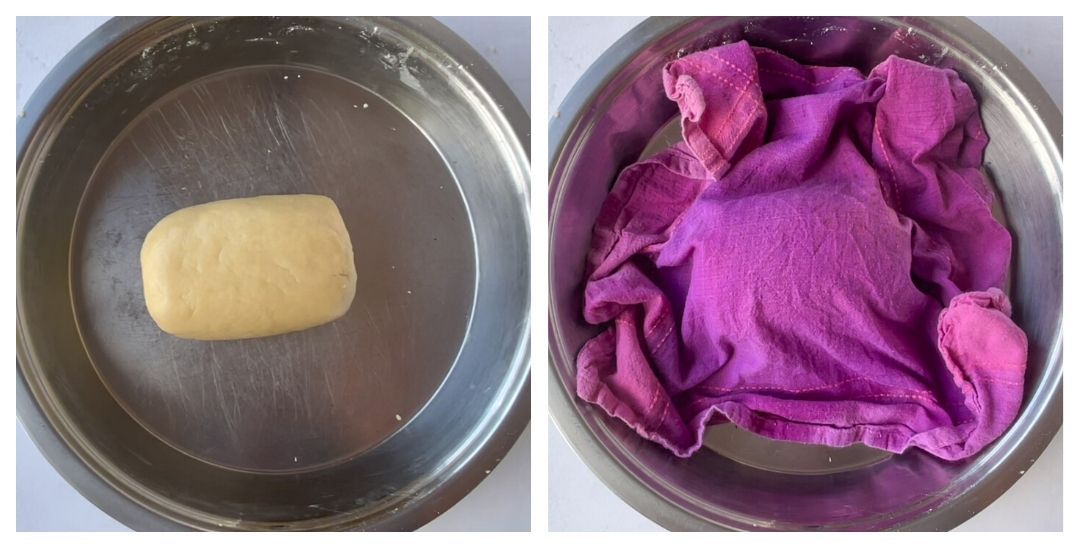
The dough should be stiff yet smooth (similar to puri dough).
Cover the dough with a damp cloth and let it rest for 15 minutes.
2. Roll/Cut the dough
- Now, divide the dough into three parts and form balls.
- Roll out the dough to a thickness of about 1/4 inch, similar to a paratha.
- Cut into diamond or square shapes. You can use a roller, such as the one shown in the picture below, to make it easier to cut the shakarpara. Alternatively, you can use a large knife or pizza cutter to cut them as well.
Linking here to a similar cutter I found on Amazon. This one helps with one cut at a time.
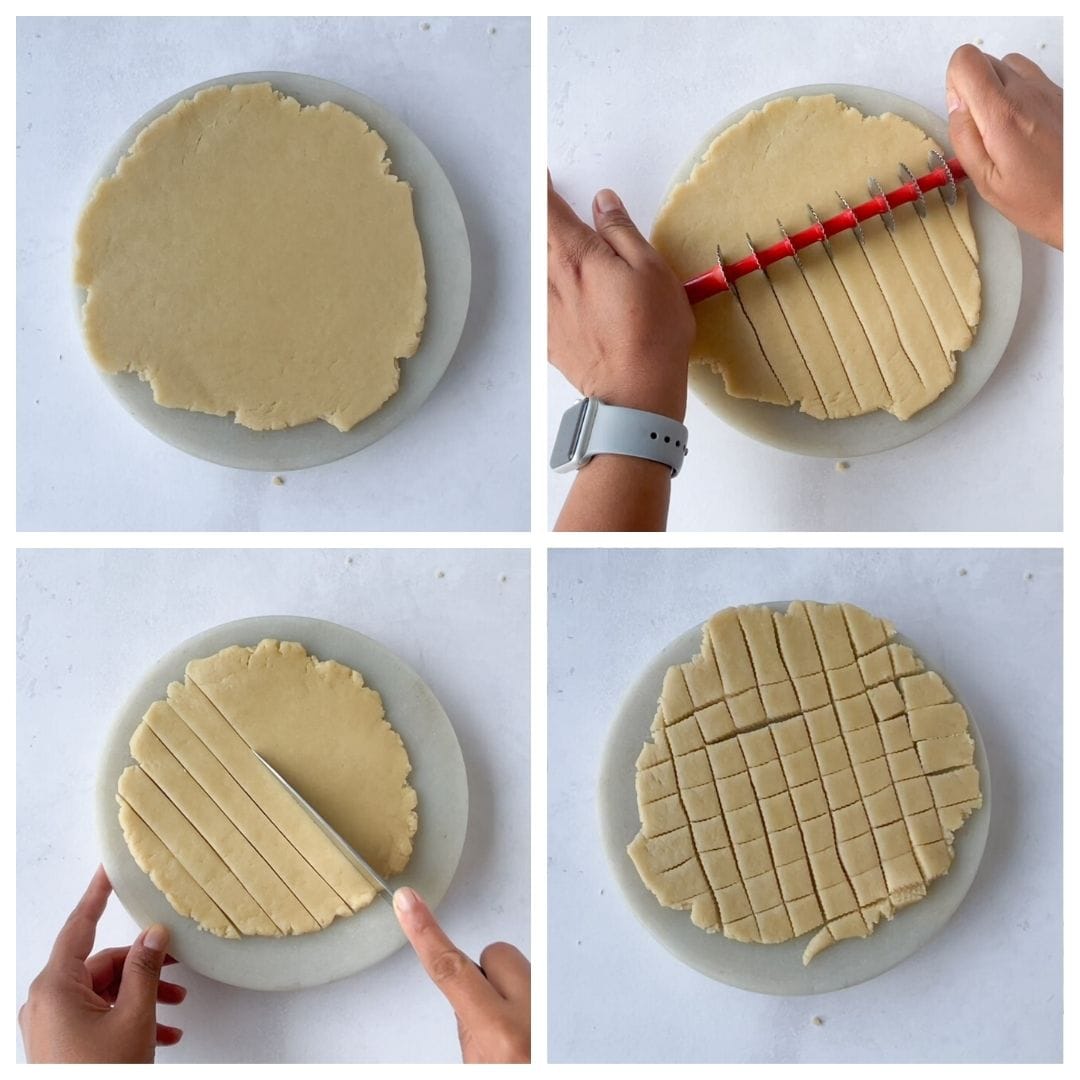
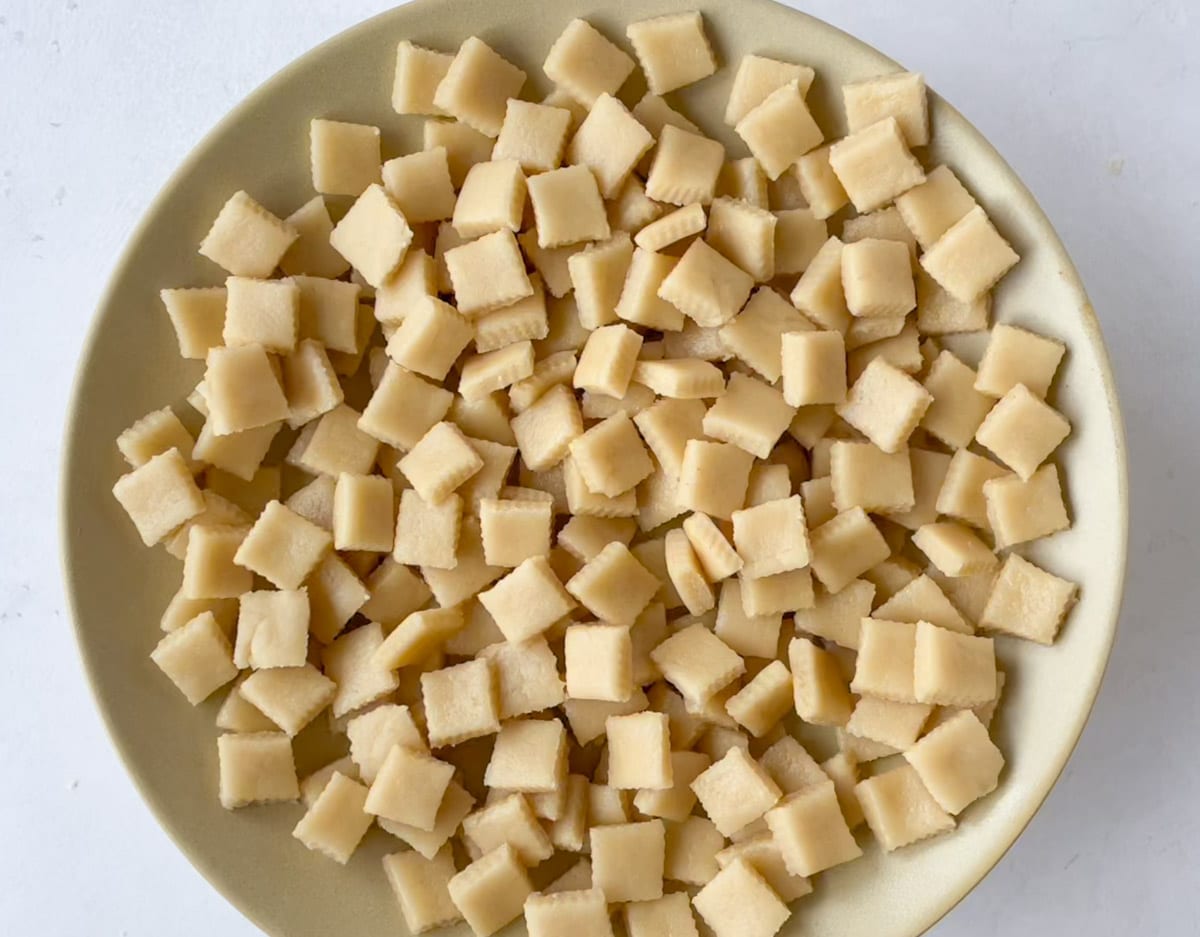
- Separate each square and keep it aside on a plate. It is okay to keep the squares on top of each other. They will easily separate when frying.
3. Fry the Shakarpara
- In a kadai/wok, heat the oil on a medium-high flame. Then, reduce the flame to medium.
- Dip the cut dough pieces in the hot oil. Fry while stirring frequently till the shake plate turns golden brown (about 4-6 minutes). You will need to make and fry them in multiple batches.
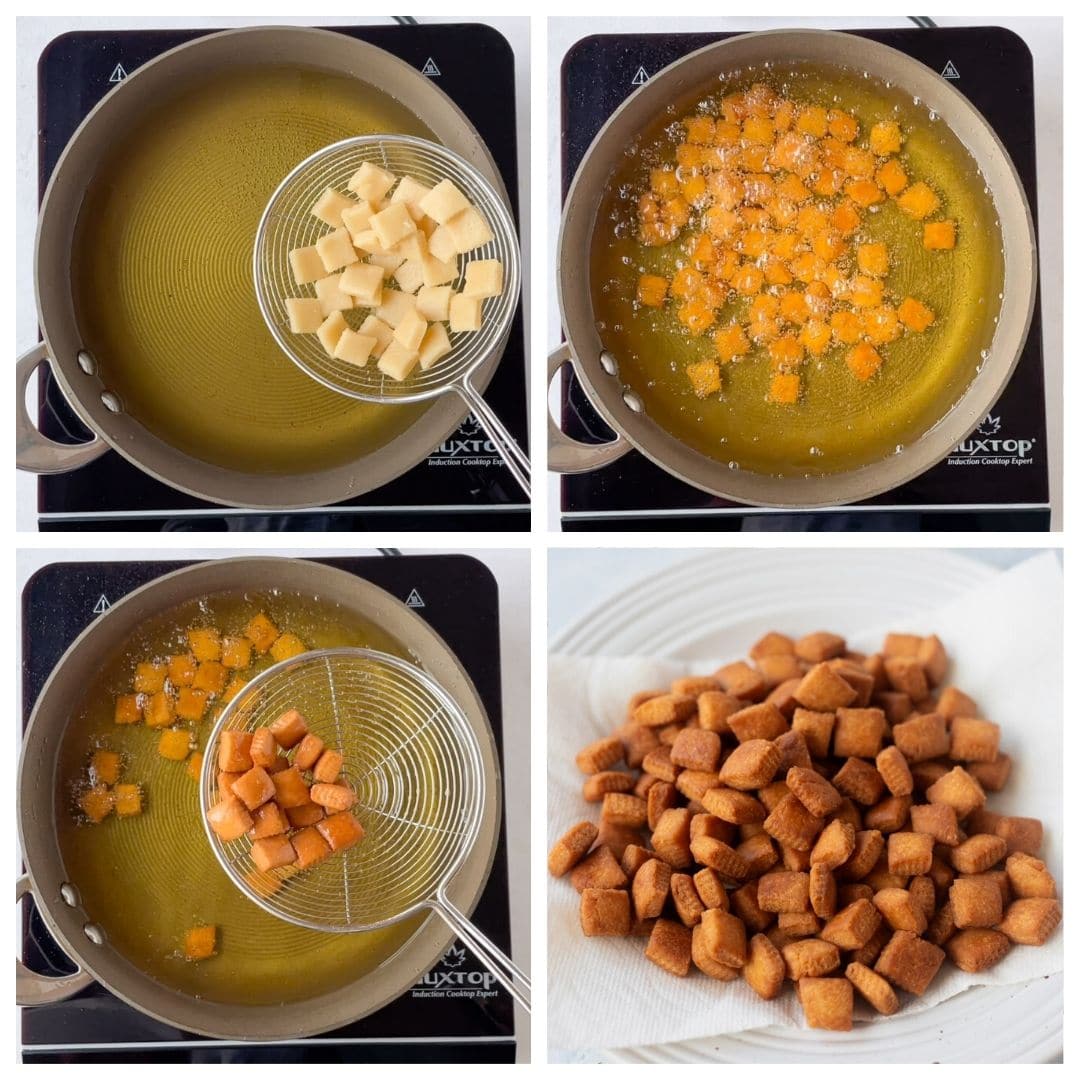
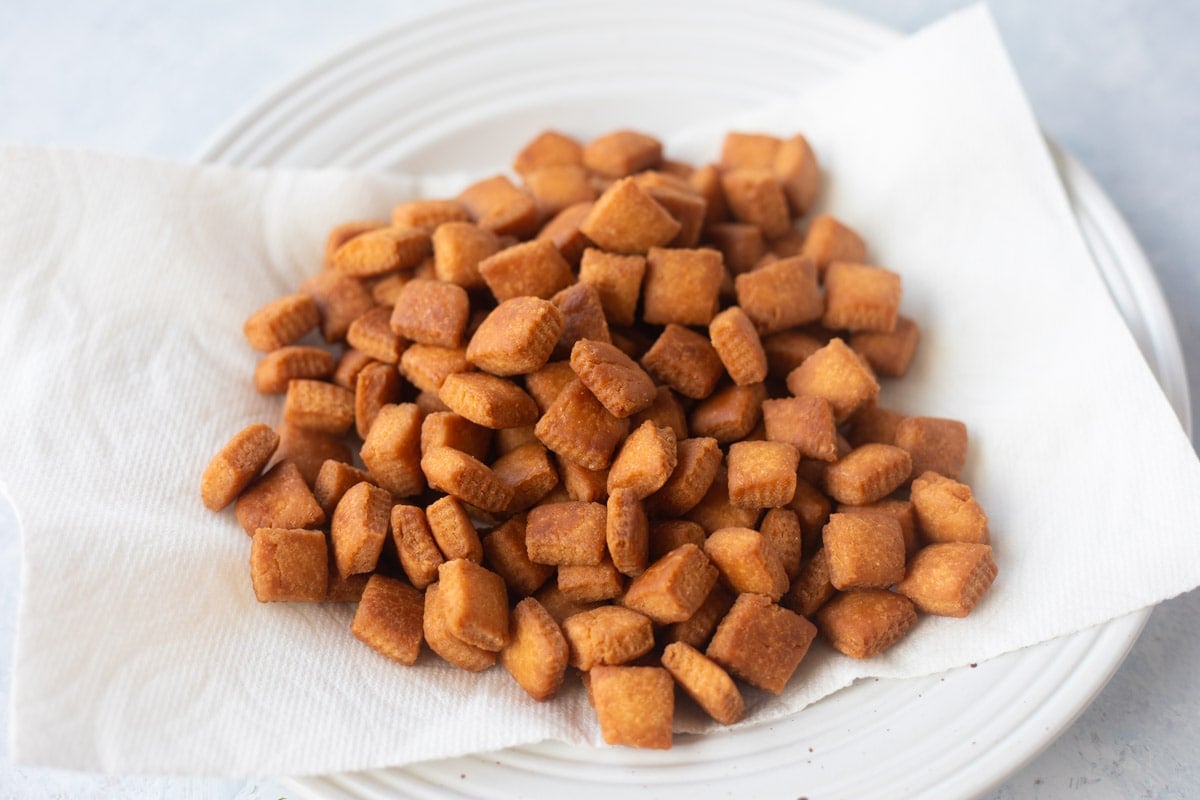
- Take them out and lay them on a kitchen towel. When completely cool, serve. Or let them cool thoroughly before storing them in an airtight container.
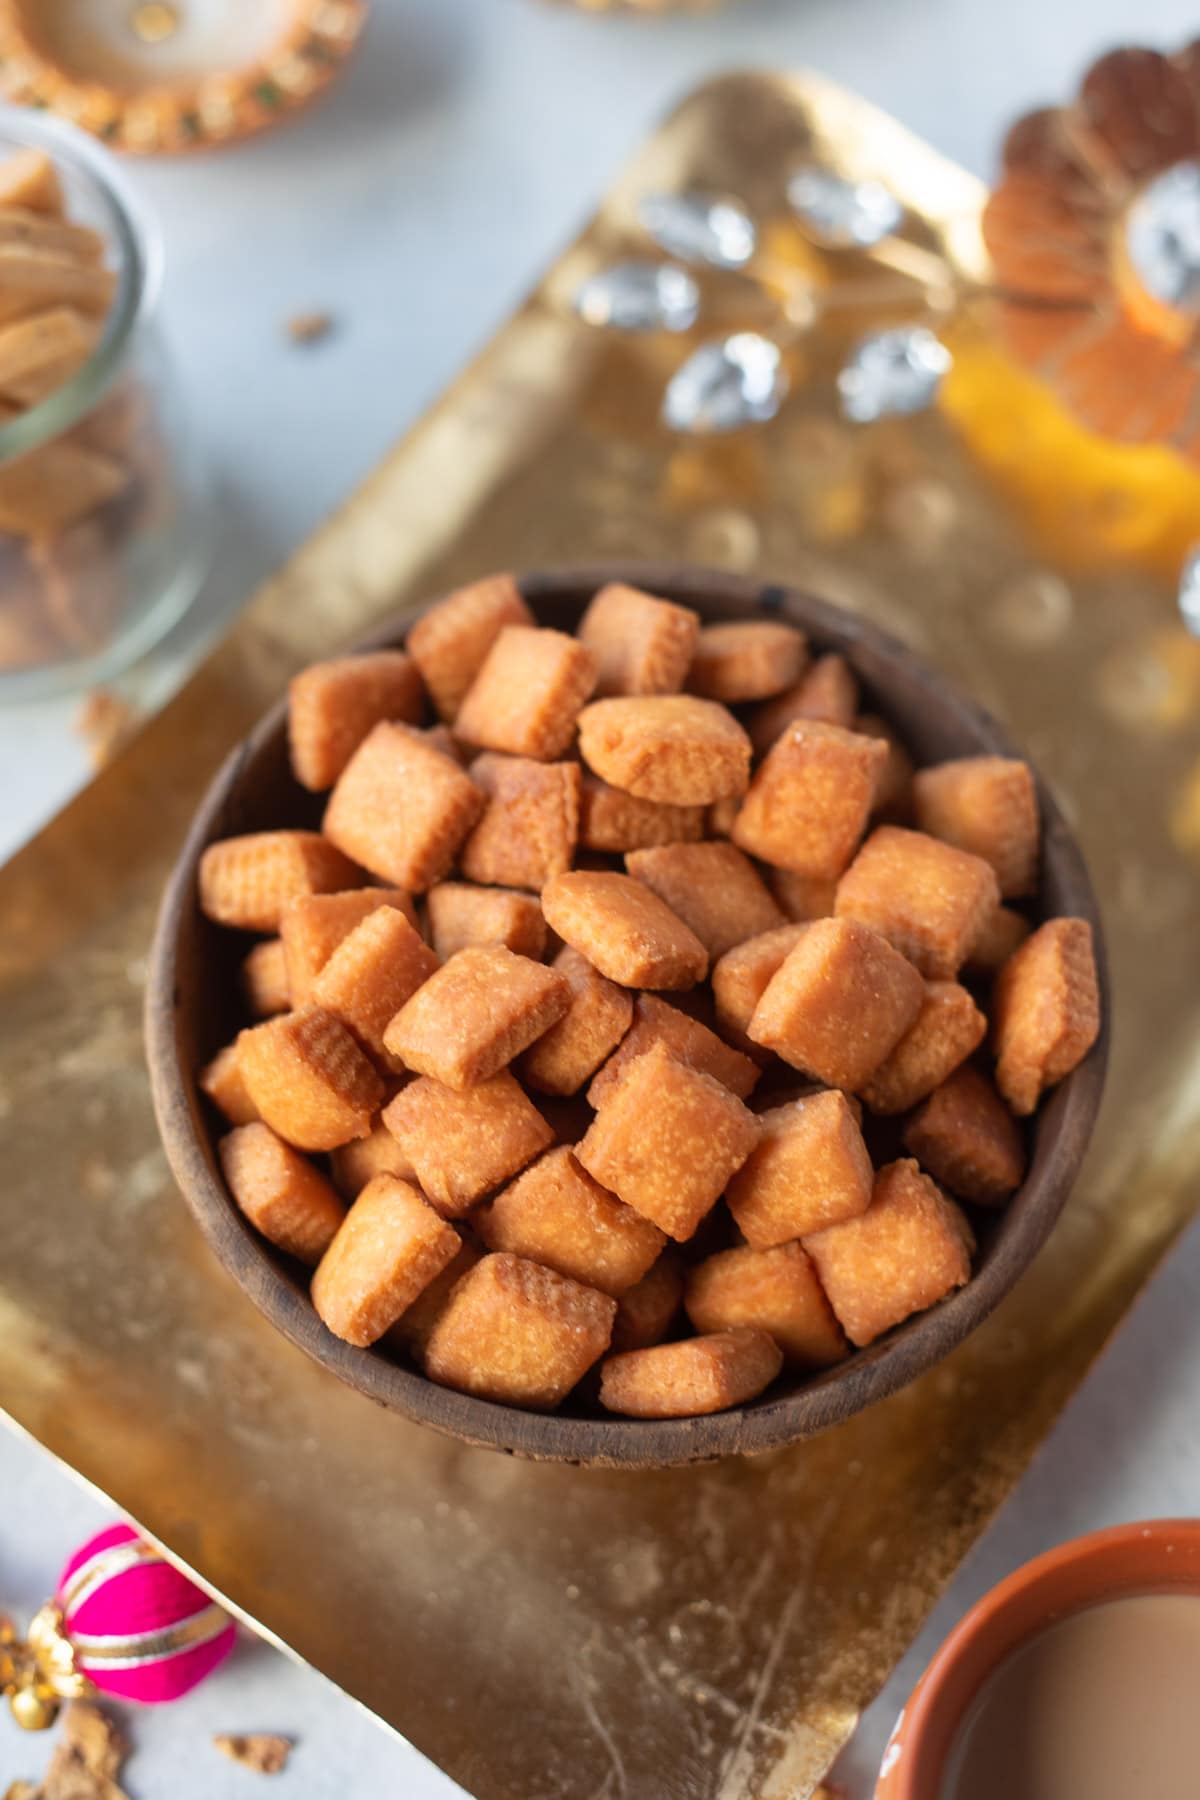
Shankarpali is ready to enjoy. They are perfect little treats to enjoy with a cup of chai.
Tips to Make Perfect Shakarpara
Cutting: You can get the roller that I used to cut numerous pieces together. If not, a knife or pizza cutter works well.
It is okay to roll and cut all the pieces before frying them. That way, you are not rushed and can cook them calmly.
Check that the oil is hot before frying: You can ensure that the oil is hot by adding a small piece of dough to it. It should rapidly rise to the surface of the oil.
Frying: Fry over medium-low heat. Otherwise, they may be undercooked from the inside. Stir regularly until the exterior is the perfect golden brown hue. Then, place it on a plate lined with paper towels.
Common Questions
You can bake or air fry shakarpara. Bake at 300°F for 12-15 minutes or air-fry for 8-10 minutes.
However, the baked ones are not as soft as the fried ones. They become a bit harder as they cool. 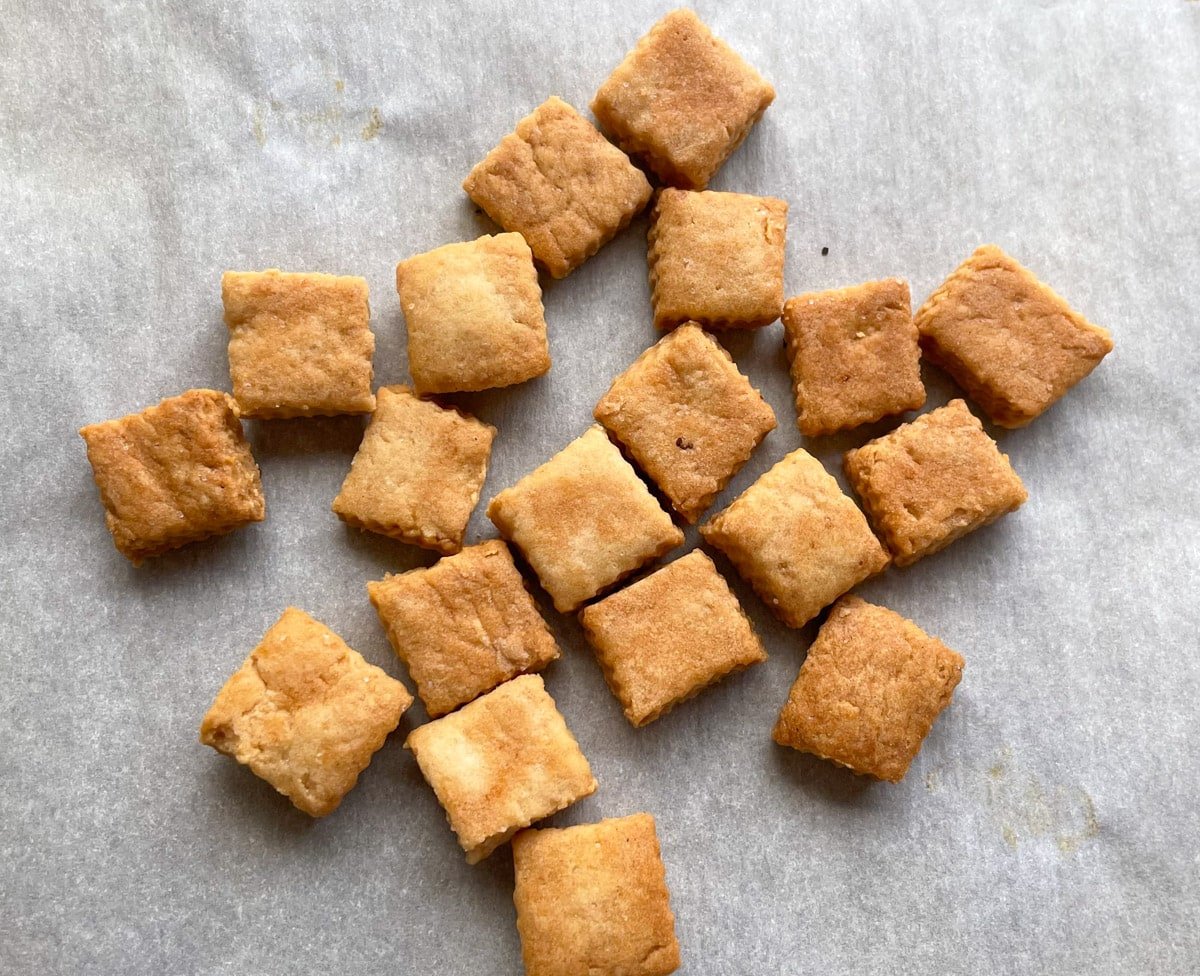
Yes, you can use whole wheat flour. You can also use equal amounts of all-purpose and whole wheat flour.
Let the fried shakarpara cool completely. Then, store in an airtight container for 2-3 weeks.
More Indian Sweets You’ll Love
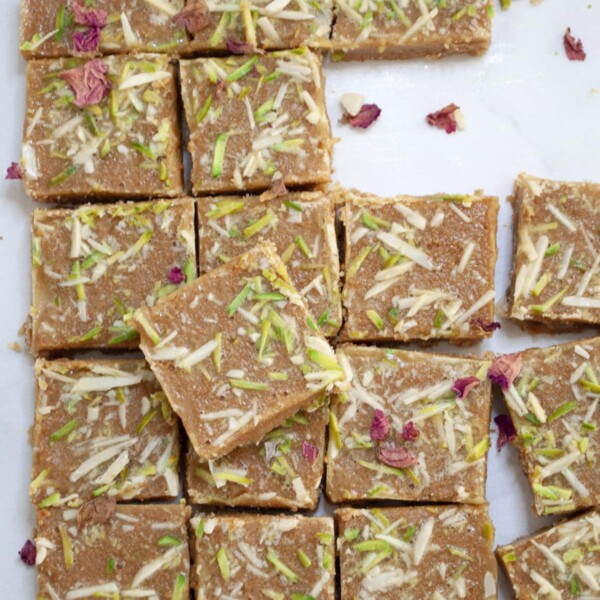
Gujarati Magas
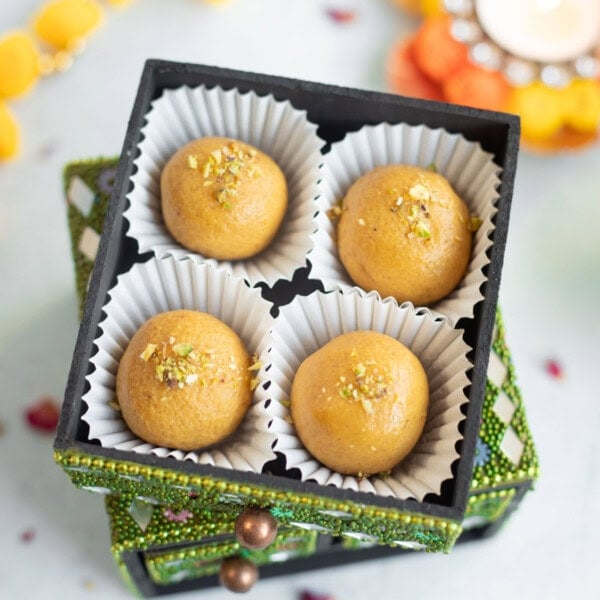
Besan Ladoo
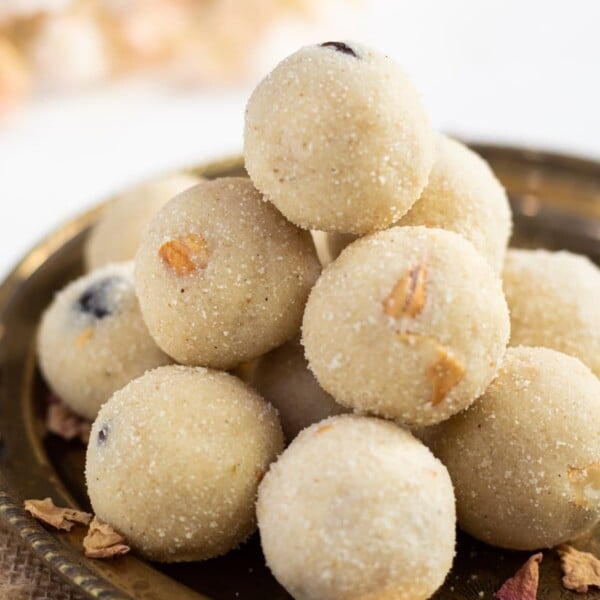
Rava Ladoo (Suji Ladoo)

Mango Coconut Almond Ladoo
Shakarpara Recipe (Shankarpali)
Video
Equipment
Ingredients
- 1/2 cup Sugar, 100 grams
- 1/4 cup Water , warm
- 2 cup All-purpose flour (maida), 300 grams
- 1/4 cup Oil , 50 grams
- 1/4 teaspoon Salt
- Oil , for frying
Instructions
Make the dough
- Mix sugar in warm water for a few minutes or until the sugar dissolves.
- Add the maida (all-purpose flour), oil, salt to a large bowl. Mix using one hand such that the oil gets completely mixed in the dough. Keep mixing for 1-2 minutes. Check that the dough holds its shape when taken in hand.
- Now add the sugar water to flour and mix to make a stiff dough (similar to puri). Add minimum additional water to make the dough. I just needed 2 tablespoons water more to make the dough.
- Cover the dough with a damp cloth and let it rest for 15 minutes.
Roll/Cut the dough
- Now divide the dough into 3 parts and make balls. Roll out the dough thick, like a paratha. Cut into diamond or square shapes. You can use a roller to make it easier to cut the shakarpara. Or you can use a large knife or pizza cutter to cut them too.
- Separate each square and keep aside in a plate. It is okay to keep the squares on top of each other. They will easily separate when frying.
Fry the shakarpara
- In a kadai/wok, heat the oil on medium-high flame. Then Reduce the flame to medium.
- Dip the cut dough pieces in the hot oil. Fry while stirring frequently till the shake pare turn golden brown (about 4-6 minutes). You will need to make and fry them in multiple batches.
- Take them out and lay them on a kitchen towel. When completely cool, serve or store them in an airtight container.


Hi Meeta
How much of each ingredients do I need to make this lovely sakapara please
Hi Jayshree – You can go to the end of the post to find the recipe card with all the details. Or click the button “jump to recipe” at the start of the post.
Hi Meeta,
I tried your shakarpara recipe and they turned out delicious. Really crunchy and the right level of sweetness. As a novice cook I appreciate the level of detail you provide in your recipes, and the videos help a lot too. Thank you.
Hello SG – So glad you enjoyed the shakarpara and the other recipes!
Hi Meeta, made shakarpara receipe today and they came out very yummy…..no making of syrup separate….so easy.all in one
Thanks ☺️
Hello Rajinder – So happy to hear the shakarpara turned out well. Thanks for sharing back your review!