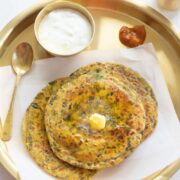
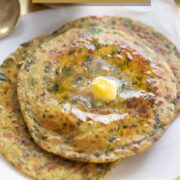
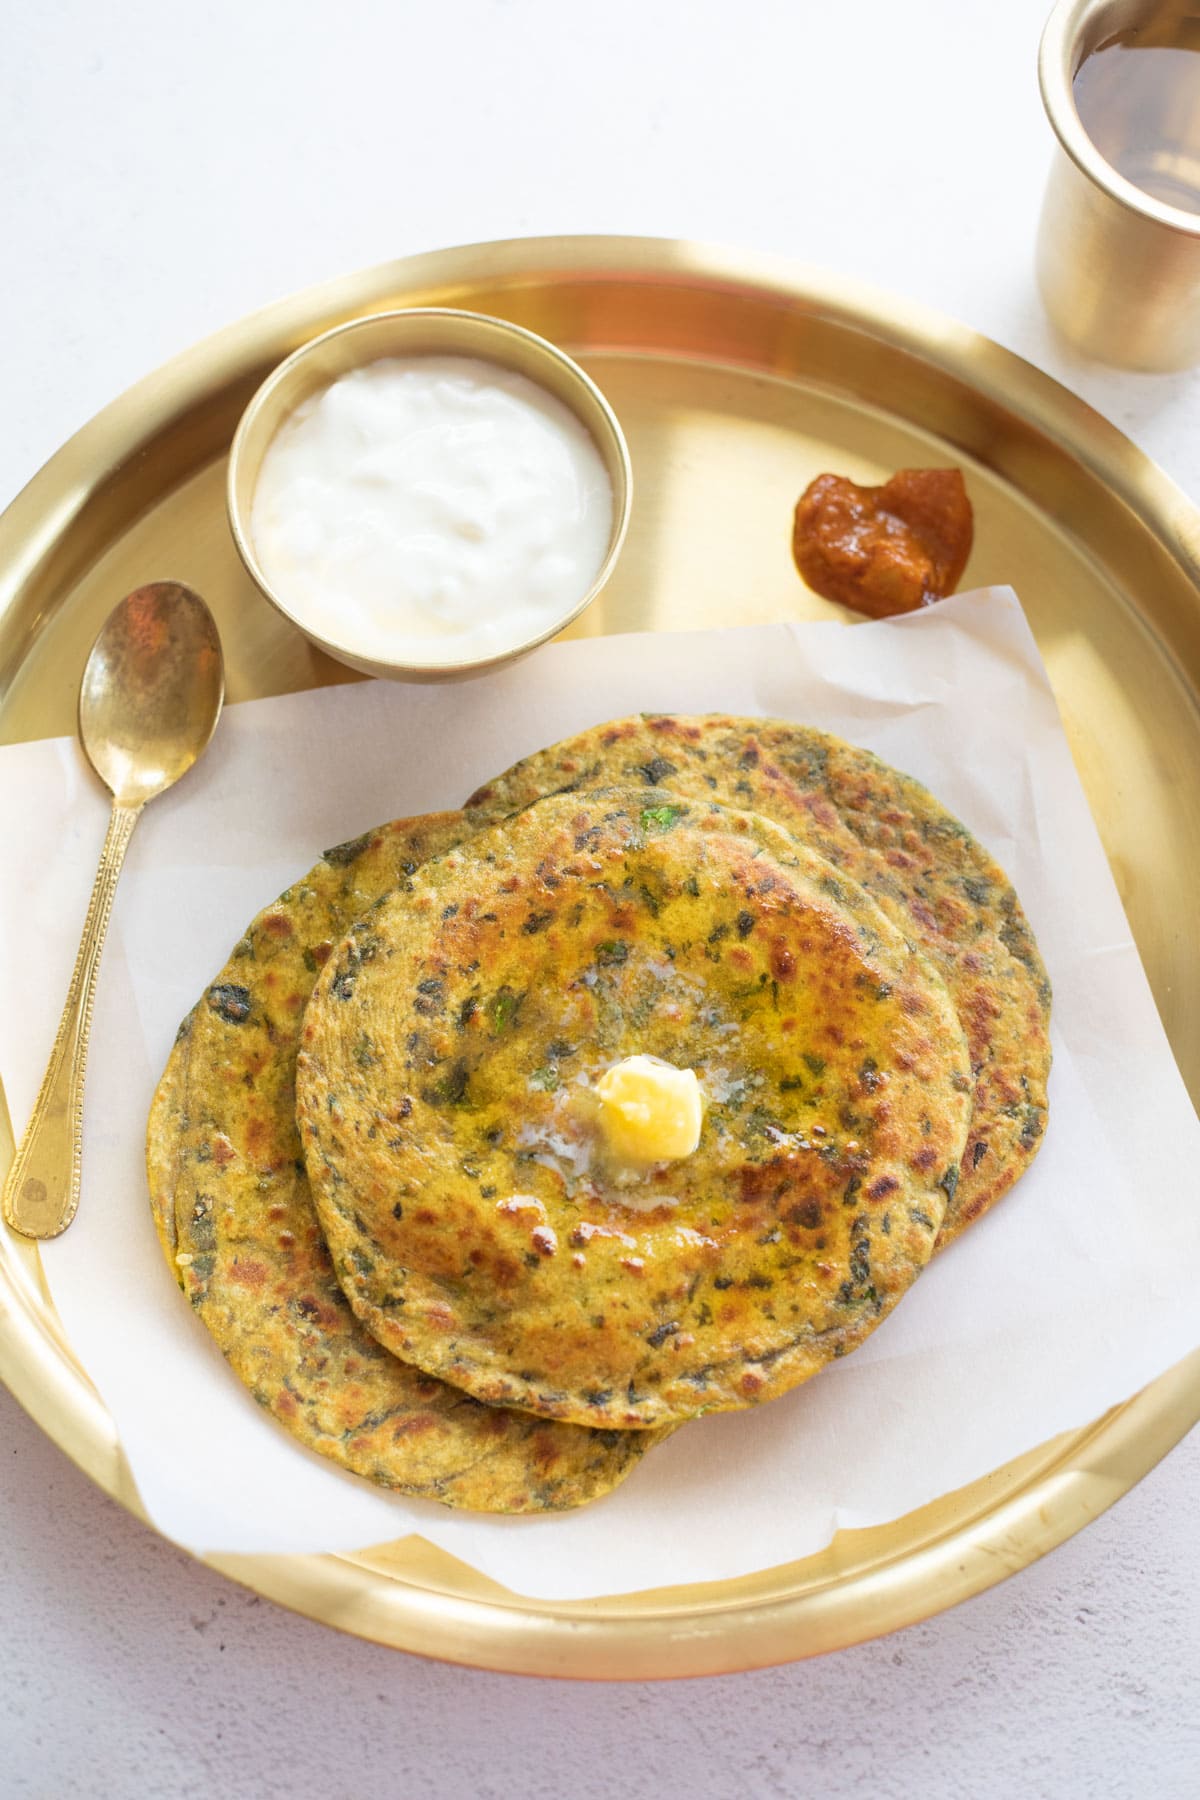
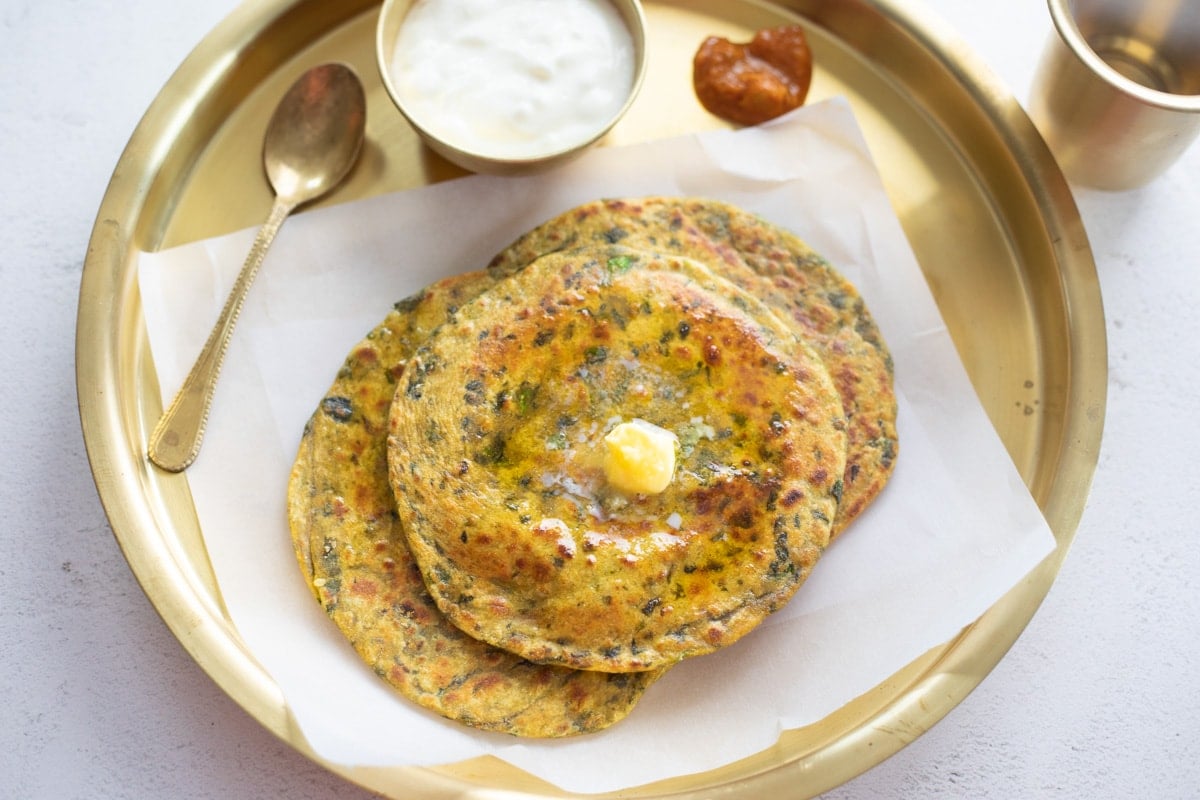
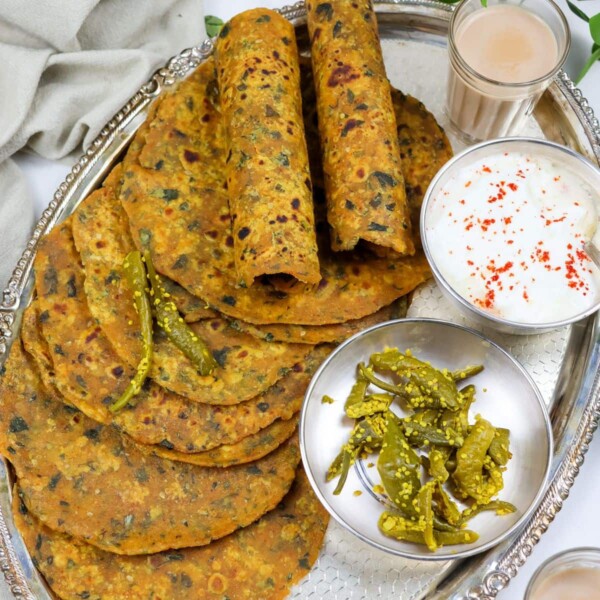
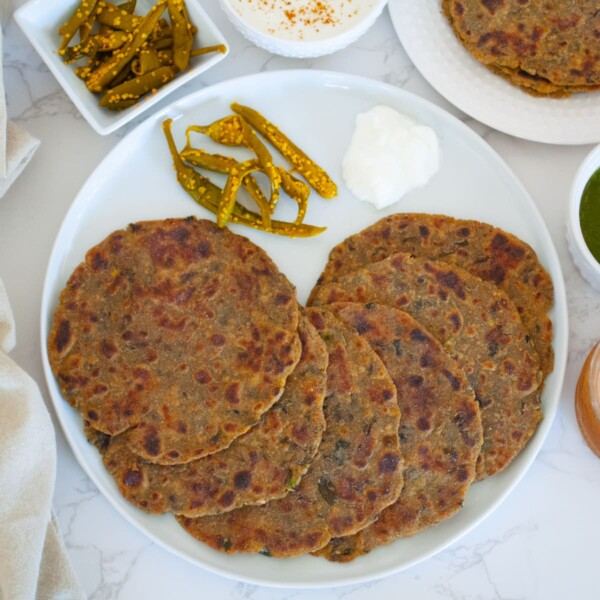
Methi Paratha is a flavorful and satisfying Indian flatbread made with whole wheat flour, besan, fresh fenugreek leaves, and warming spices. It’s earthy, aromatic, and incredibly comforting—perfect for breakfast or a light meal. Enjoy it with yogurt, pickle, or a cup of hot masala chai for a simple yet delicious start to the day.
In winter, certain foods are unique to the season, such as gajar halwa, makki ki roti, sarson ka saag, methi matar malai, aloo methi, and these methi parathas.
Whenever I find fresh methi leaves at the Indian grocery stores, I pick them up in a heartbeat. We love methi even though it is one of those veggies that takes longer to prep before cooking.
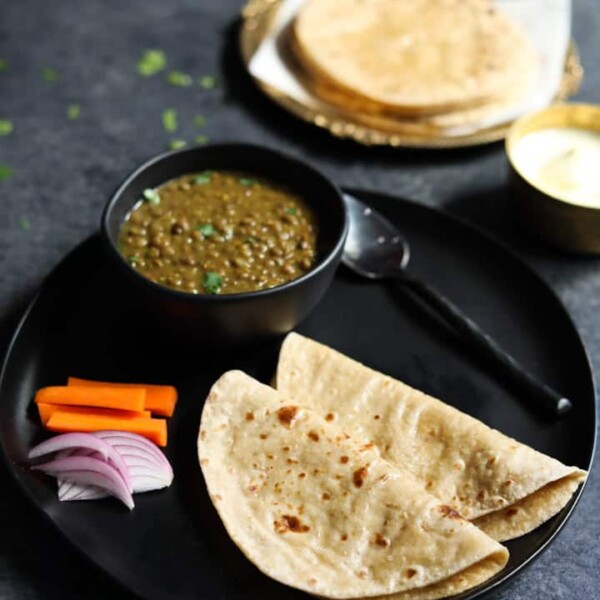
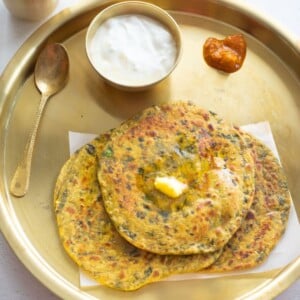
Being a Punjabi, paratha is a favorite in our home. Whether it is aloo paratha, paneer paratha, broccoli paratha, pumpkin paratha, or mooli paratha, they are always welcome for any meal 🙂
I like to make parathas with veggies for my picky daughters, who often don’t want to eat vegetables. They don’t mind it in parathas at all.
There are two popular ways of making methi paratha: add chopped methi leaves to the dough or grind the methi leaves to a paste and use that to make the dough.
My favorite is the first method of adding chopped methi leaves, which gives a more pronounced methi flavor to the parathas, which I love!
Table of Contents
Methi Paratha vs. Thepla
Thepla is typically made with a mixture of whole wheat, gram flour, and bajra/millet flour, while methi paratha is mainly made with whole wheat flour.
The dough for paratha is made with water and is soft and easy to work with, while the dough for thepla is made with yogurt and is stiff.
Parathas don’t last long unless refrigerated, while thepla can be kept for many days at room temperature, making them great for long trips.
Both paratha and thepla are cooked on a griddle or tawa. They are pan-fried in oil or ghee at a low temperature. Paratha has layers and is puffed while cooking, while thepla is made crispy by pressing it down with a spatula on both sides.
Ingredients
Methi / Fenugreek leaves: It is the star ingredient for this paratha recipe. You need fresh methi to make methi parathas because that gives them the best flavor.
Whole wheat flour (Aata): Regular whole wheat flour is used for Indian flatbreads such as roti and paratha.
Gram flour (Besan): Just a little is added. It helps to make the parathas crispy. If you don’t have gram flour, it is okay to skip.
Carom seeds (Ajwain): This helps with digestion and also adds wonderful aroma and flavor to the parathas.
Green chili pepper: Use finely chopped green chili to add a fantastic flavor and kick to the paratha. I like to use Thai green chilies, but you can use any. Skip green chili if making parathas for little kids.
Ginger: I always use freshly grated ginger when making broccoli paratha. It adds a ton of flavor to the dish. It is also fantastic for digestion.
Oil or Ghee: A little is added to the dough. It is also used to pan-fry the parathas.
Spices: You’ll need salt and red chili powder.
Variations
If you can’t find methi leaves, you can use spinach or amaranth leaves. Parathas won’t have the distinctive taste of methi, but they will still be delicious and good for you.
Kasuri methi, which is dried fenugreek, is a great substitute for fresh leaves. Use 1/3 the quantity as in the recipe, so the dried leaves are much more potent.
You can also add a little yogurt when kneading the dough. This helps to make a softer dough and increases the shelf life of the parathas, similar to thepla and dhebra.
How to Make Methi Paratha
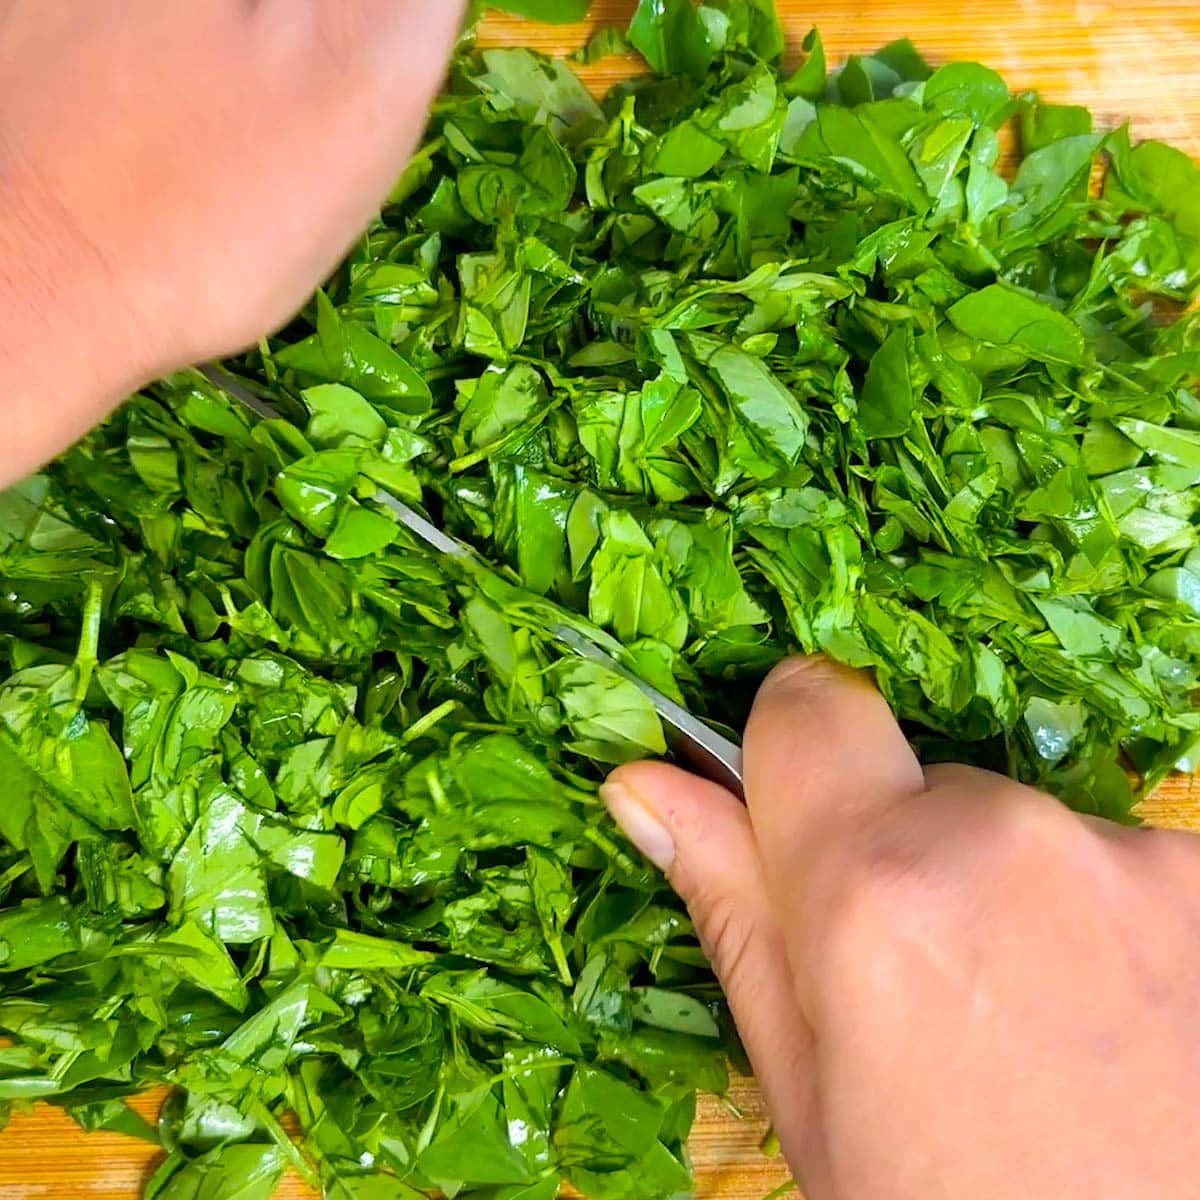
Prepping Methi Leaves
- Separate methi leaves from the stems.
- Wash the methi leaves in a large bowl filled with water 2-3 times. Add salt to the bowl and rest for 3-5 minutes. Then, remove the methi leaves from the top of the bowl.
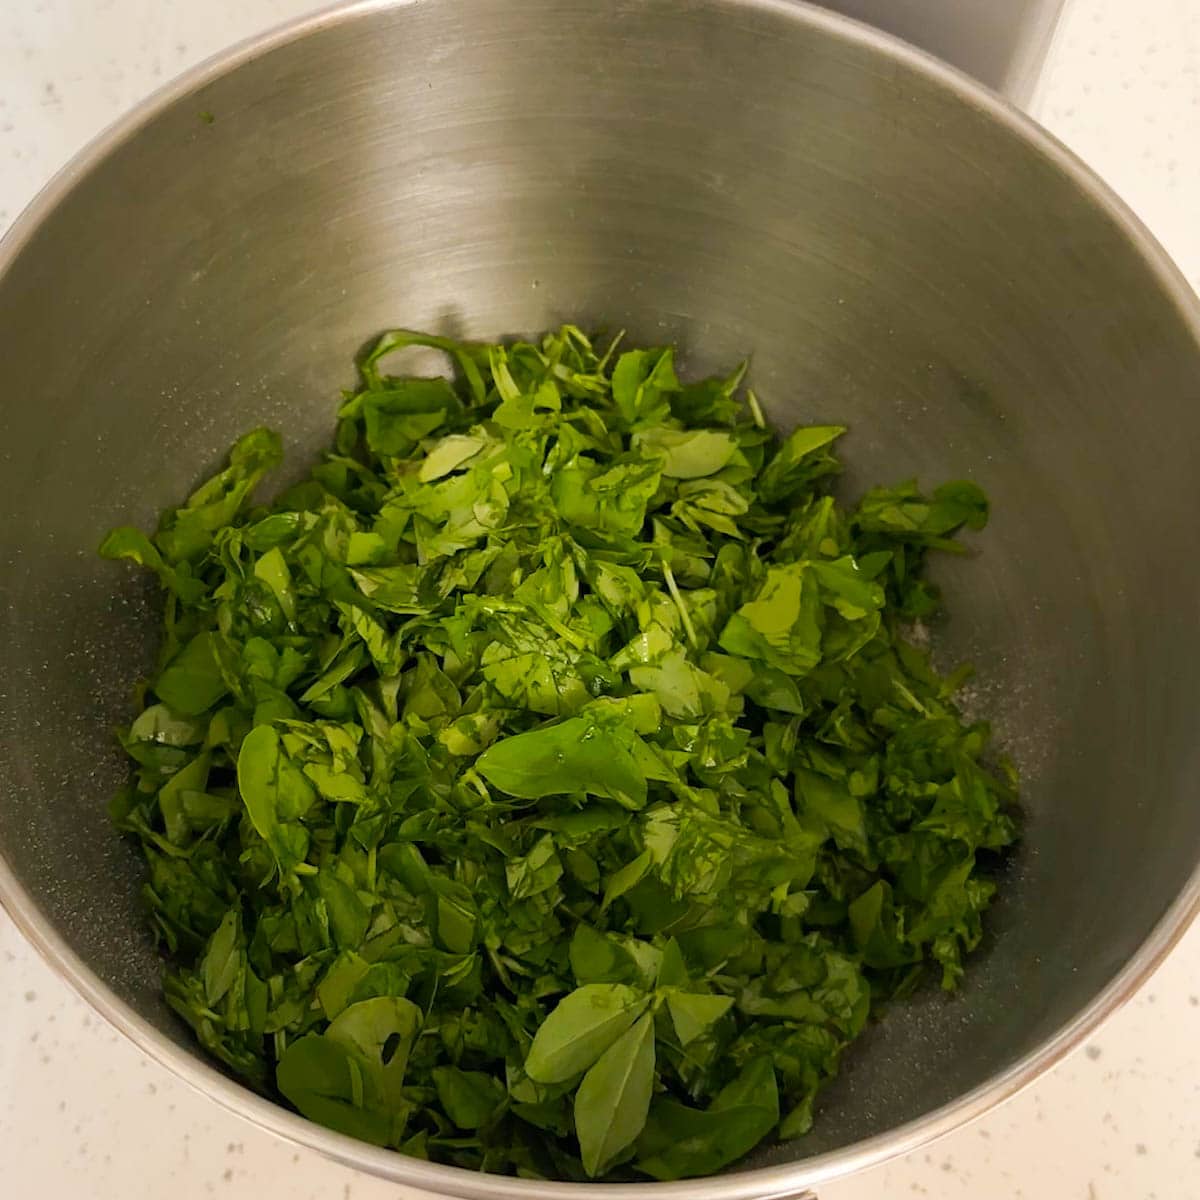
- Place the leaves on a kitchen towel and gently dry them. Now chop the leaves coarsely.
Kneading Dough
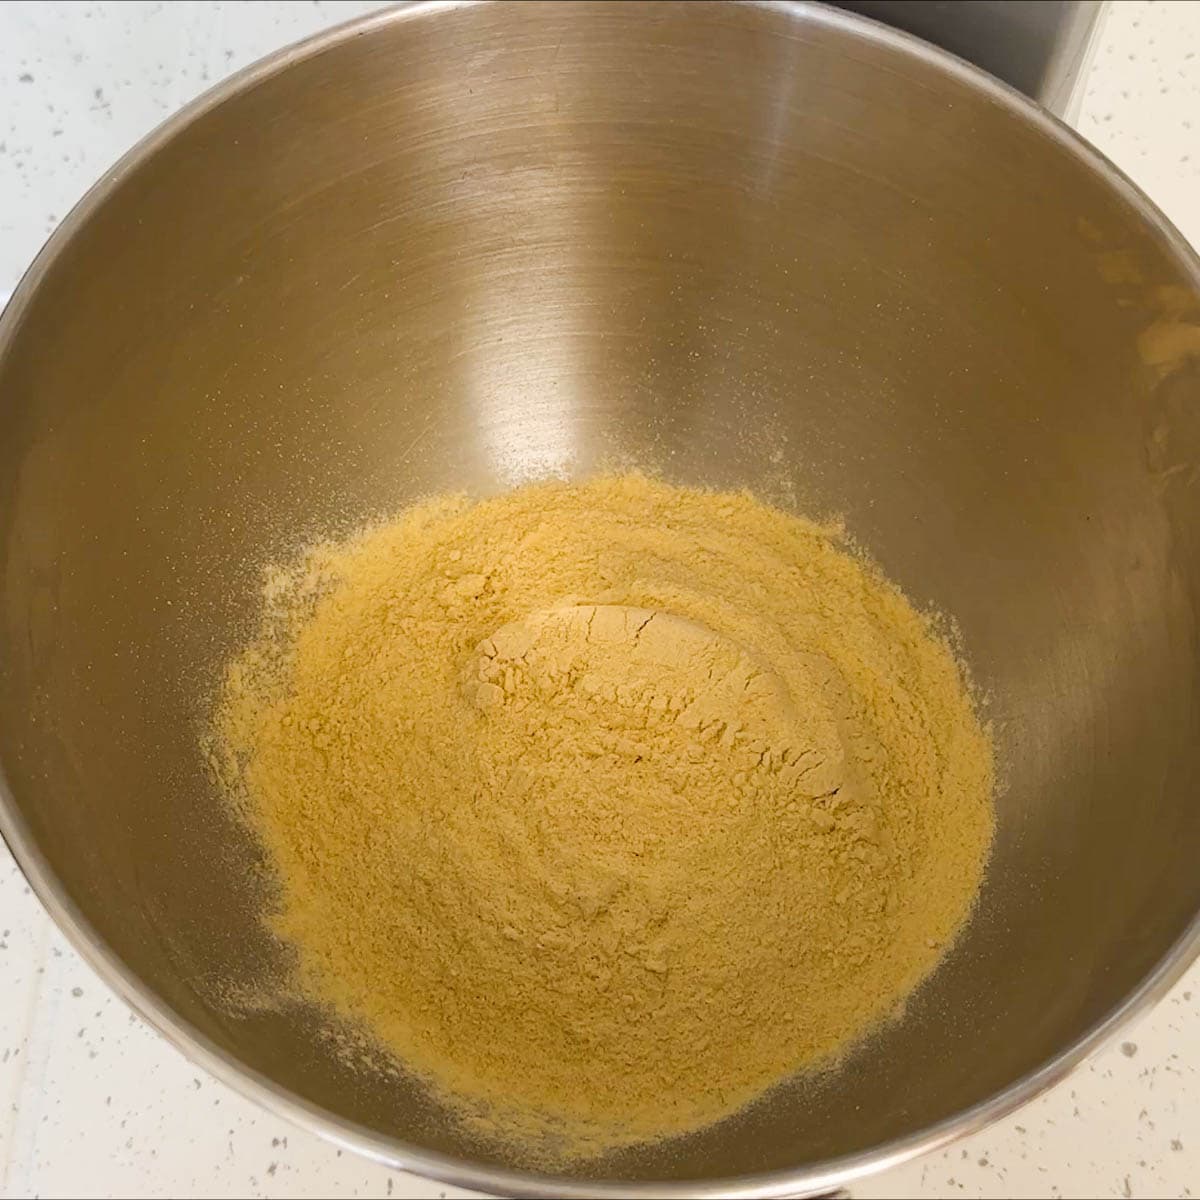
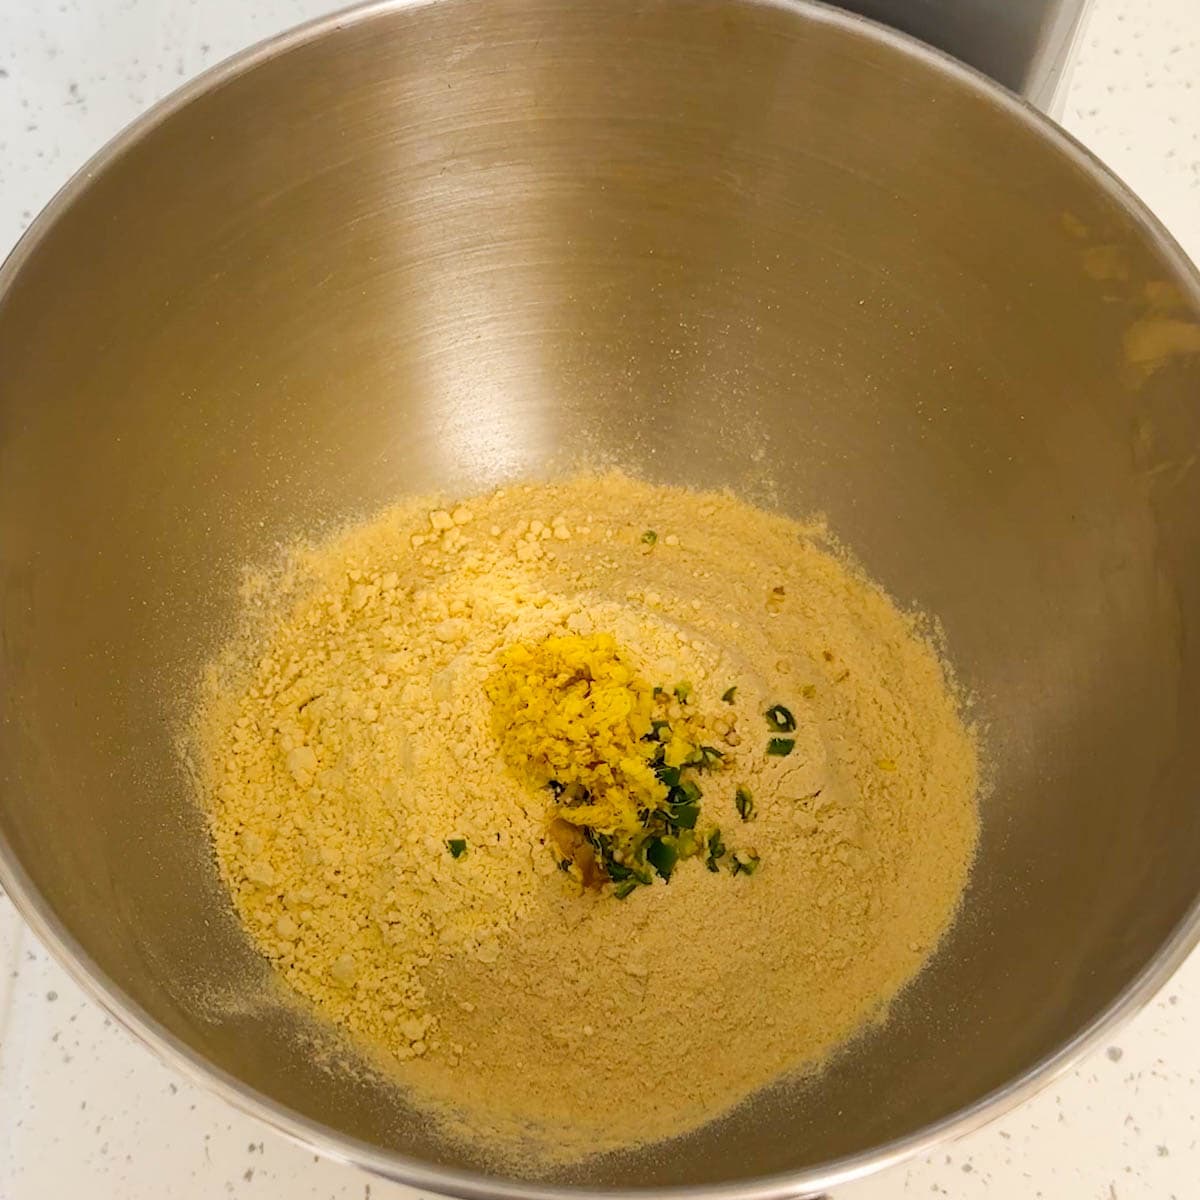
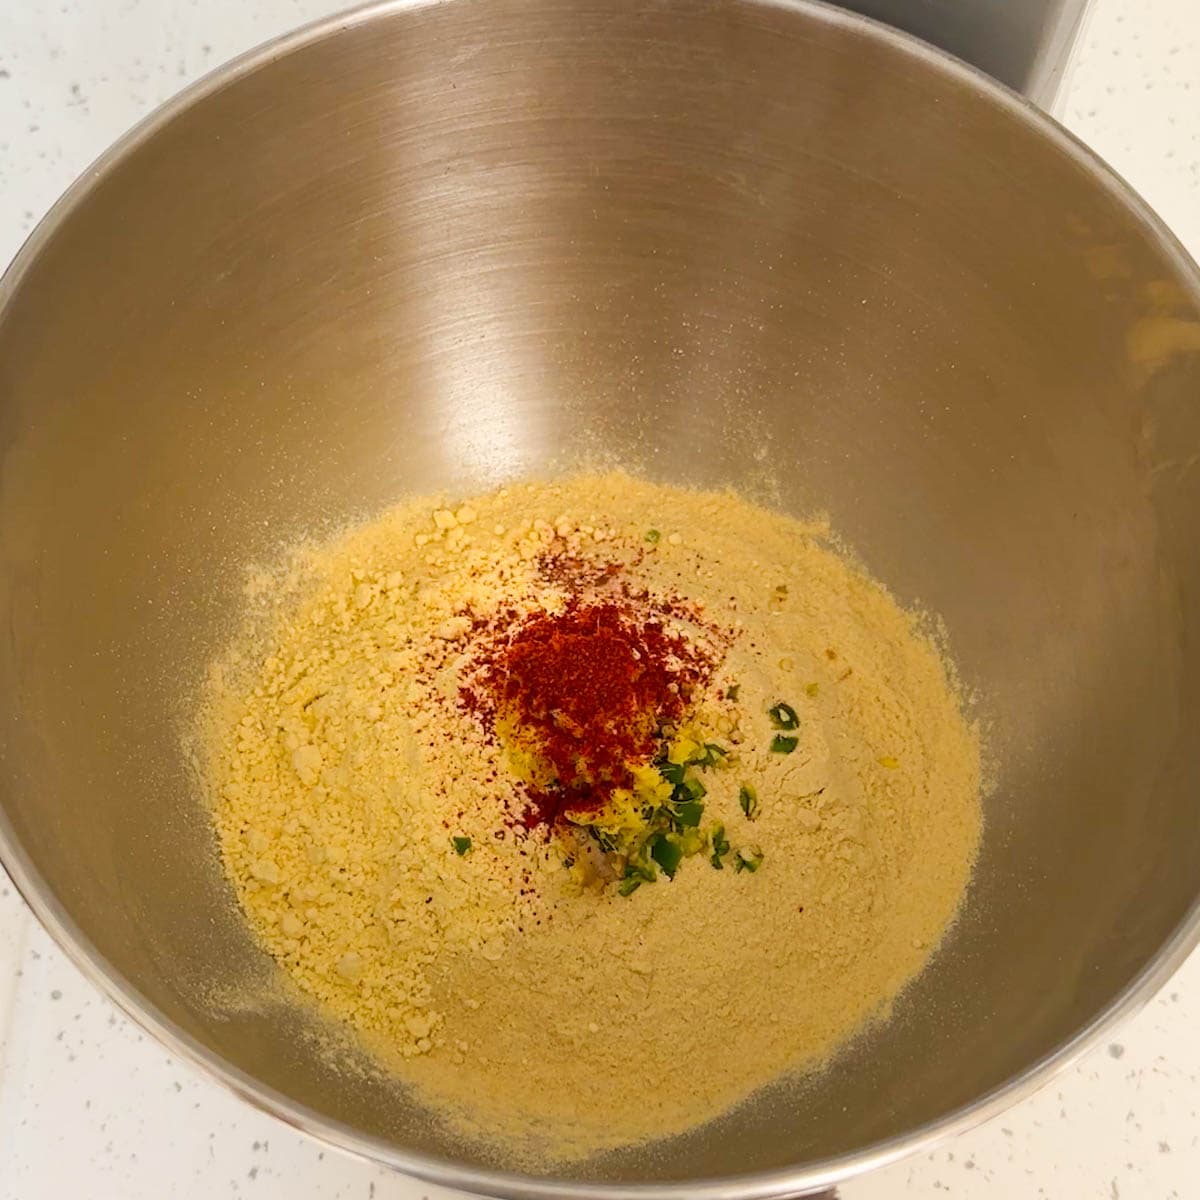
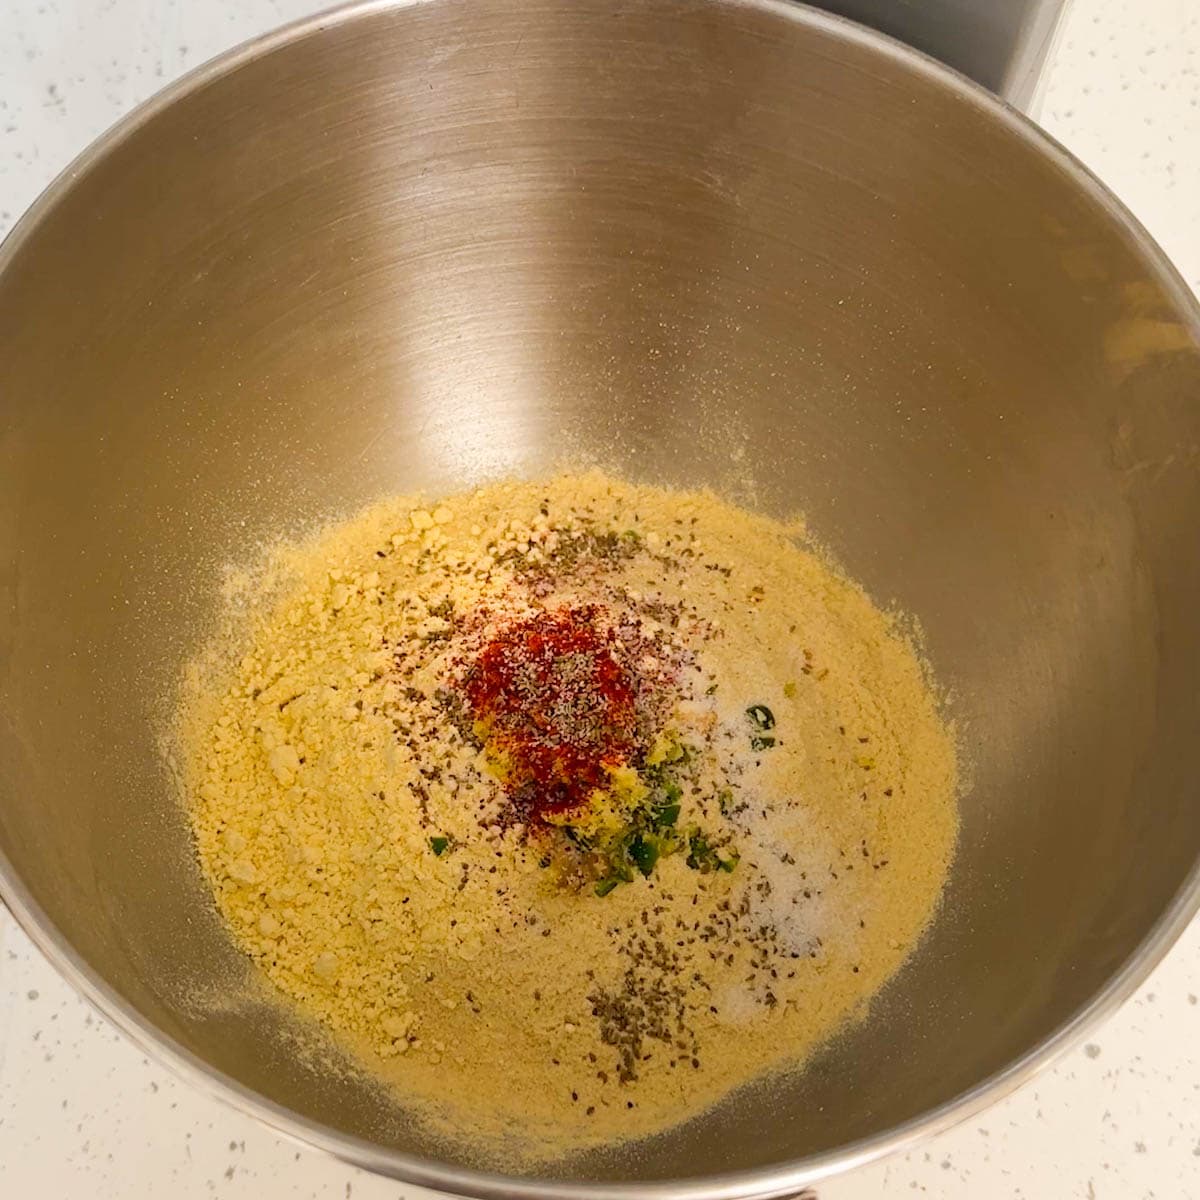
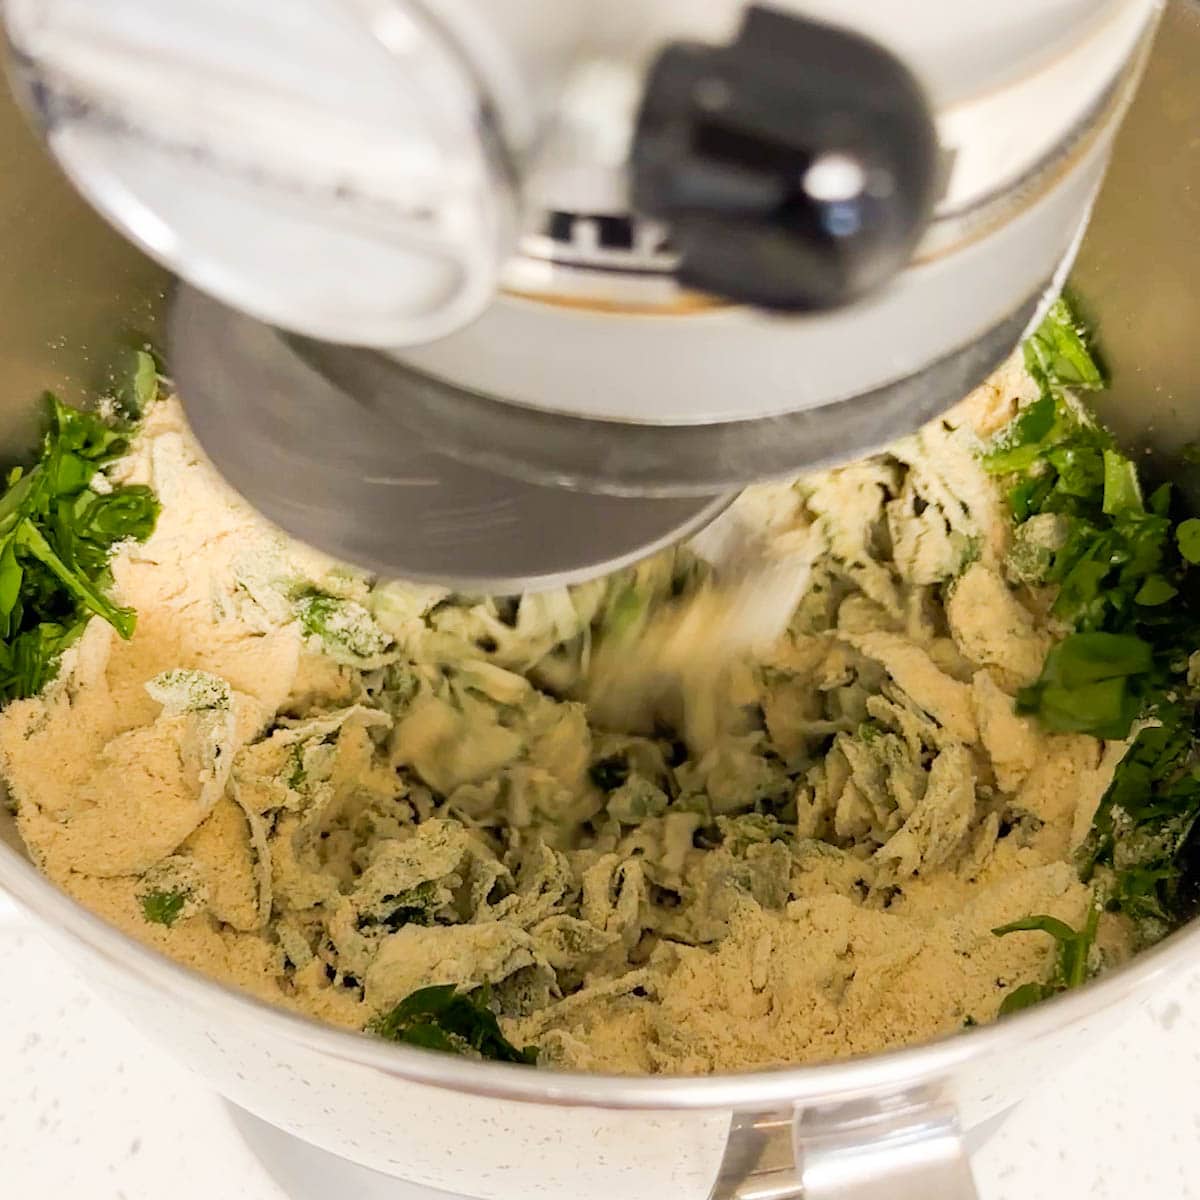
- Combine atta (whole wheat flour) and gram flour in a large bowl. Add green chili, ginger, red chili powder, ajwain, and salt.
- Add the chopped fresh fenugreek leaves.
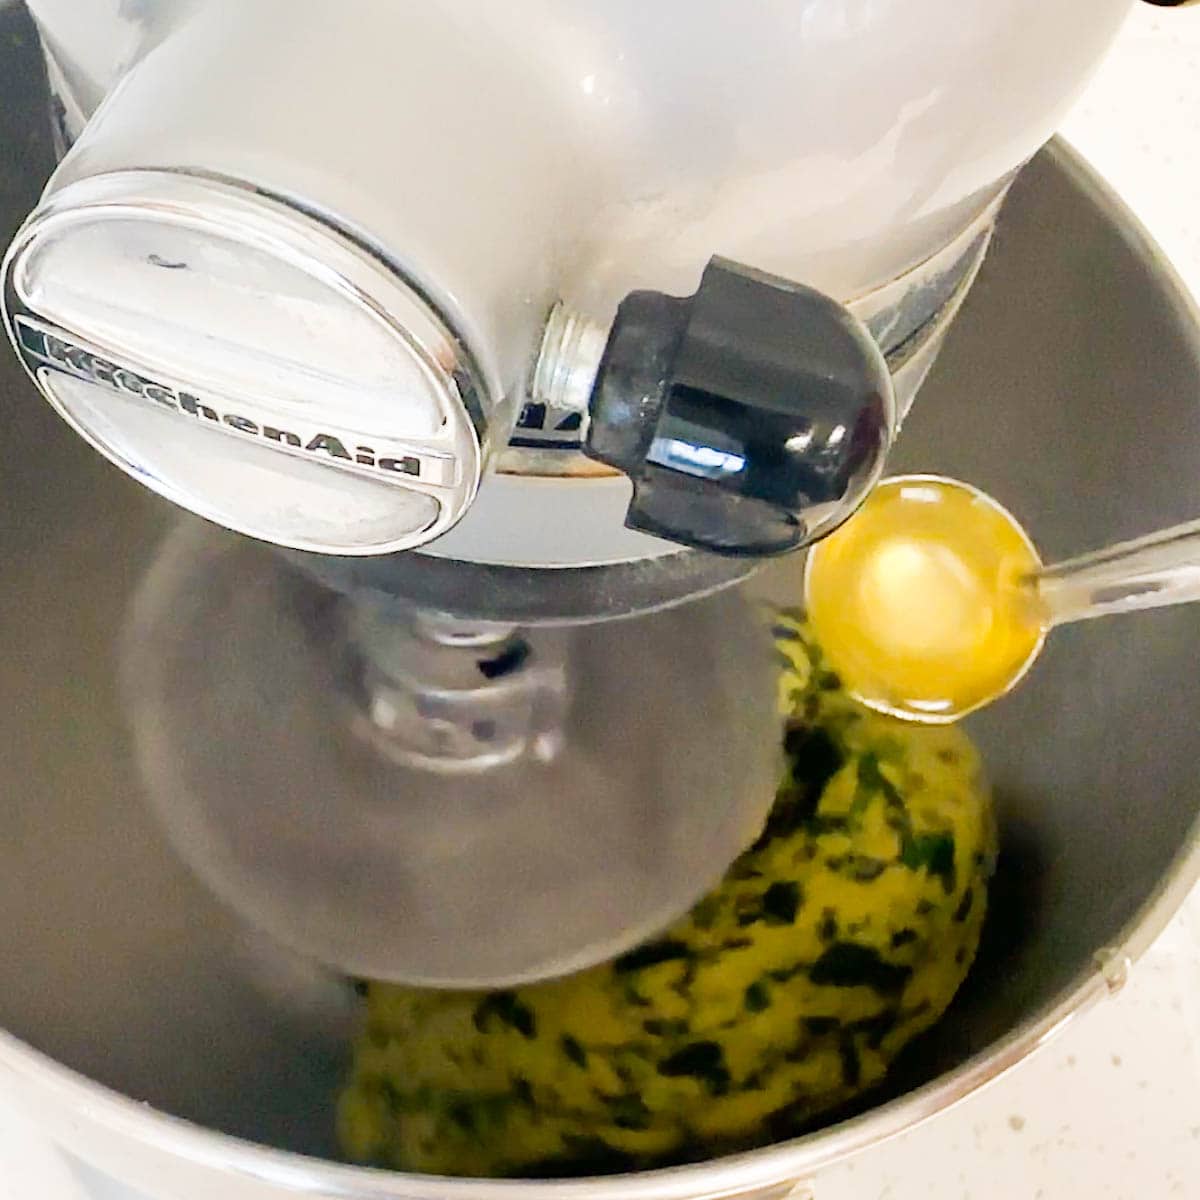
- Add enough water (in small increments) and knead to make a soft and smooth dough. Make the dough smooth by kneading it with your fist. Add some water to your hand and knead 2-3 times. When you press your finger against the dough, it should leave an impression. This is the right consistency for the dough.
- Using a stand mixer or food processor: Alternatively, you can make the dough using a stand mixer. Use a dough hook attachment, and start the mixer at the lowest speed. Add water in small increments. In a couple of minutes, the dough will start coming together. The dough should be soft and pliable.
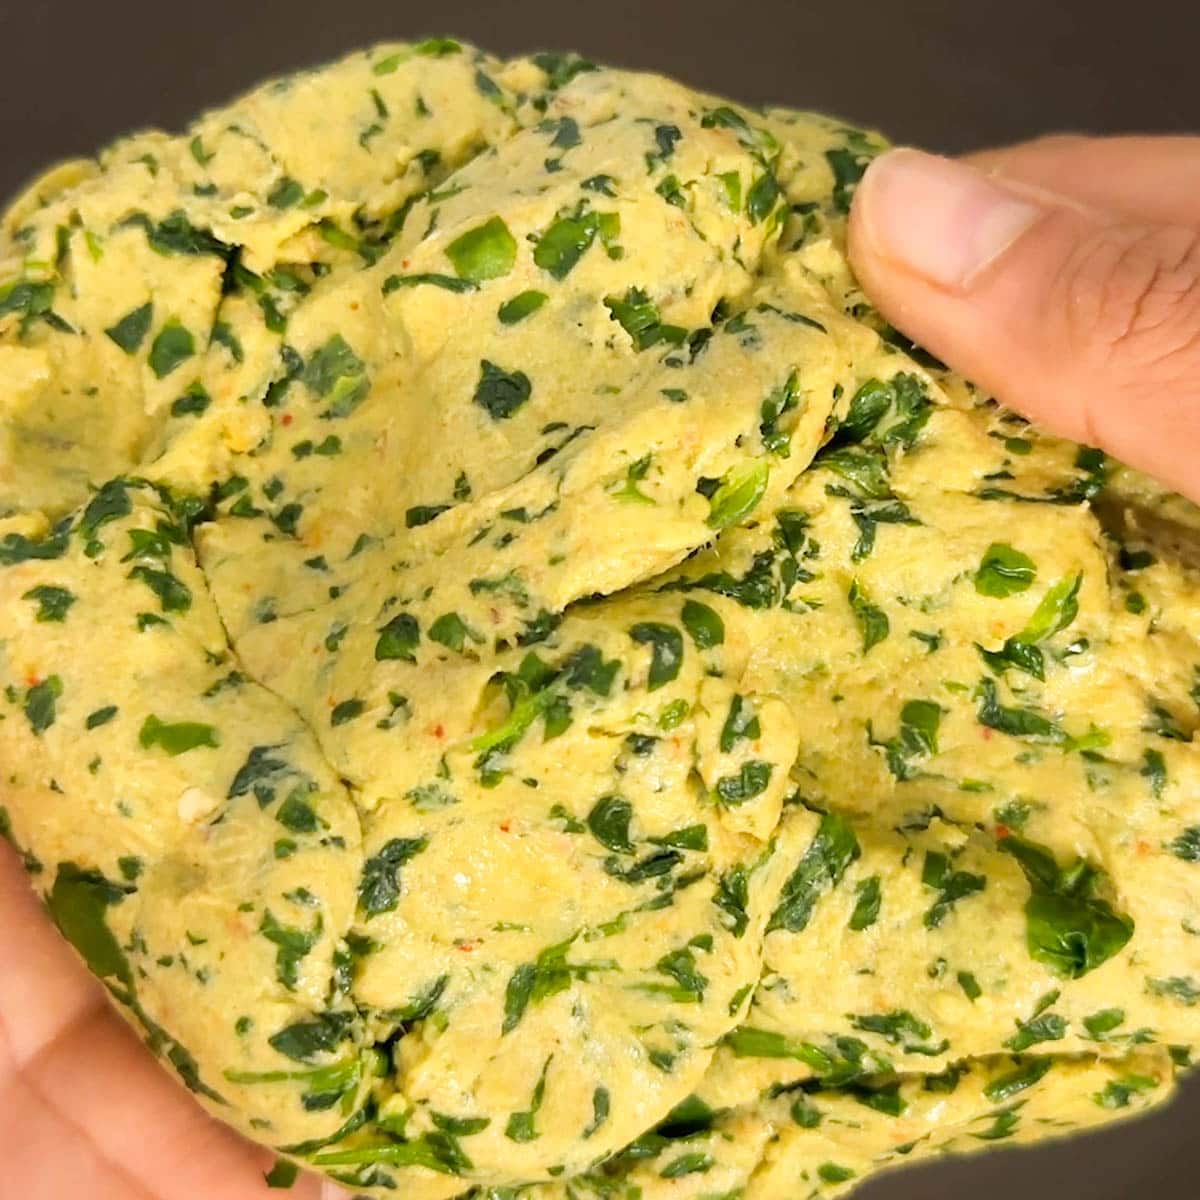
- Cover with a damp cloth or plastic wrap and let the dough rest for at least 15 minutes and up to 30 minutes.
Rolling Dough
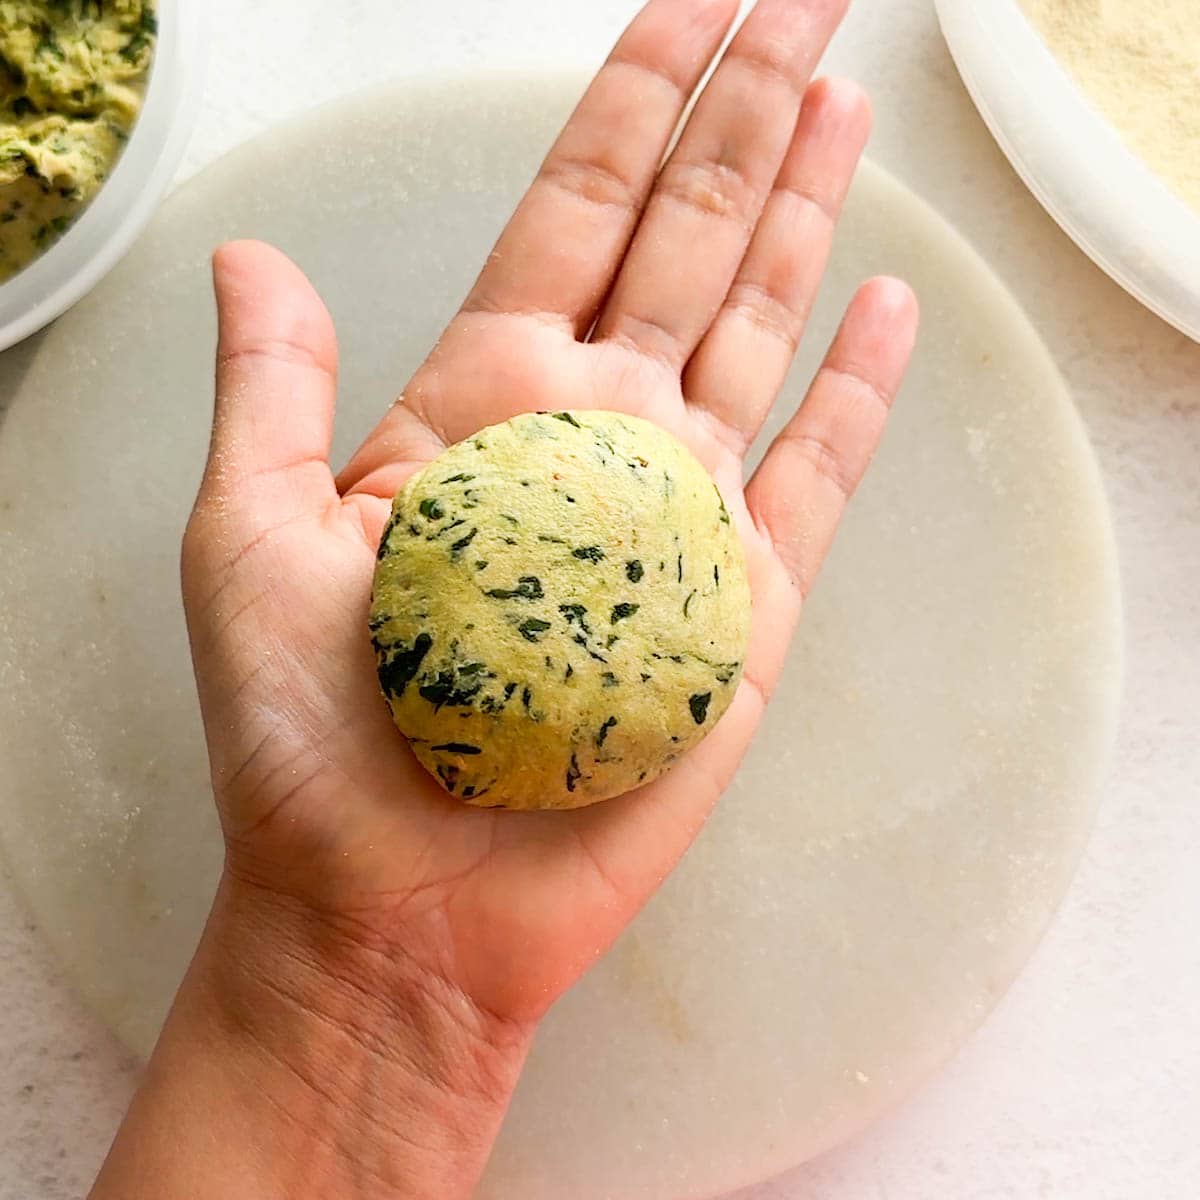
- Make balls from the dough by rotating between your palms. The balls will be the size of a golf ball, slightly larger in size than roti. Make the ball a bit flat.
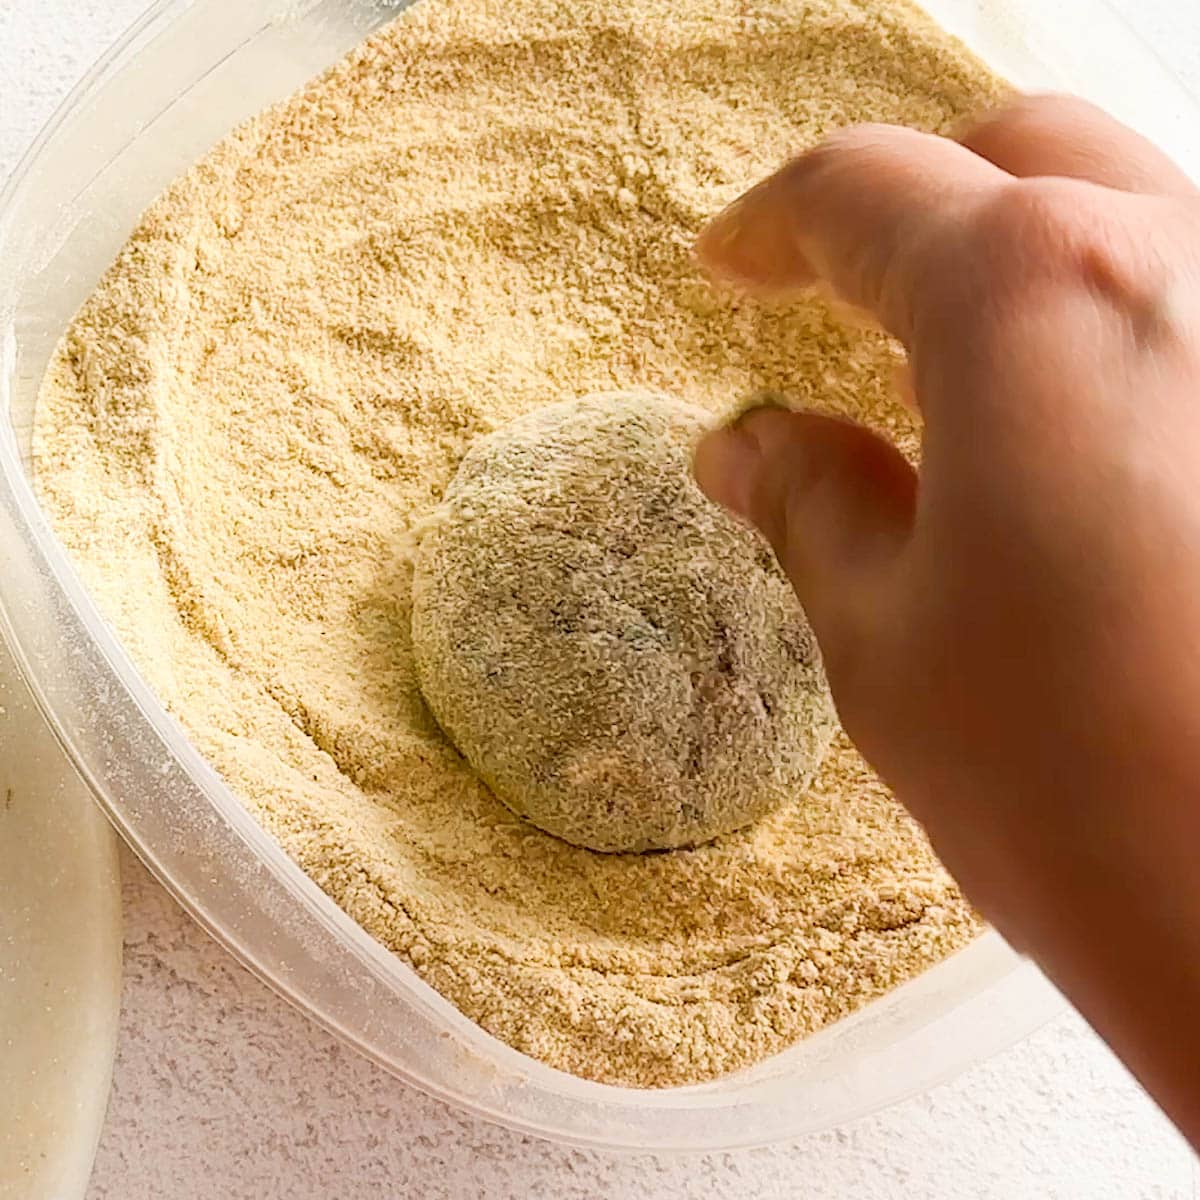
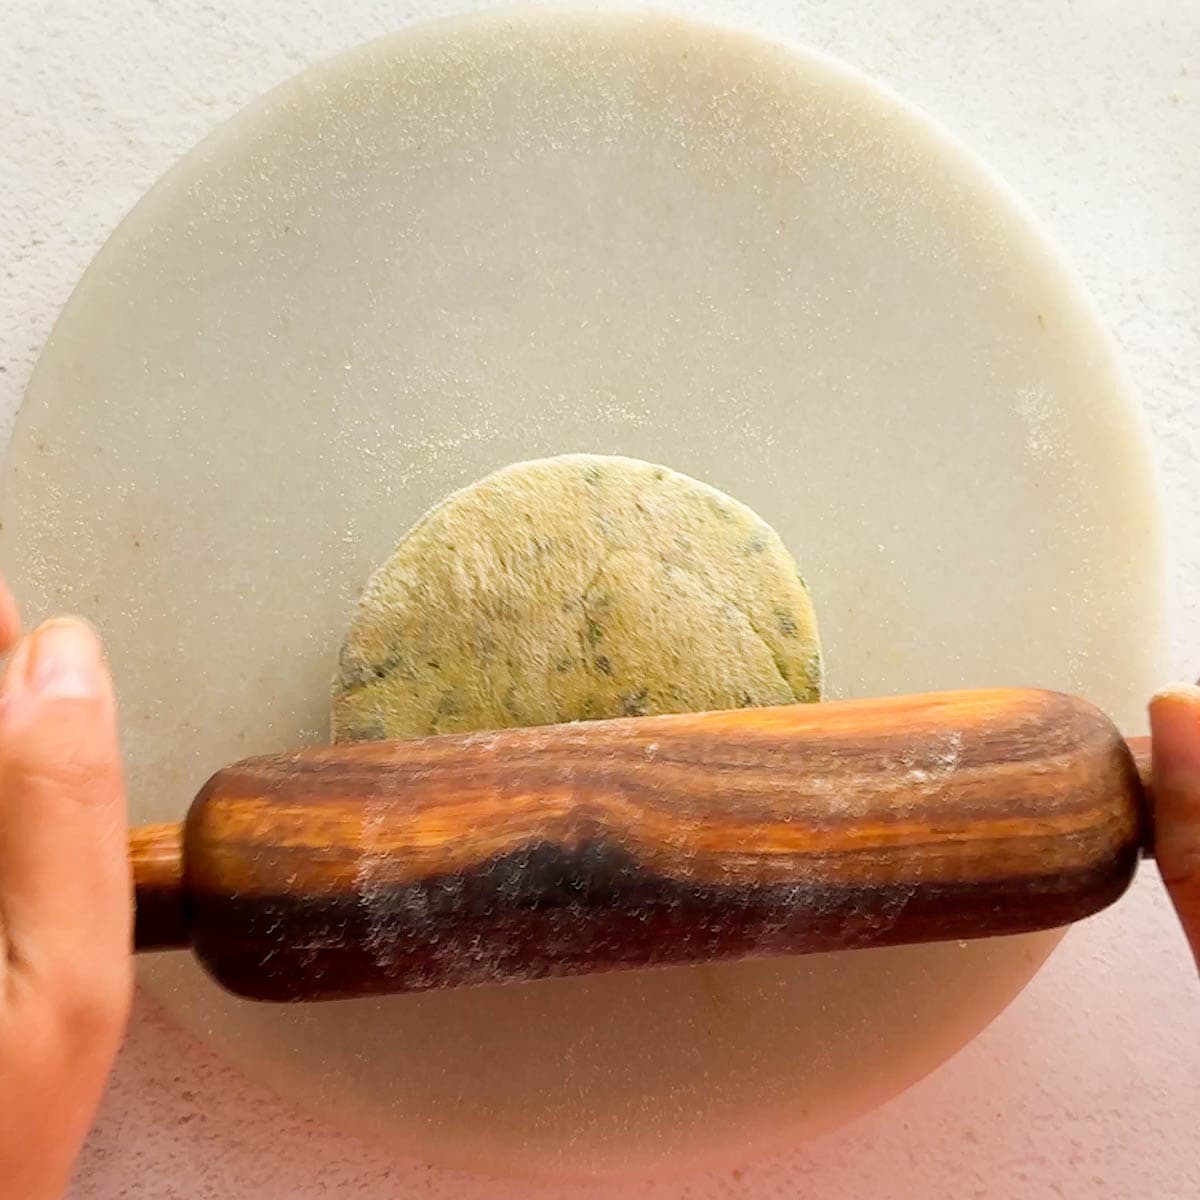
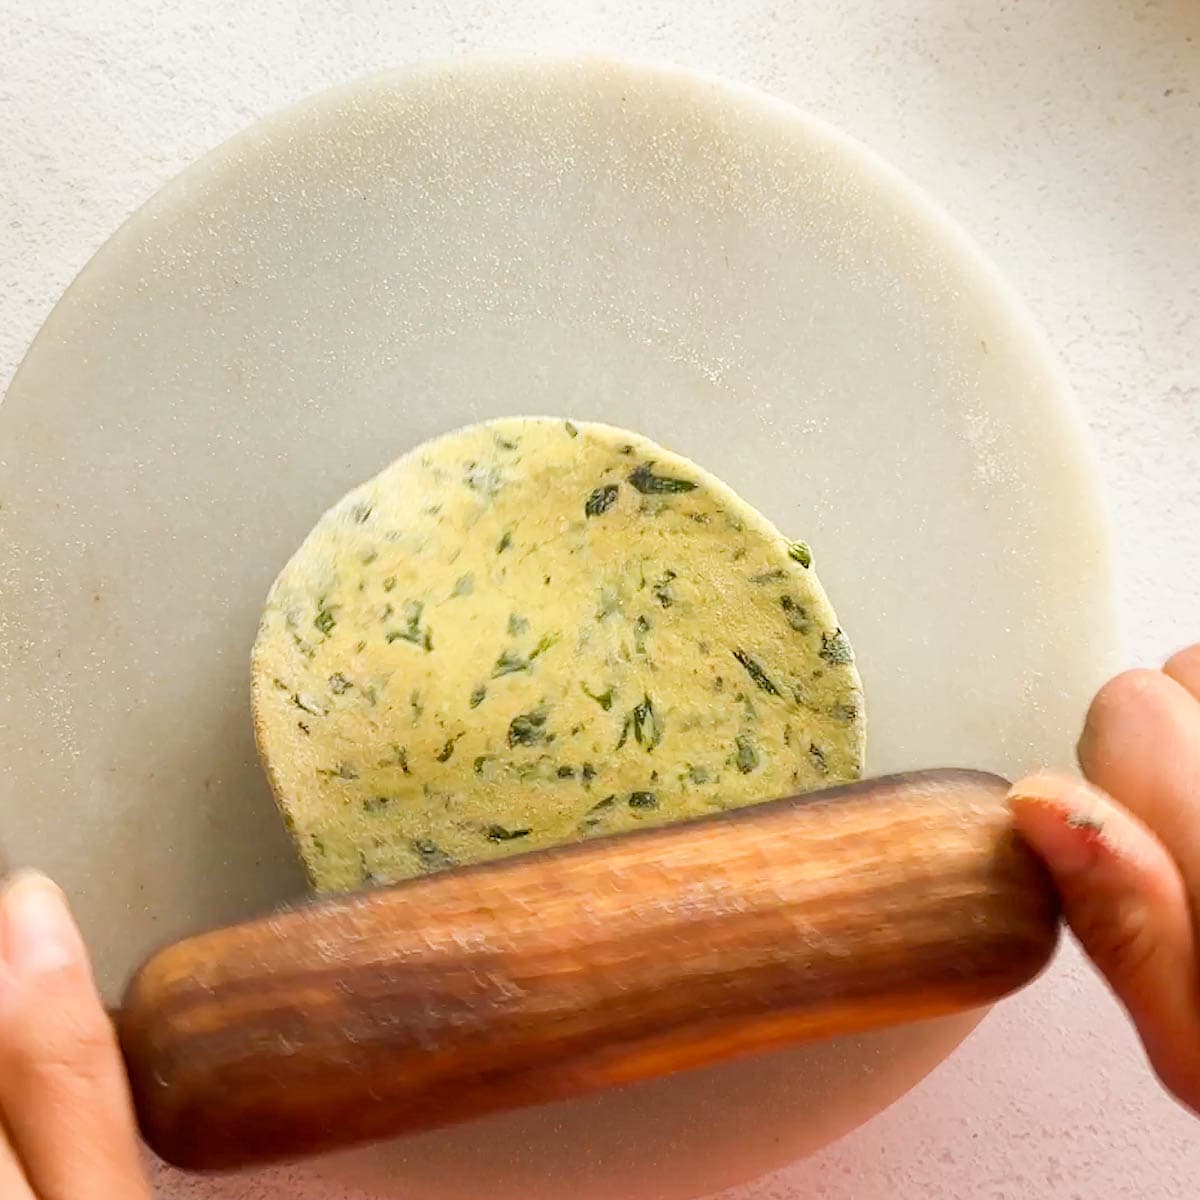
- Dip a ball in dry flour, place it on the marble or wooden base (chalka), and roll with the rolling pin.
- (Optional step) Roll into a circle of about 4 inches in diameter. Spread some ghee on the dough. Make a cut up to the center of the circle, using your fingers. Then start rolling on one side. Take the roll into your hand and flatten it.
- Dip again in dry flour and start rolling using the rolling pin. Do not apply too much pressure while rolling. Apply equal pressure on all sides while rolling. When you roll with gentle hands, the dough flattens and moves in circles with the rolling pin. You can also turn the paratha with your hands at 90 degrees multiple times while rolling so that it forms a circle. Apply more flour if required while rolling.
Roasting
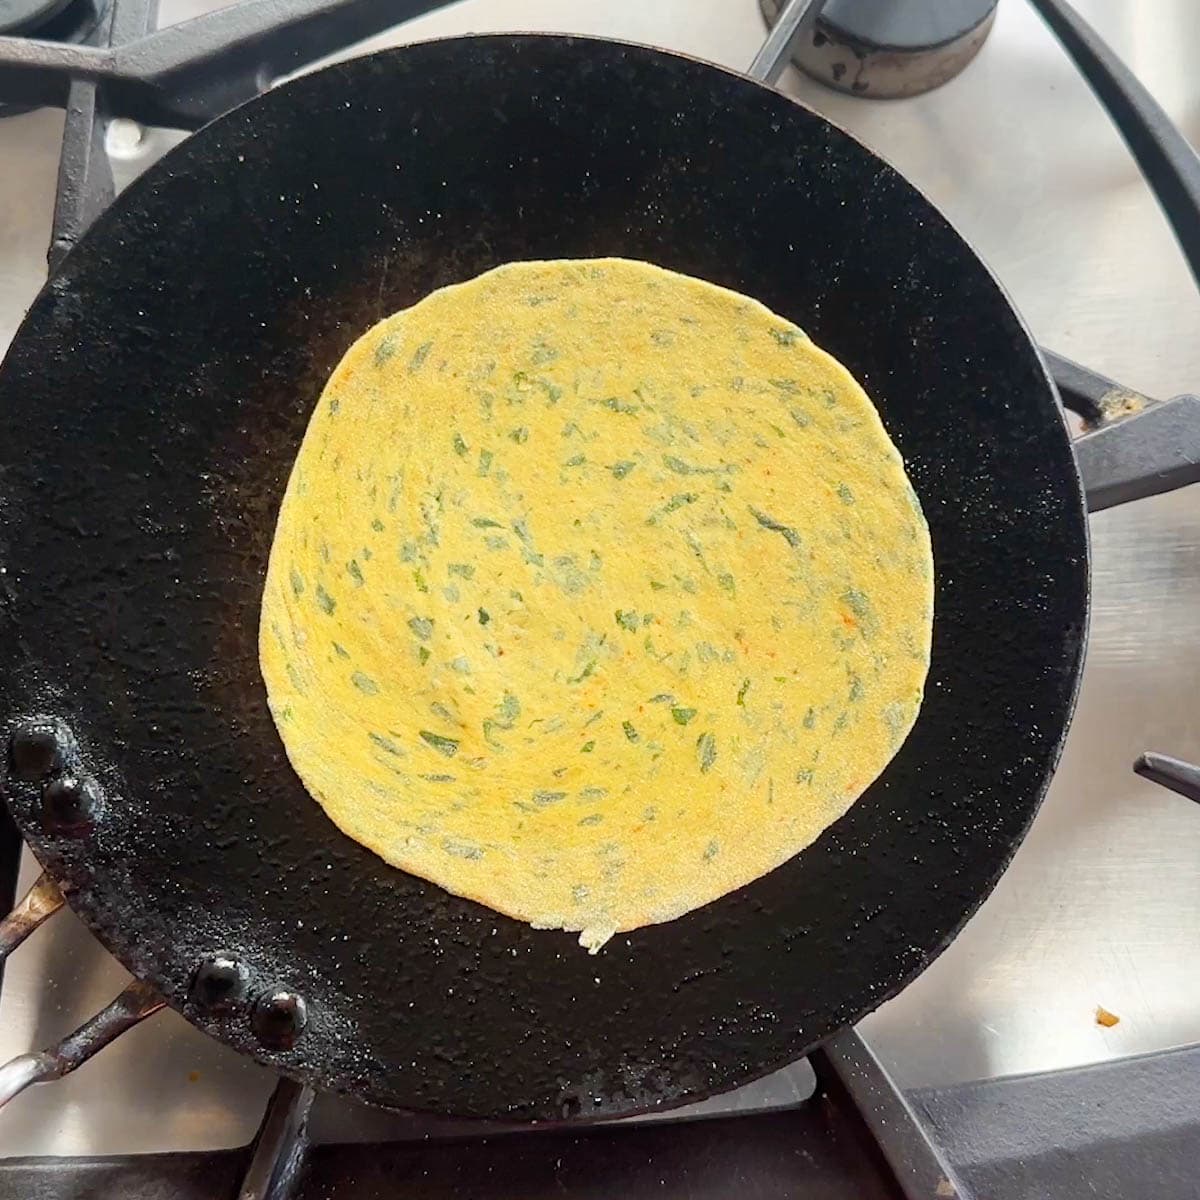
- Heat the tawa (skillet or griddle). Place the rolled paratha on the hot tawa. Cook until you start seeing small air pockets and the color of the dough starts to change.
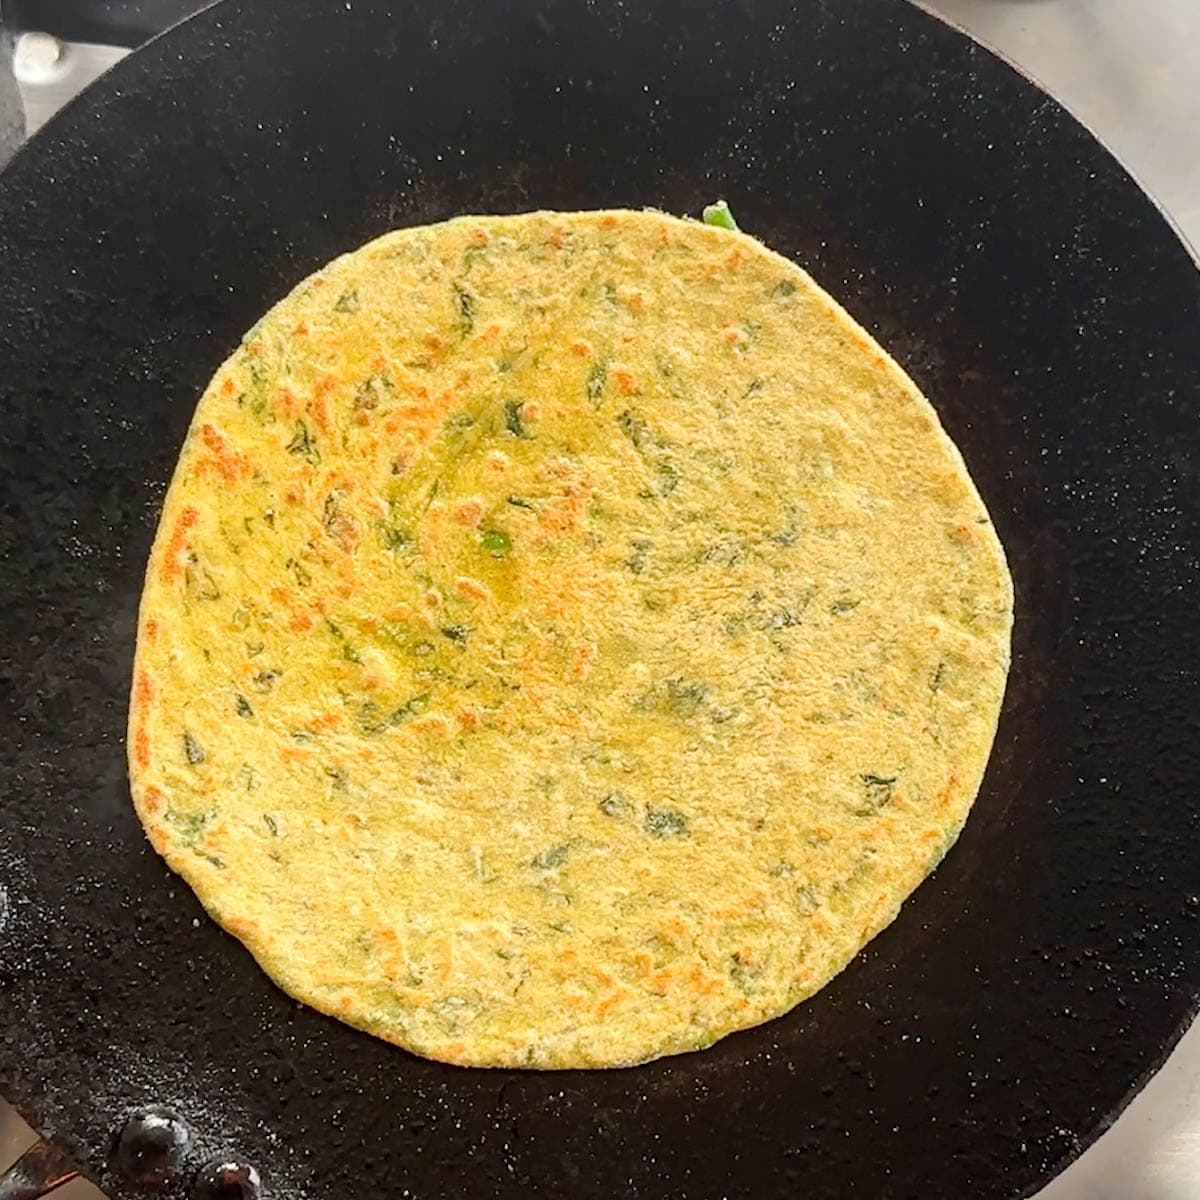
- With a flat spatula, flip the paratha and top with ghee just enough to make the surface of the paratha greasy (about ½ teaspoon). Spread the ghee or vegetable oil evenly over the paratha with the back of the spoon. Now, we want to cook until there are some brown spots on the paratha.
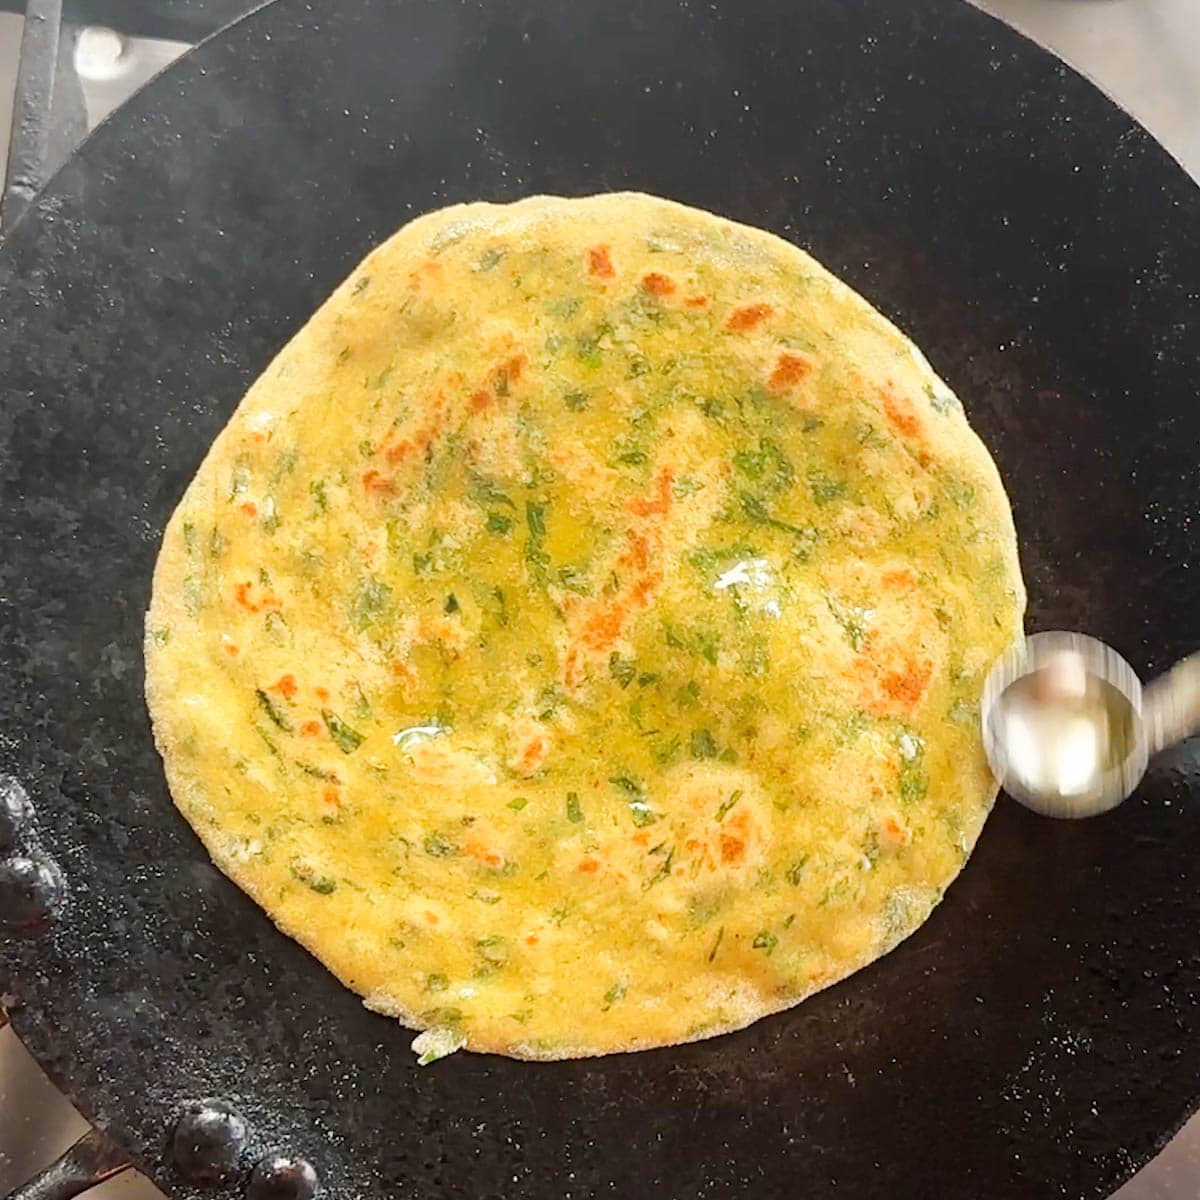
- Flip the paratha and top with ghee/oil on the other side. Spread it evenly over the surface. Cook until there are brown spots while pressing gently with the spatula.
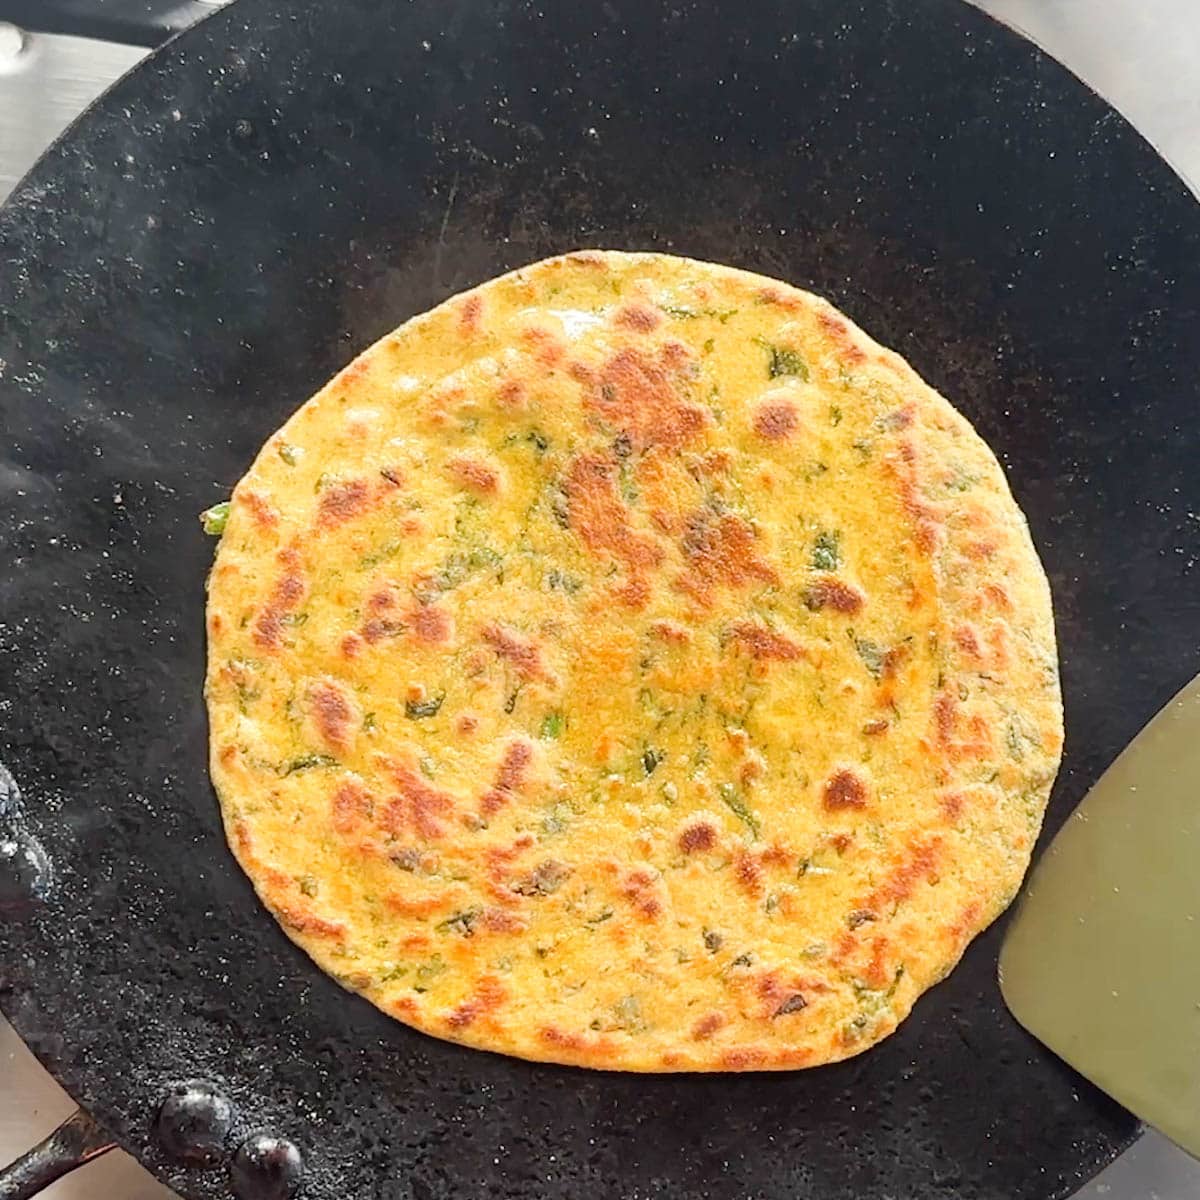
- Spread ghee/ oil on the second side and press the edges of the paratha till it is evenly brown and well cooked.
- When both sides have golden brown spots, transfer the paratha to a plate lined with a paper towel.
- Repeat these steps till all the parathas are cooked. You can keep parathas in an insulated container or a roti basket wrapped in a towel. This will ensure they stay warm when you are ready to eat. Serve hot with white butter, pickle, raita, or a cup of hot chai.
Pro Tips
- Spinach leaves can also be used instead of methi leaves.
- Use 1/3 as much dried kasoori methi if you cannot find fresh methi.
- You can also add onions that have been finely chopped to the dough. Some like to add minced garlic as well.
- If you have gram flour, I highly recommend adding it when making methi paratha.
- Ensure the dough has had time to rest before rolling it out.
- To make this recipe vegan and dairy-free, replace ghee with your favorite vegetable oil.
What to eat with methi paratha?
Methi paratha goes well with yogurt or raita recipes like boondi raita, cucumber raita, lauki raita, or any other raita you like.
You can even serve it with a pickle or chutney of your choice. I also like to dip the parathas in mint cilantro Chutney.
How to Store?
Storing Dough: Refrigerate in an air-tight container and use within 1-2 days. After about two days, the dough color starts to turn brownish on the outside. To make paratha, get the dough to room temperature before using (else it might seem harder to roll)
Store parathas in a casserole box or a roti basket. When storing methi parathas, it is important to ensure they are completely cool before wrapping them up in an airtight container.
Freezing Parathas: You can store parathas in the freezer for a longer shelf life. Place parchment paper between them and then place in a freezer bag such as Ziploc.
Reheating Parathas: Heat a griddle on medium heat. Heat each side of the paratha until it is soft again. Apply some ghee to make it fresher tasting.
FAQs
Yes, dried fenugreek will work fine in this recipe. If you use dried fenugreek leaves instead of fresh ones, the methi ke parathe will have a slightly different flavor and taste. Use 1/3 the amount of fresh methi leaves, as dried kasoori methi is much more potent than fresh.
Pull the leaves off the stems and soak them in a bowl of salt water for about 10 to 15 minutes.
The leaves need to be soaked to get rid of their bitter taste. If you don’t mind the bitter taste, you can use the leaves as they are. Before you use them in your recipe, wash them three to four times to get rid of any dirt, and pat them dry with a kitchen towel.
Gujarati Methi Thepla (Easy, Authentic Recipe)
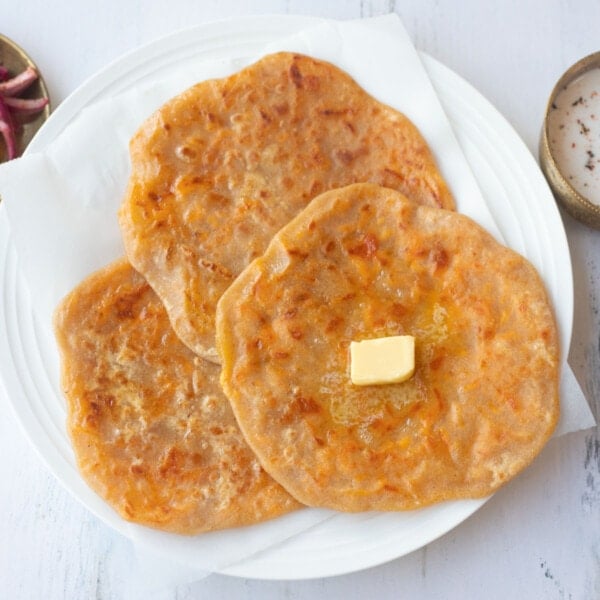
Cheese Paratha
Methi Dhebra
Methi Paratha
Video
Ingredients
- 2 cup Methi (Fenugreek leaves), leaves removed from stems
- 1/2 teaspoon Salt
- Water , for soaking
For dough
- 2 cup Whole Wheat Flour
- 1/4 cup Gram flour (Besan)
- 2 Green chili , finely diced, adjust to taste
- 1 teaspoon Ginger
- 1 teaspoon Red Chili powder (Mirchi powder)
- 1 teaspoon Carom seeds (Ajwain)
- 1 teaspoon Salt
- 2 teaspoon Ghee or Oil, for dough
- 1/3 cup Water , or more as needed
For paratha
- 2 teaspoon Ghee, for parathas
- dry whole wheat flour
Instructions
Prepping Methi Leaves
- Wash the methi leaves in a large bowl filled with water 2-3 times. Add salt to the bowl and let it rest for 3-5 minutes. Then remove the methi leaves from the top of the bowl.
- Please the leaves on a kitchen towel and gently dry them. Now chop the leaves corasely.
Make the Dough
- In a large bowl, combine atta (whole wheat flour) and besan (gram flour). Add green chili, ginger, red chili powder, ajwain, and salt. Add the chopped fresh fenugreek leaves.
- Add enough water (in small increments) and knead to make a soft and smooth dough. Make the dough smooth by kneading it with your fist. Add some water to your hand and knead 2-3 times. When you press your finger against the dough, it should leave an impression. This is the right consistency of the dough.
- Using a stand mixer or food processor to make dough: Alternatively, you can make the dough using a stand mixer. Use a dough hook attachment, and start the mixer at the lowest speed. Add water in small increments. In a couple of minutes, the dough will start coming together. The dough should be soft and pliable.
- Cover with a damp cloth or plastic wrap and let the dough rest for at least 15 minutes and up to 30 minutes.
Rolling
- Make balls from the dough by rotating between your palms. The balls will be the size of a golf ball, sightly larger in size than roti. Make the ball a bit flat.
- Dip a ball in dry flour, place on the marble or wooden base (chalka) and roll with the rolling pin.
- (Optional step) Roll into a circle about 4 inches in diameter. Spread some ghee on the dough. Make a cut up to the center of the circle, using your fingers. Then start rolling on one side. Take the roll into your hand and flatten it.
- Dip again in dry flour and start rolling using the rolling pin. Do not apply too much pressure while rolling. Apply equal pressure on all sides while rolling. When you roll with gentle hands, the dough flattens and moves in circles with the rolling pin. You can also turn the paratha with your hands at 90 degrees multiple times while rolling, so that it forms a circle. Apply more flour if required while rolling.
Making the Paratha
- Heat the tawa (skillet or griddle). Place the rolled paratha on the hot tawa. Cook until you start seeing small air pockets and the color of the dough starts to change.
- With a flat spatula, flip the paratha and top with ghee just enough to make the surface of the paratha greasy (about ½ teaspoon). Spread the ghee or vegetable oil evenly over the paratha with the back of the spoon. Now we want to cook until there are some brown spots on the paratha.
- Flip the paratha and top with ghee/oil on the other side. Spread it evenly over the surface. Cook until there are brown spots while pressing gently with the spatula.
- Spread ghee/ oil on the second side and press the edges of the paratha till it is evenly brown and well-cooked.
- When both sides have golden brown spots, transfer the paratha to a plate lined with a paper towel.
- Repeat these steps till all the parathas are cooked. You can keep parathas in an insulated container or in a roti basket wrapped in a towel. This will ensure they stay warm by the time you are ready to eat. Serve hot with white butter, pickle, raita or a cup of hot chai.


Very nice recipe and one I’ve made several time now.
However there is a step missing in the recipe description, an important one.
There is no mention of adding the chopped methi to the dough, although it is shown on the photo description!
I’m lucky to have a the sense to look at the pictures as well as reading the recipe 😉
Love your recipes x
Hi John – Thanks for letting me know. I have added the step. I am glad you have been enjoying the recipes!
Hi Meeta, I made methi prathas few days ago and added chopped onions, they were really yummy 😋
Thank you.
Regards
Hi Rajinder – So happy to hear that.