

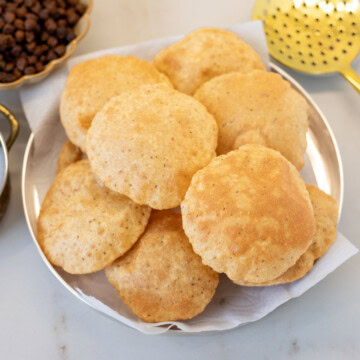
Golden, airy, and perfectly puffed, Poori is the ultimate Indian comfort bread—and it’s much easier to master than you think. Using my mom’s signature technique for a stiff, non-greasy dough, this guide will show you how to achieve that perfectly puffed poori every time.
Poori = Childhood Nostalgia
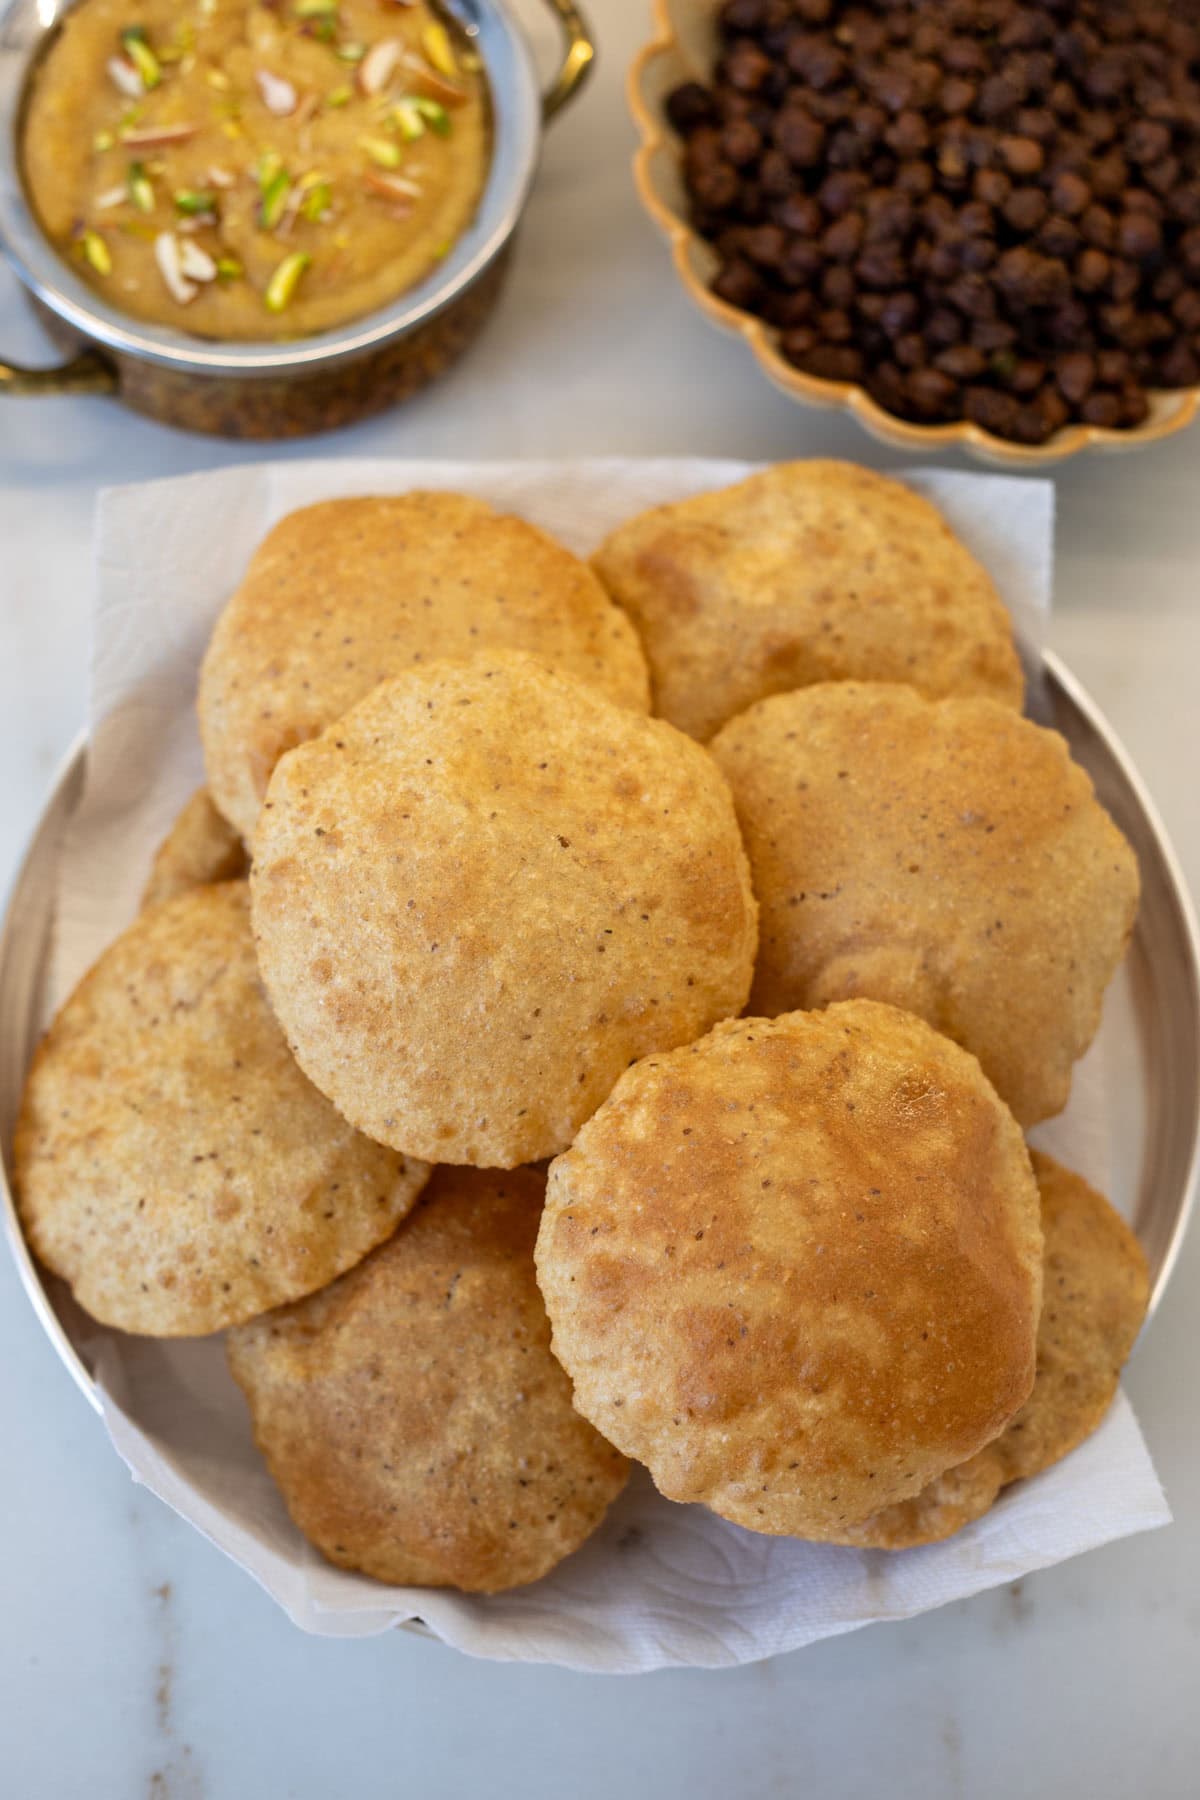
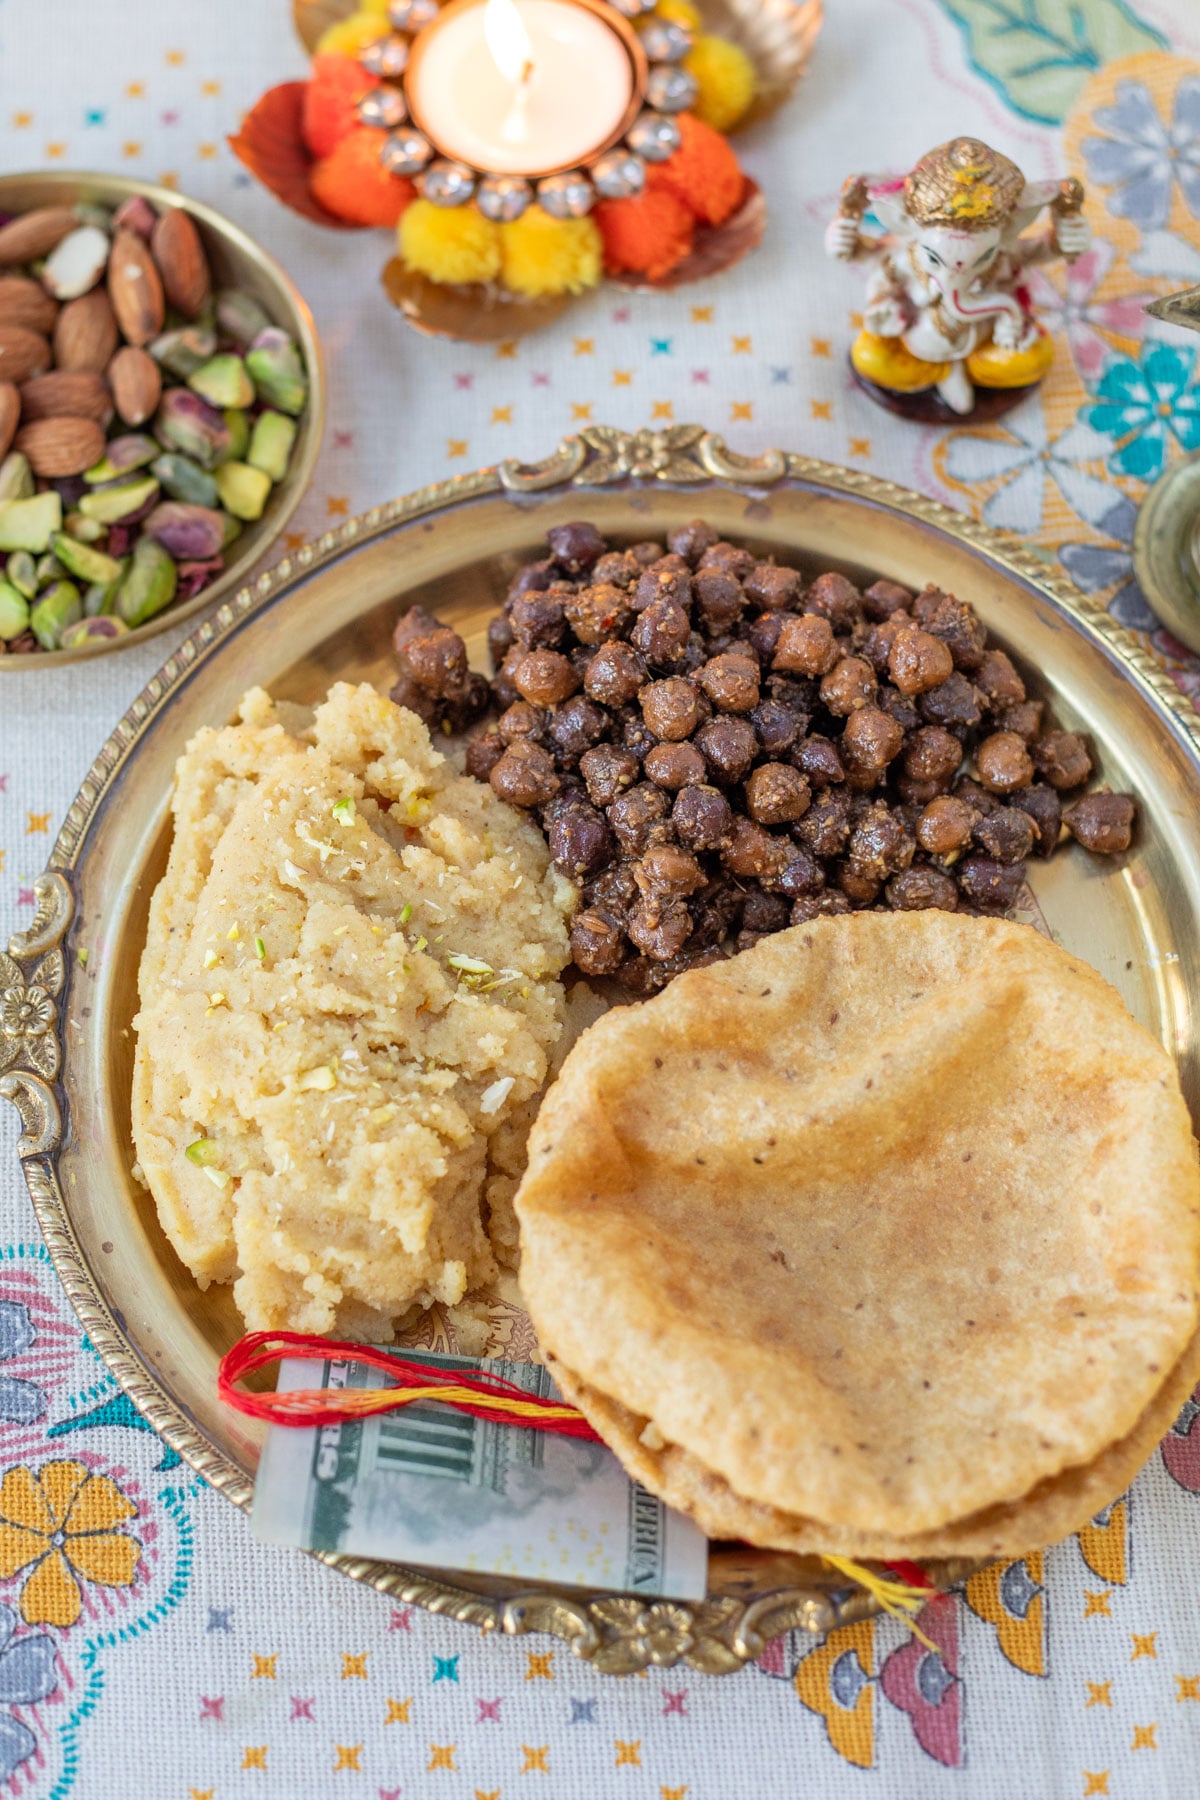
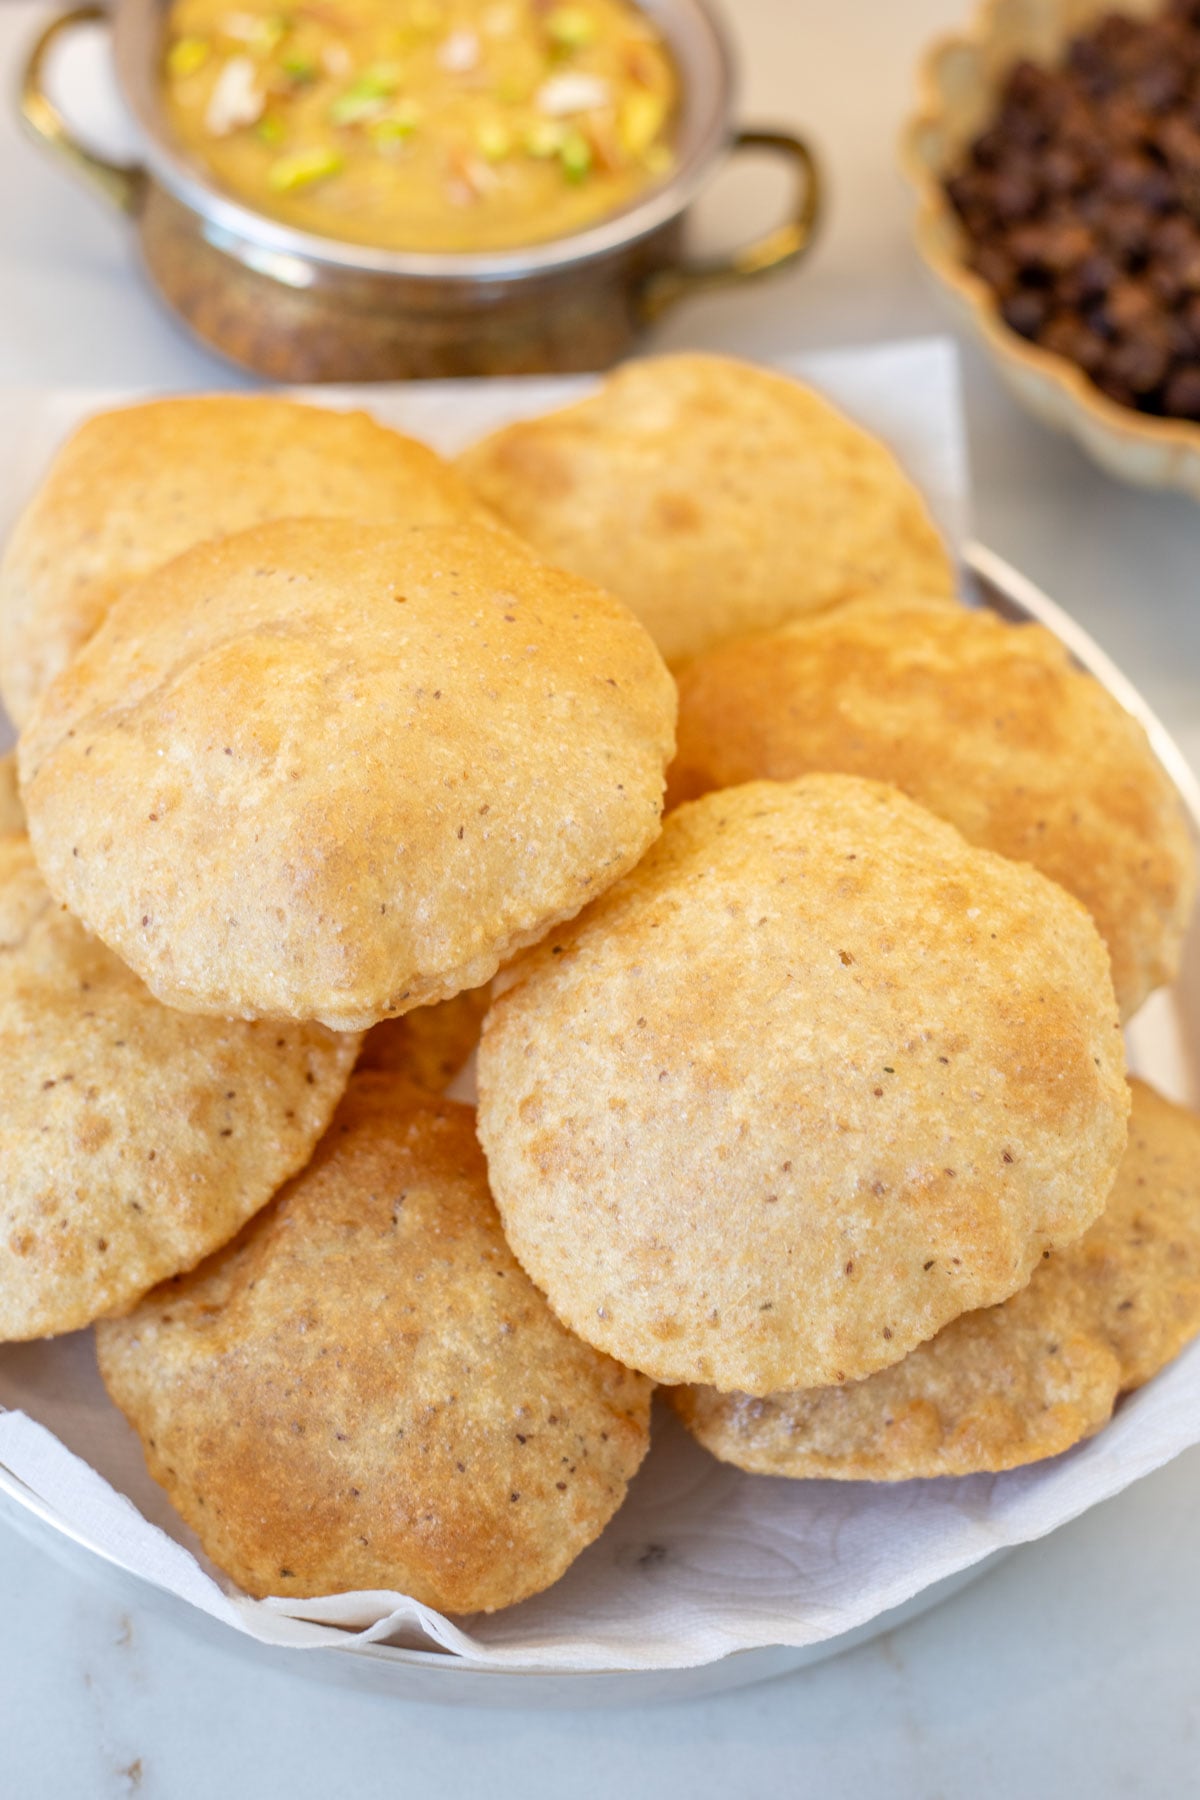
Growing up, certain meals felt like a warm hug, especially the sacred spread on Ashtami. I can still see the steam rising from the bowls of Sookha Kala Chana and Sooji Halwa, always served alongside a stack of golden, puffed Poories.
Those festive mornings were matched only by our weekly Sunday ritual: a special family meal of Chole Poori or comforting Aloo Rasedar with hot bread straight from the kadai.
These memories light me up even today, but the greatest joy of all is watching my own kids dive into those same flavors with the very same excitement. Carrying on my mom’s traditions and seeing them become my children’s favorite treats fills my heart—and my kitchen—completely.
Every year, when I share a photo of my Ashtami prasad, so many of you ask for the recipe. It’s been over 7 years since everyone has been asking me exactly how I get them so light and airy!
I figured it was finally time to stop gatekeeping and officially share my mom’s recipe for the perfect Poori. From the ideal dough consistency to the ‘secret nudge’ while frying, I’m giving you all the tips and tricks I learned so you can get them perfectly right in your own kitchen.
Ingredients
With just four simple ingredients and my mom’s tried-and-true techniques, you’ll be surprised how quickly these come together.
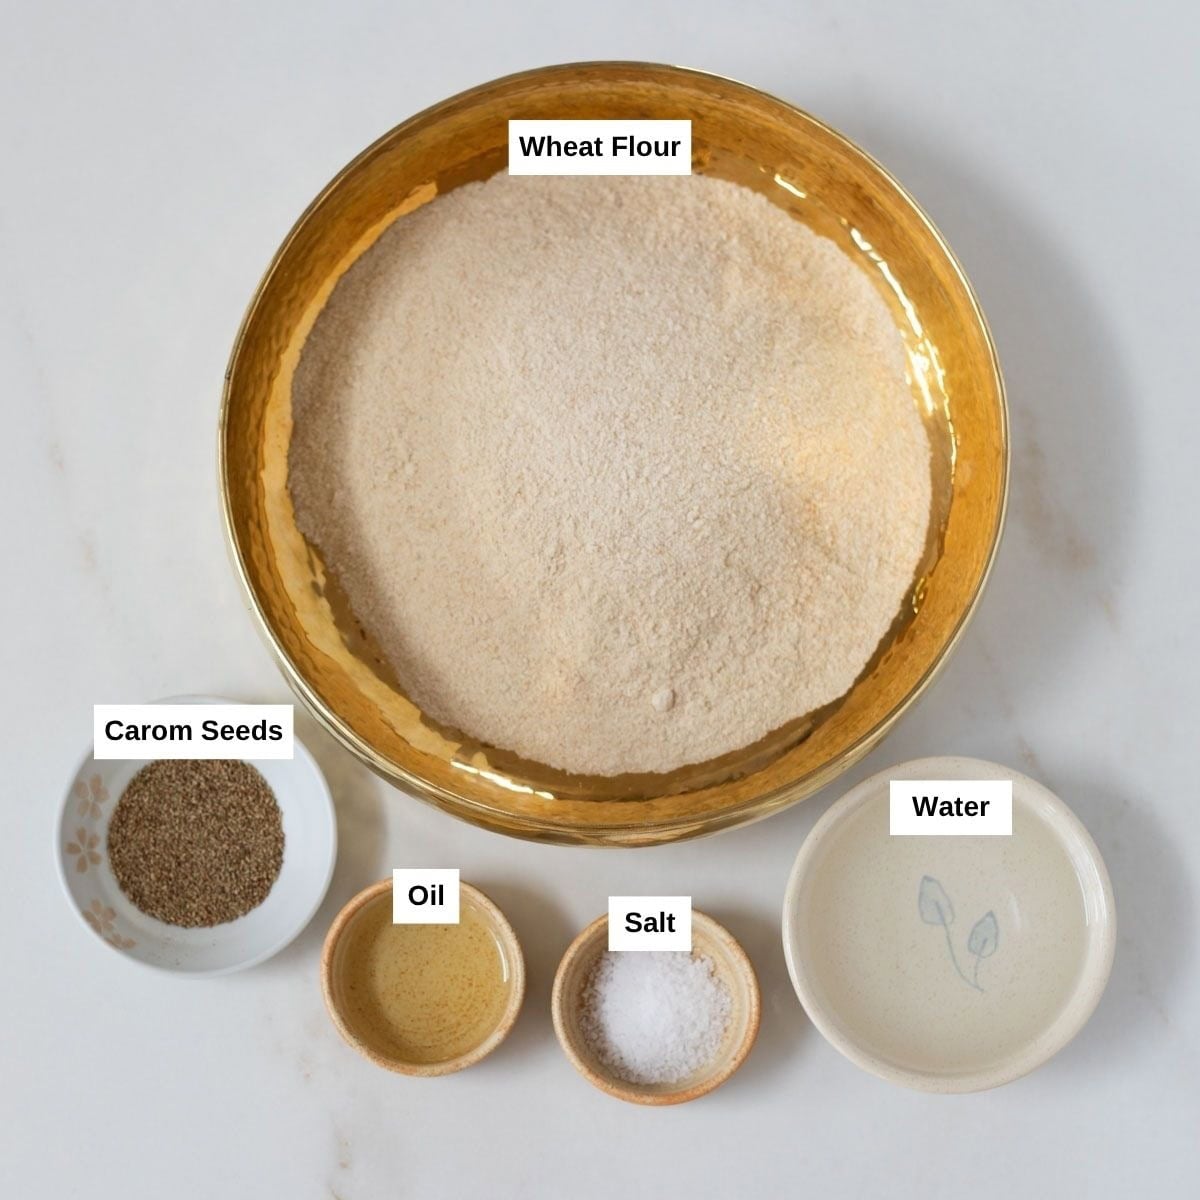
Whole Wheat Flour: Use whole wheat flour, also called chapati aata, to make poori. This is the staple flour used in most everyday Indian flatbreads.
Salt: We will season this dough with salt because otherwise, the puris don’t taste as good.
Ajwain: Optional, but it adds a lovely earthy aroma to the rich, fried dough. More importantly, it’s a natural digestive aid that helps prevent that heavy, bloated feeling after eating the pooris.
Oil: We will use some oil for kneading the dough and later more for rolling and deep-frying the pooris. I recommend canola oil, avocado oil, or a similar neutral oil.
Water: Use warm or room-temperature water to knead the poori dough
Easy Poori Variations
While my mom’s classic recipe is a masterpiece, you can easily shake things up with these simple additions to the dough:
- Add sooji for crispiness: Using semolina yields a crispier puri that holds its shape longer. Add just 1 tablespoon of sooji for each cup of whole wheat flour.
- Add sugar for color: I usually don’t add sugar, but it can help to get a nice golden hue to the fried poori.
- Masala Poori: Add turmeric, red chili powder, and hing for a savory, golden kick.
- Fresh or Kasuri Methi: Mix in freshly chopped or crushed dried fenugreek leaves for a wonderful floral aroma.
- Palak (Spinach) or Beetroot: Swap the water for vegetable purée to get vibrant green or deep pink pooris that kids love.
Pro-Tips for the Perfect “Puff”
Dough Consistency: Unlike roti, poori dough needs to be stiff. If it’s too soft, the poori will absorb too much oil and won’t puff properly.
Rolling puri: Gently roll your puris into 4–5 inch rounds using even pressure. Avoid rolling them too thin if you want a soft puff, but keep them thin enough so they don’t stay heavy and oily.
Don’t use dry flour: Avoid using dry flour while rolling, as it burns in the hot oil and leaves dark specks on your pooris. Instead, you can dip the dough ball in a little oil to make it easier to roll.
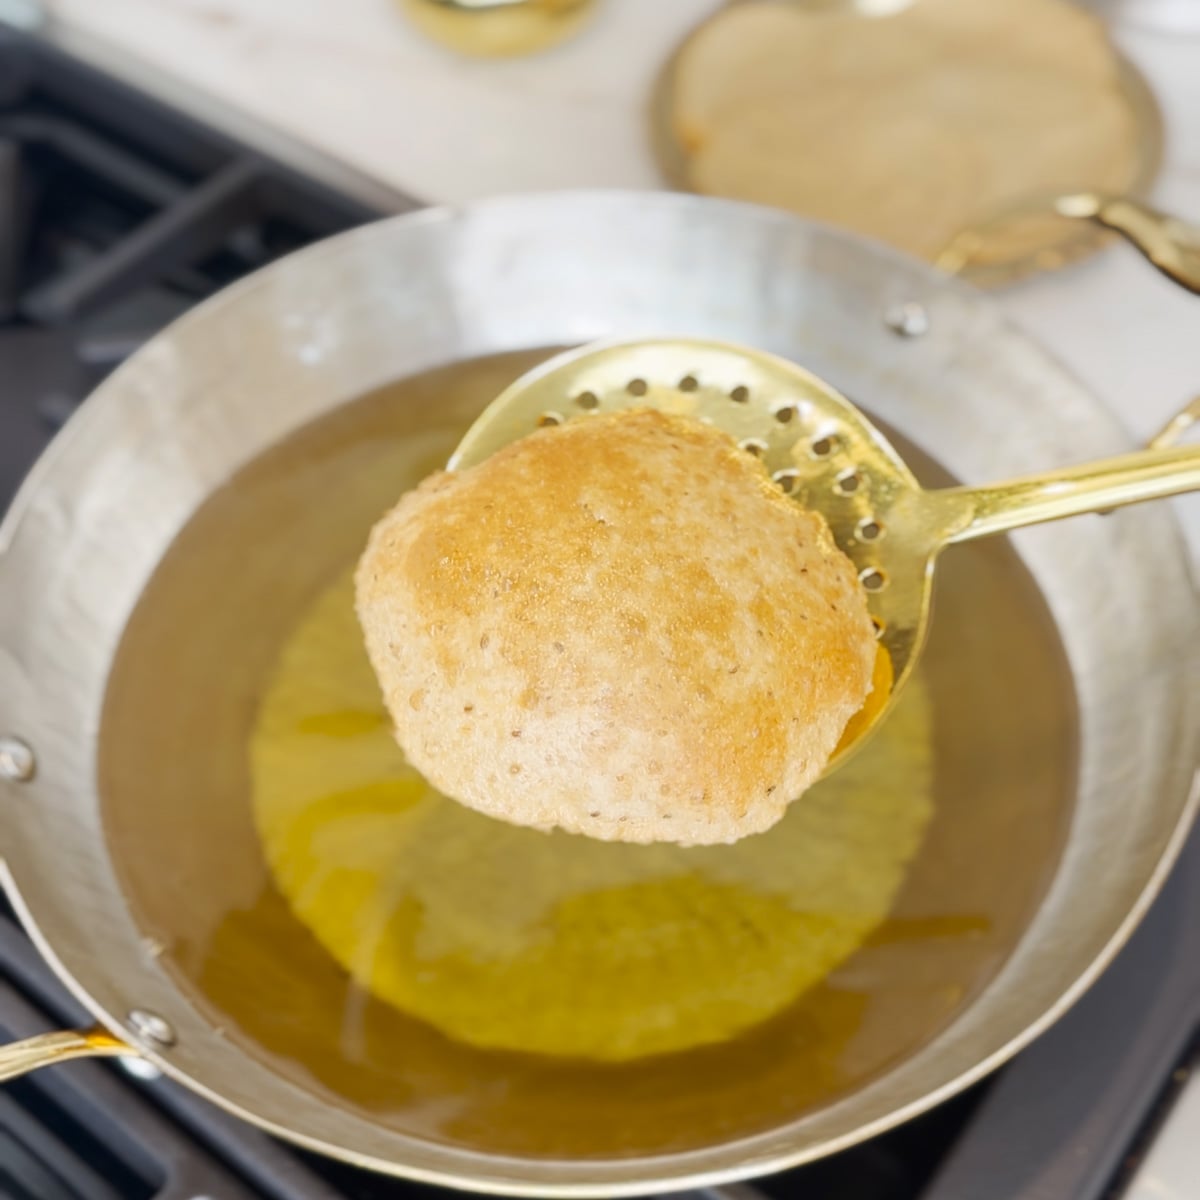
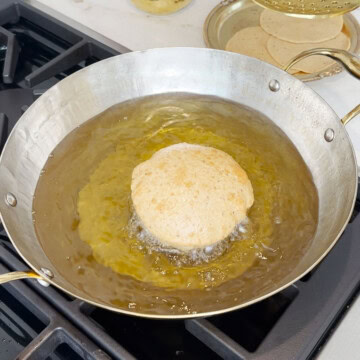
Oil Temperature: The oil must be hot! Drop a tiny piece of dough in; if it zips to the top immediately, you’re ready to fry.
The “Nudge”: Gently press the poori with your slotted spoon as it rises—this encourages the steam to fill the center.
When to flip: Wait for the poori to balloon up completely and the bottom to turn a light golden brown. Once it’s fully puffed and the sizzling subsides slightly, flip it over to finish cooking the other side.
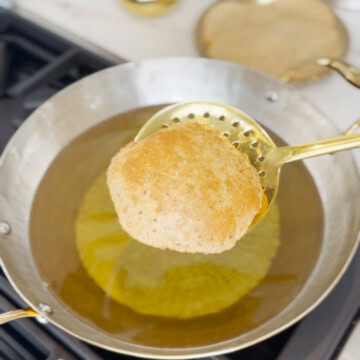
After Frying: Transfer the fried pooris to a plate lined with paper towels to drain off excess oil, keeping them light and crisp.:
Tourbleshooting
| Issue | Likely Cause | The Fix |
| Poori won’t puff up | Oil isn’t hot enough OR the dough is too thin. | Test oil with a small piece of dough; it should sizzle and rise instantly. Ensure you aren’t rolling the discs paper-thin. |
| Poori is too oily/greasy | Oil isn’t hot enough, or the dough is too thin. | Add a little more flour to your dough next time to keep it stiff. Fry in small batches so the oil stays hot. |
| Poori is hard or crispy | Rolled too thin OR fried for too long. | Roll the dough slightly thicker. Fry just until it puffs and turns golden, then flip and remove promptly. |
| Dark spots on the Poori | Used dry flour for rolling. | Avoid using dry flour. Grease your rolling pin and rolling board with a tiny bit of oil instead to keep the frying oil clean. |
Serving Poori
Poori is incredibly versatile, pairing perfectly with both savory curries and sweet desserts. Here are my favorite combinations:
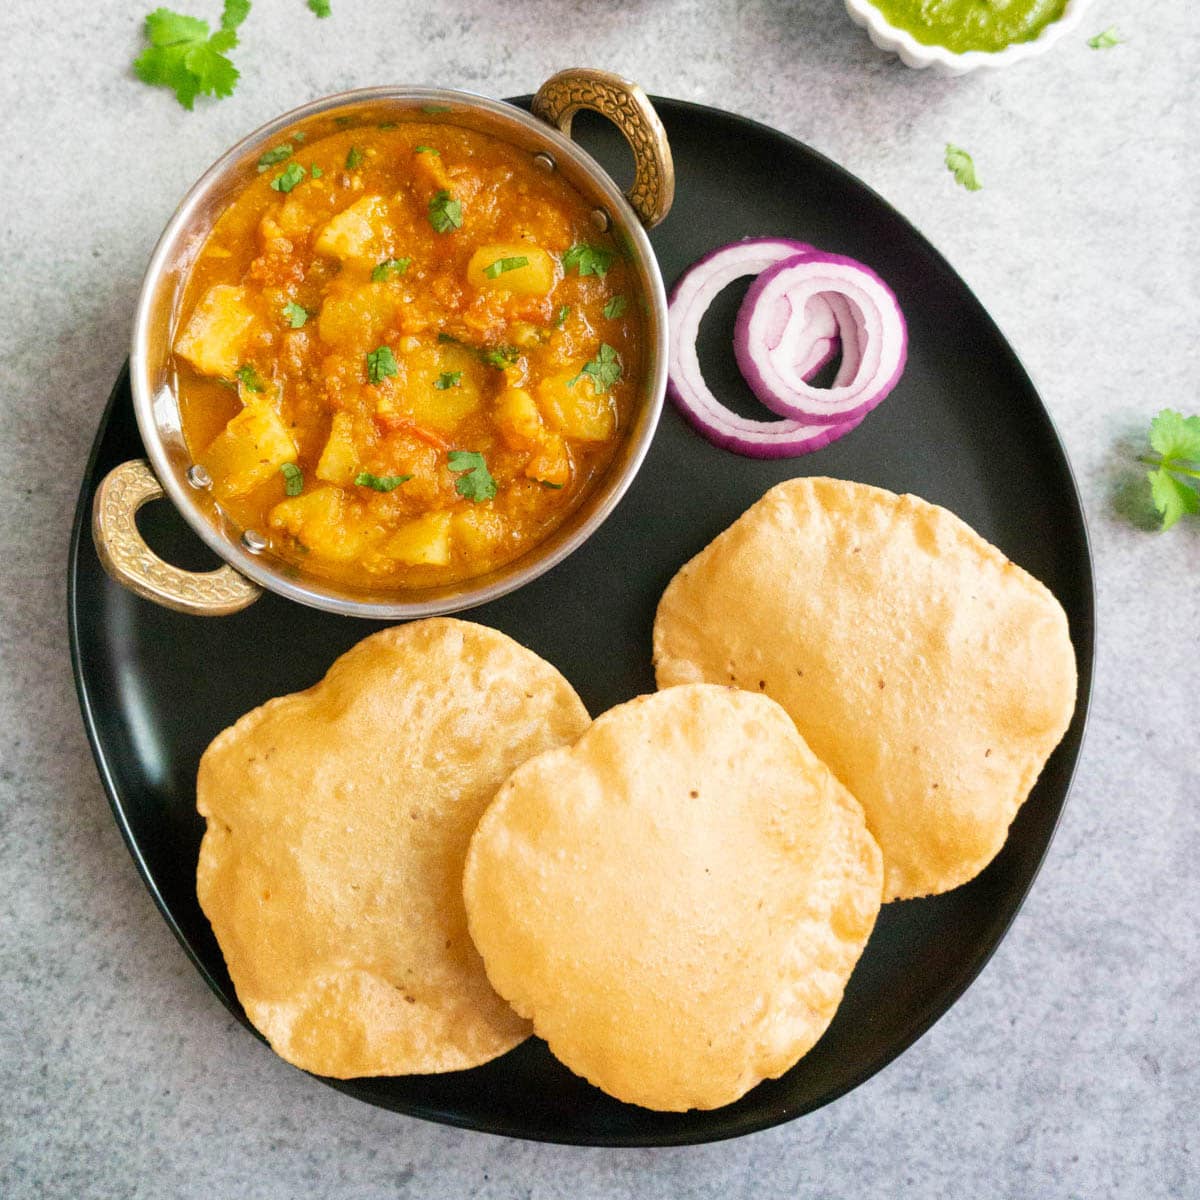
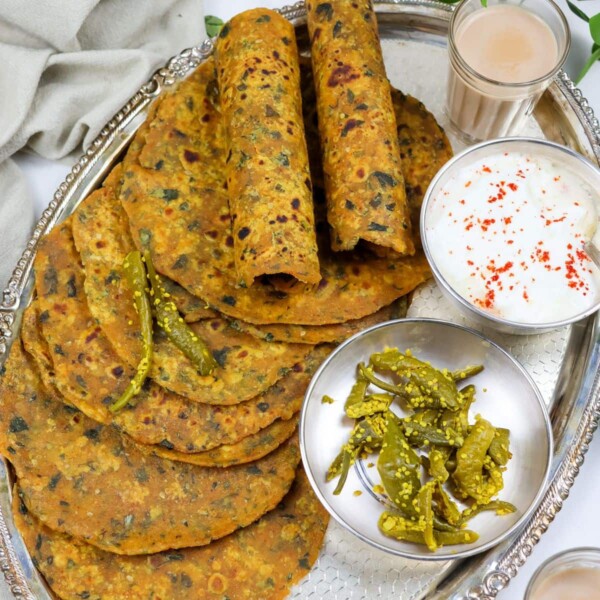
- The Classic: You can’t go wrong with batata bhaji (spicy potato curry) or a hearty chana masala (chickpea curry). For a festive flair, try it with undhiyu, a traditional Gujarati mixed vegetable dish.
- The Sweet Plate: In Maharashtra, pairing poori with desserts is a delicacy. Enjoy them with shrikhand (flavored yogurt), aamras (fresh mango pulp), or a bowl of creamy kheer or basundi.
- Seasonal Favorites: During the summer, I love enjoying these with amrakhand (mango shrikhand). On a typical weeknight, they are perfect for scooping up aloo baigan or dahi aloo.
- Ashtami & Festivals: I am sharing this during Navratri, which is when I typically prepare an Ashtami Thali featuring poori, sooji halwa, and sookha kala chana. For Gudi Padwa, shrikhand puri is a special meal.
- For Travel: One of the best things about Poori is its shelf life. Because it is deep-fried and made without leavening, it stays fresh at room temperature for quite a while. In India, it is the go-to food for picnics and long train journeys. While they will eventually deflate, they stay soft and delicious, making them the ultimate travel companion.
Storing Poori Dough
For the dough, wrap it tightly in cling film or place it in an airtight container, then refrigerate for up to 2 days. Just remember to let the dough come back to room temperature before rolling so it stays pliable and puffs perfectly!
Storing Leftover Poori
Freshly fried pooris are best enjoyed immediately, but you can store them at room temperature for a day or refrigerate them for up to 3 days. Let them cool completely, then store in an airtight container lined with paper towels.
More Indian Breads To Try
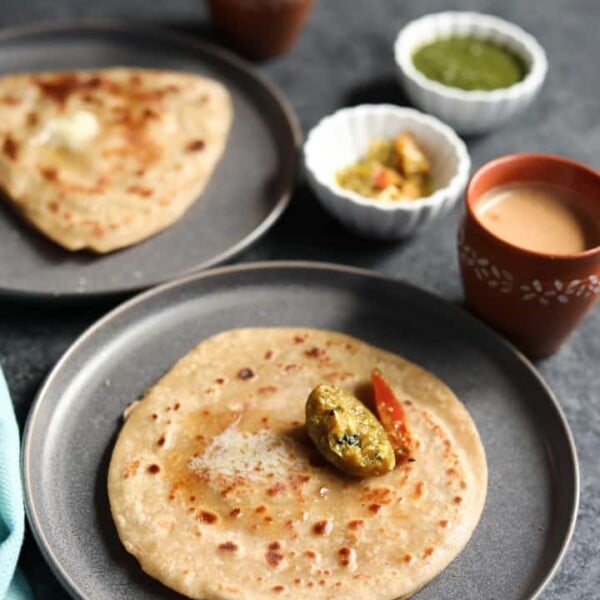
Paratha Recipe (Pan-fried Indian flatbread)
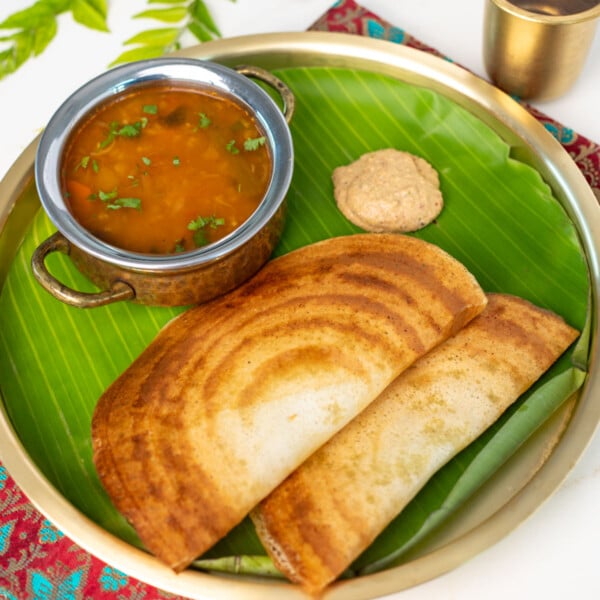
How to make Dosa (Crispy Dosa Recipe)
Gujarati Methi Thepla (Easy, Authentic Recipe)
Makki ki Roti (Punjabi Cornmeal Flatbread)

Puri Recipe (How to make poori)
Video
Ingredients
- 2 cups Whole Wheat Flour, 360 grams
- 1 teaspoon Oil
- 1 teaspoon Salt, adjust to taste
- 1/2 teaspoon Carom seeds (Ajwain), optional
- 1/2 to 3/4 cup Water, or add as required
- Oil , for deep frying, about 2 cups
Instructions
Making dough
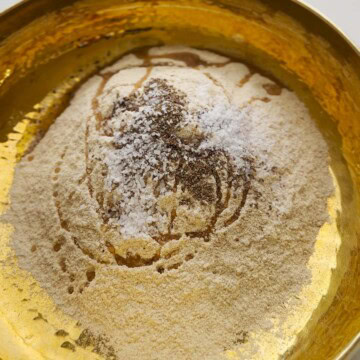
- In a large bowl or on a flat plate with high edges, place the whole wheat flour. Add salt, carom seeds, and oil. Slowly start adding water and mix with your hand. Don’t add all the water at once. Keep adding water as needed, while mixing.

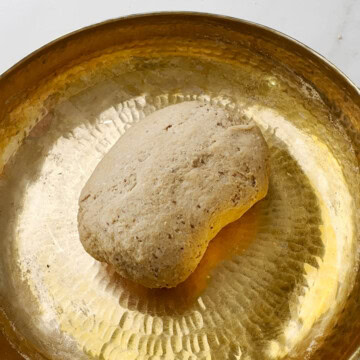
- Once the dough starts to form, do not add more water. The amount of water will vary depending on the brand of whole wheat flour. Knead well to form a smooth, uniform dough. The dough should not be too soft; it should be stiff and tight for poori.
- Cover with a damp cloth or plastic wrap and let the dough rest for 5 minutes. (Note: Don't increase the resting time, as the dough hydrates more as it sits, which will result in oily pooris.)
Assembling and rolling
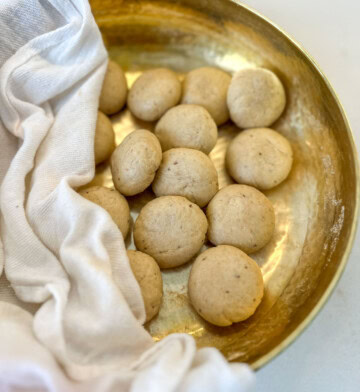
- Once the resting time is done, knead the dough once again. Then make 20 equal-sized small dough balls. Keep the dough and balls covered during this time so it does not dry out.

- While you are making the balls, heat oil in a deep frying pan or kadai.
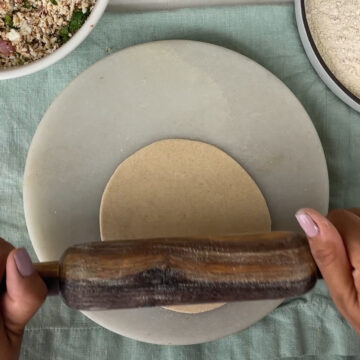
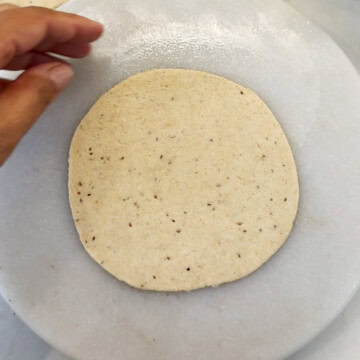
- Take one dough ball and place it on the rolling board. Flatten with your fingers and apply a little oil (do not dust with flour). Roll it into a circle about 4-5 inches in diameter, applying even pressure on all sides, neither too thick nor too thin. (Thin poori might not puff properly and can become crispy)
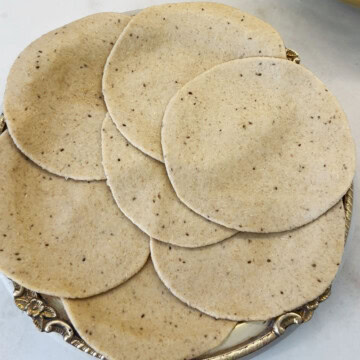
- Transfer the rolled puri to a plate or parchment paper. Roll all the pooris and line them on the plate.
- Place the rolled poori in a plate and cover with a clean kitchen towel, so that they don’t dry up.
Frying Poori
- The oil is ready when it is hot but not smoking. It should be heated to about 350°F or 180°C. You can test the oil by putting a tiny piece of dough. It should sizzle to the top if the oil is hot enough.
- Carefully add one rolled poori at a time into the oil. It should rise to the top of the oil. Gently press down on the poori with a slotted spoon; this helps it to puff evenly. Then flip over the poori with the slotted spoon and fry till both sides are golden brown.
- Carefully take the puffed poori in the slotted spoon. Let any excess oil drain, then transfer to a plate lined with a paper towel. Repeat frying all the pooris.
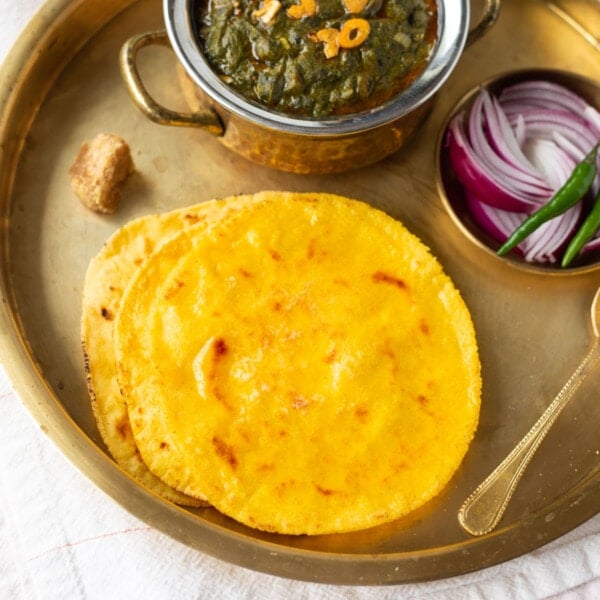
- Serve poori hot with a curry such as chole or aloo rasedar or with sweet dishes like suji ka halwa, aamras, or shrikhand.
Notes
Rolling: Along with adding a bit of oil to the flattened dough ball, you can lightly grease the rolling pin with oil to help keep it from sticking to the dough. Again, do not dust with flour because these particles will burn in the hot oil. Frying: It is very important that the oil is exactly at the right temperature. If the oil is too hot the puri will burn. However, if the oil is cold they will become soggy. Frying oil should be between 360 to 375 degrees Fahrenheit or 180 to 190 degrees Celsius. The poori should puff while frying. If not, then either the dough has not been kneaded well, the poori has not been rolled out evenly, or the oil is not hot enough.
Digestion: Add ajwain seeds (carom seeds) to the dough as they are very helpful in digestion, and add a lovely light aroma to the puri.
Crispy puri: For a crispier texture, add ¼ cup fine suji (rava or semolina flour) to the dough.


LOVED IT. Please can U share Punjabi Cholle and Raajmaan recipes. Will wait eagerly for them
Hi Mrs. Neelu – Happy to hear you liked the poori recipe. Below are the recipee. I hope you enjoy them!
Chole – https://pipingpotcurry.com/punjabi-chole-instant-pot/
Rajma – https://pipingpotcurry.com/rajma-masala-instant-pot/