
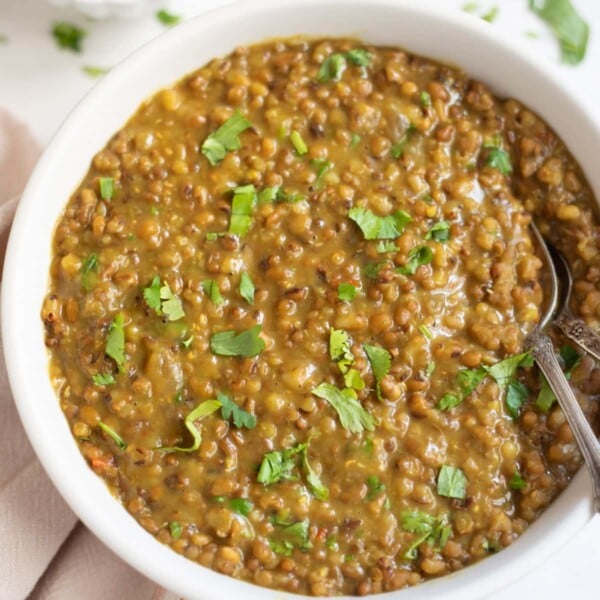
Chana dal, or split chickpeas, can be made into a delightful and comforting soup in the Instant Pot or stovetop. This recipe combines the goodness of split chickpeas with aromatic ginger, garlic, onion, tomato, and flavorful spices. Not only is it easy to make, but it is also vegan and gluten-free.
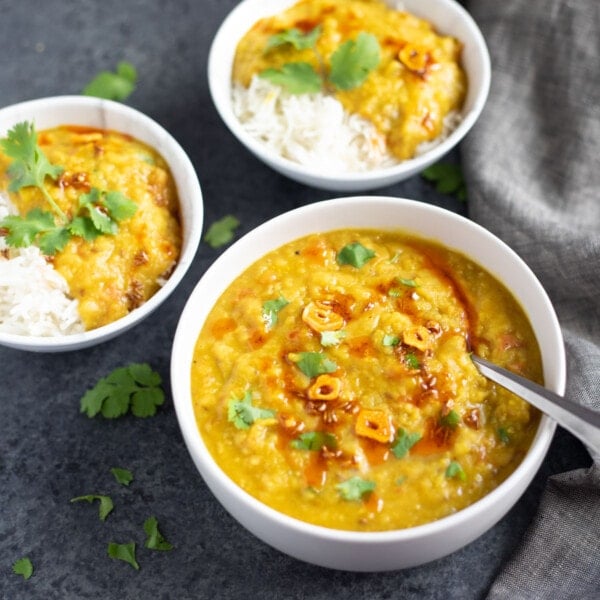
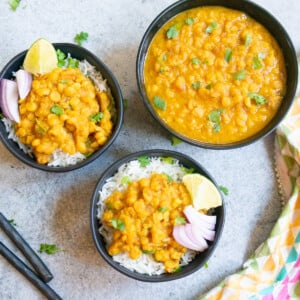
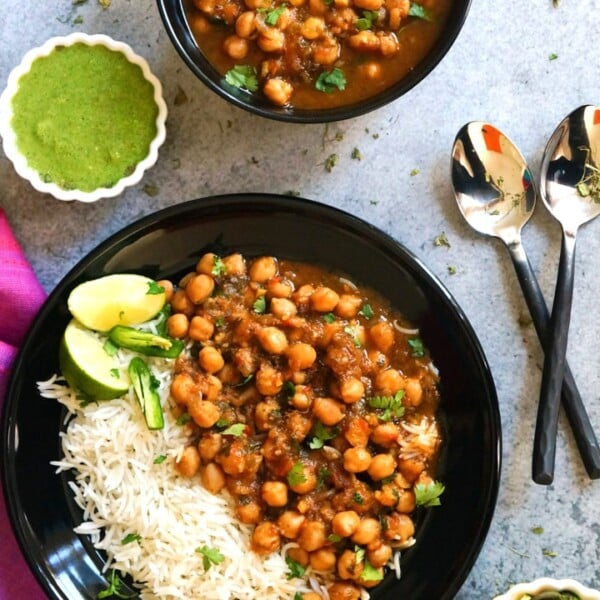
Looking for dinner ideas for Meatless Monday? Enjoy this delicious & nutritious Chana Dal. It is perfect with a side of steamed broccoli and basmati rice. If you want to pair it with an Indian-style vegetable curry, Aloo Gobi or Saag Paneer are great options.
For vegetarians in India, dal (lentils) is the main component of the meal. A typical meal includes dal, vegetable curry (subzi), roti (flatbread), and/or rice with some salad. And there are enough varieties of dals to prepare a different one each day of the week. If you are curious, check out my collection of 15 Lentil & Bean Recipes in the instant pot.
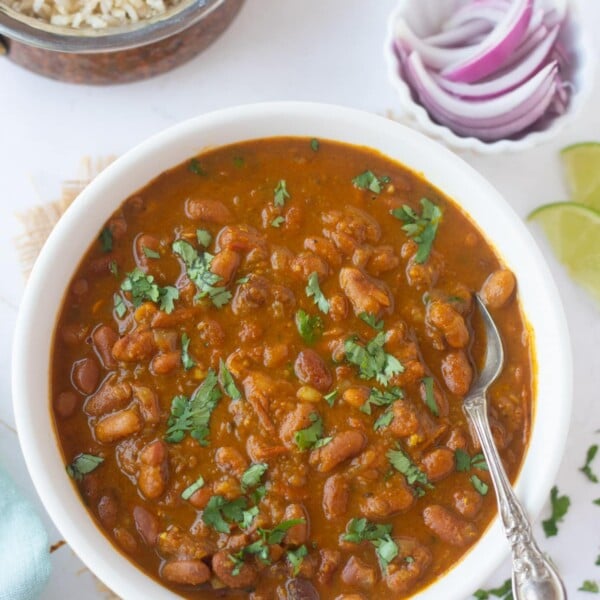
Chana Dal is a tasty and wholesome legume you can use. It’s an excellent alternative to white beans in your dishes.
If you don’t have Chana Dal at hand, you may want to check Dal Fry with Toor Dal, Green Moong Dal or Brown Lentil Curry recipe.
Table of Contents
Watch How to Make Instant Pot Chana Dal
What is Chana Dal?
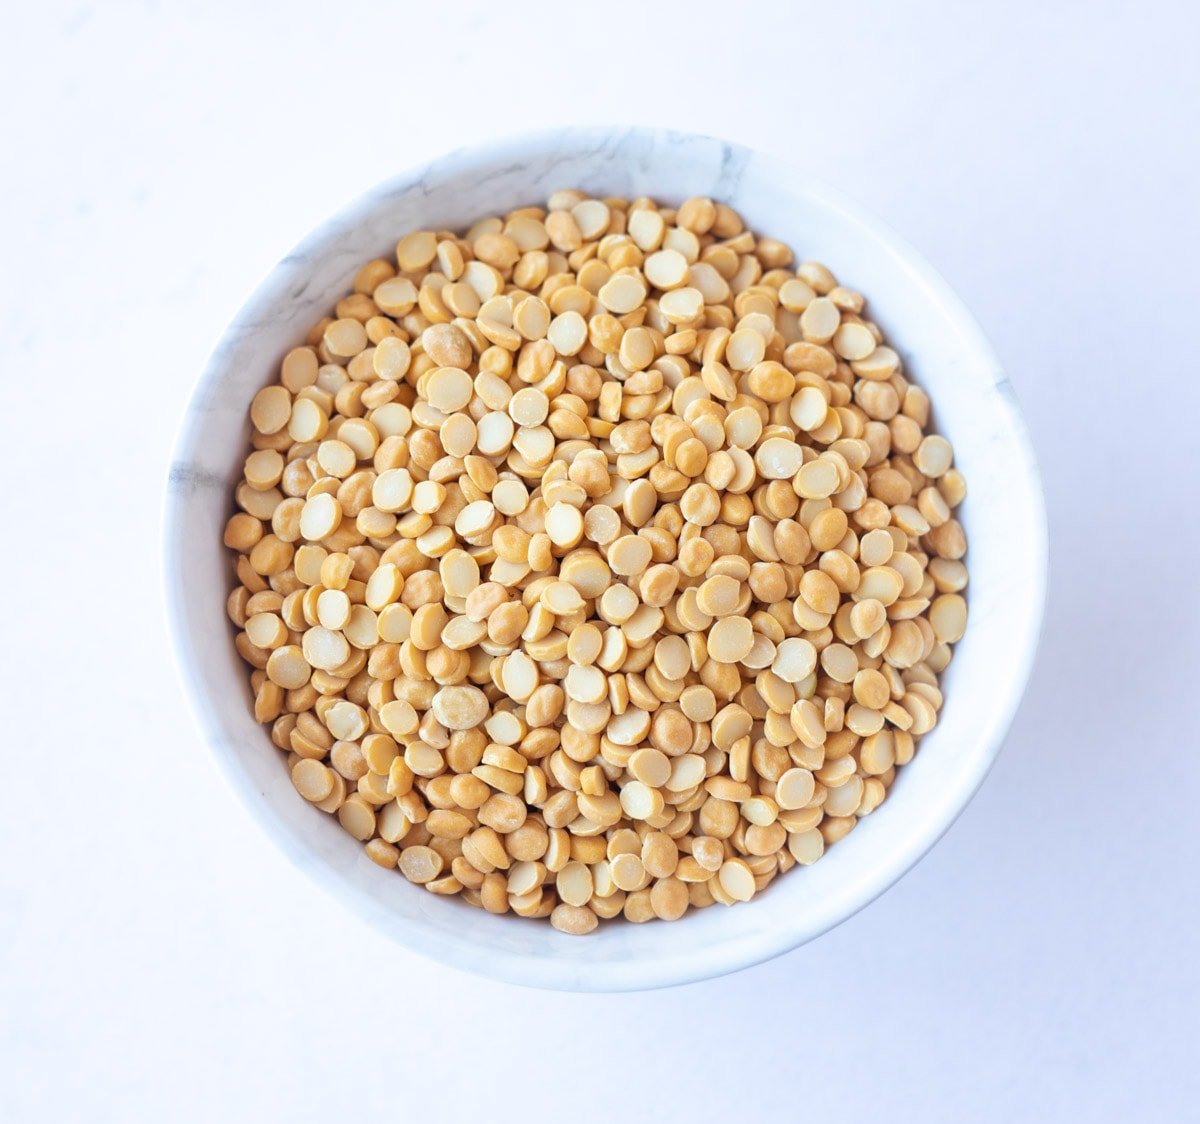
Chana Dal is dried brown chickpeas that have been split and skinned. It is also called Split Chickpeas or Bengal Gram. These wonderful little beans pack a powerhouse of nutrients as well as protein into the dish. Chana Dal is also rich in fiber and has a low glycemic index.
The best part about lentils is that they are budget-friendly and affordable by all. Chana Dal is usually used as lentil curry in North India and for tempering in South India. But there are other dishes that can be made such as Chana Dal Pilaf or Halwa (sweet pudding).
Curious about pulses used in Indian cooking? Check out my detailed guide about Indian Pulses.
Ingredients
- Chana dal (split chickpeas): It is a nutritious legume rich in protein, fiber, and essential minerals.
- Oil: You can use any cooking oil of your choice.
- Cumin seeds: They add an earthy flavor to the chana dal.
- Asafoetida (hing): It is optional, skip for gluten-free or use gluten-free hing. It adds a unique flavor to the dal.
- Onion: I used yellow onions. They add sweetness and depth of flavor.
- Ginger: It adds a subtle heat and flavor to the dish. I use freshly grated ginger.
- Garlic: It provides a bold and savory taste to the chana dal. I used freshly minced garlic.
- Tomatoes: Add a tangy and slightly sweet flavor.
- Lime juice: Adds a refreshing and tangy taste.
- Cilantro: It adds a vibrant and herbal touch.
- Spices: You’ll need turmeric, red chili powder, coriander powder, and salt.
How to cook Chana Dal?
Chana Dal takes a bit longer to cook compared to other split lentils such as Toor Dal or Moong Dal. I prefer to soak chana dal for about 30 minutes before cooking. However, they will cook just as well with a few extra minutes of pressure cooking without soaking.
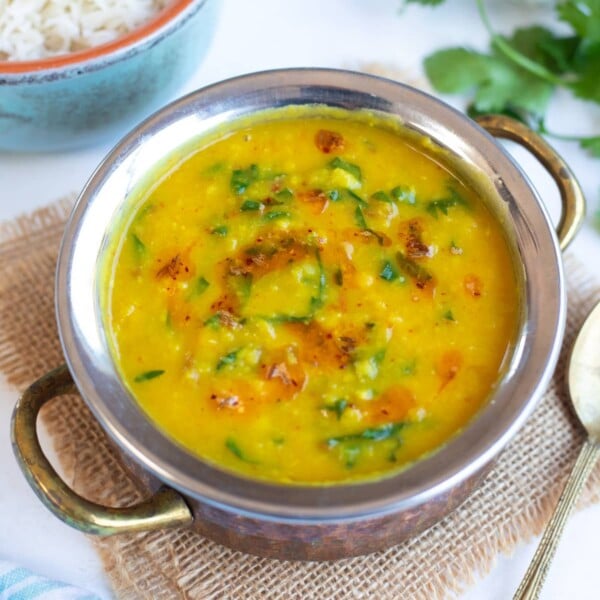
Instant Pot Chana Dal
Traditionally Chana Dal was boiled in a pressure cooker and tempering was prepared separately in a pan. Then the boiled dal was added to the tempering and simmered to infuse flavors.
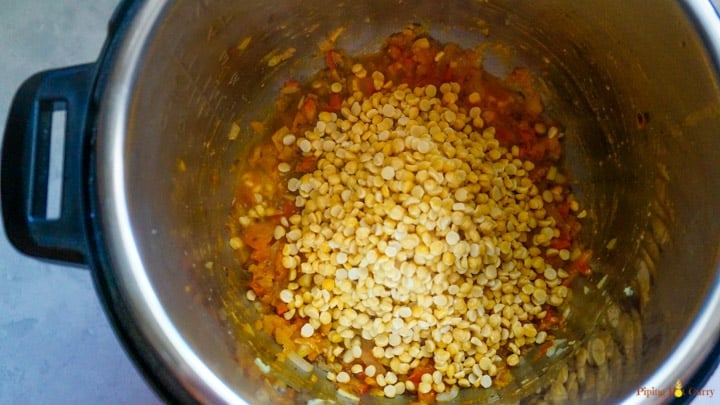
However now with the instant pot, I like to make this as a one-pot dish. Hence in this recipe, I prepare the tempering with ginger, garlic, onions, tomatoes, and spices in the instant pot. Then add the chana dal, and water and cook at high pressure.
- Heat oil in the instant pot. Then, add cumin seeds and asafoetida.
- Add the onions, garlic, ginger, and sauté for a couple of minutes.
- Add tomatoes and spices and stir them well.
- Add chana dal and water for cooking. Stir it all up.
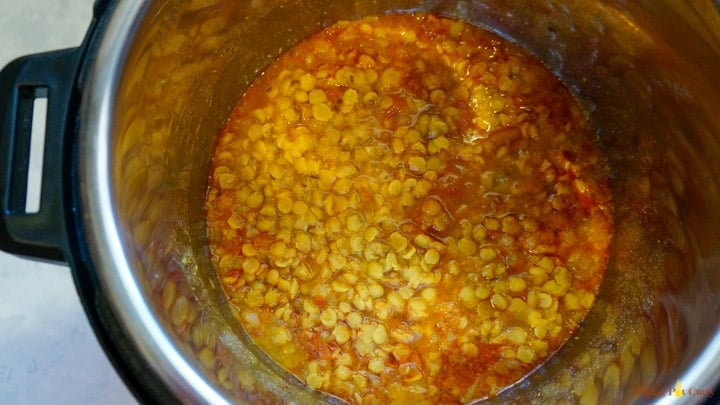
- Pressure Cancel and close the lid with the vent in the sealing position. Pressure cook for the time suggested in the recipe card.
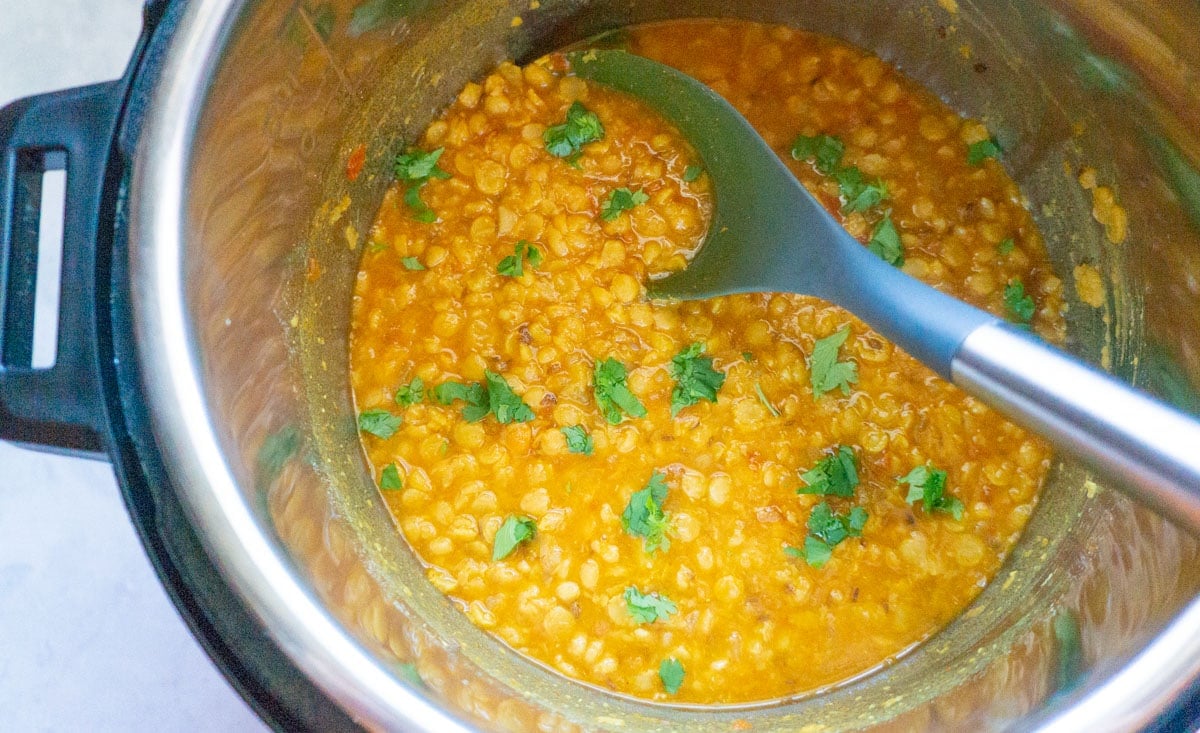
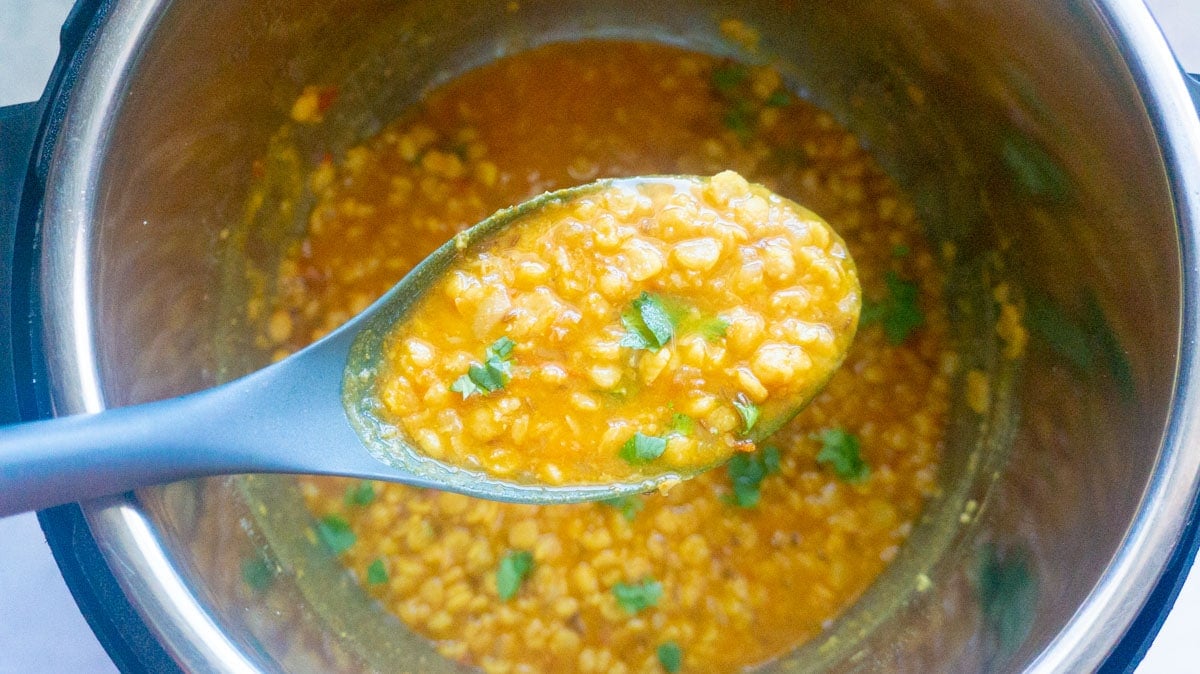
- After the instant pot beeps, let the pressure release naturally. Add lime juice and give it a good stir.
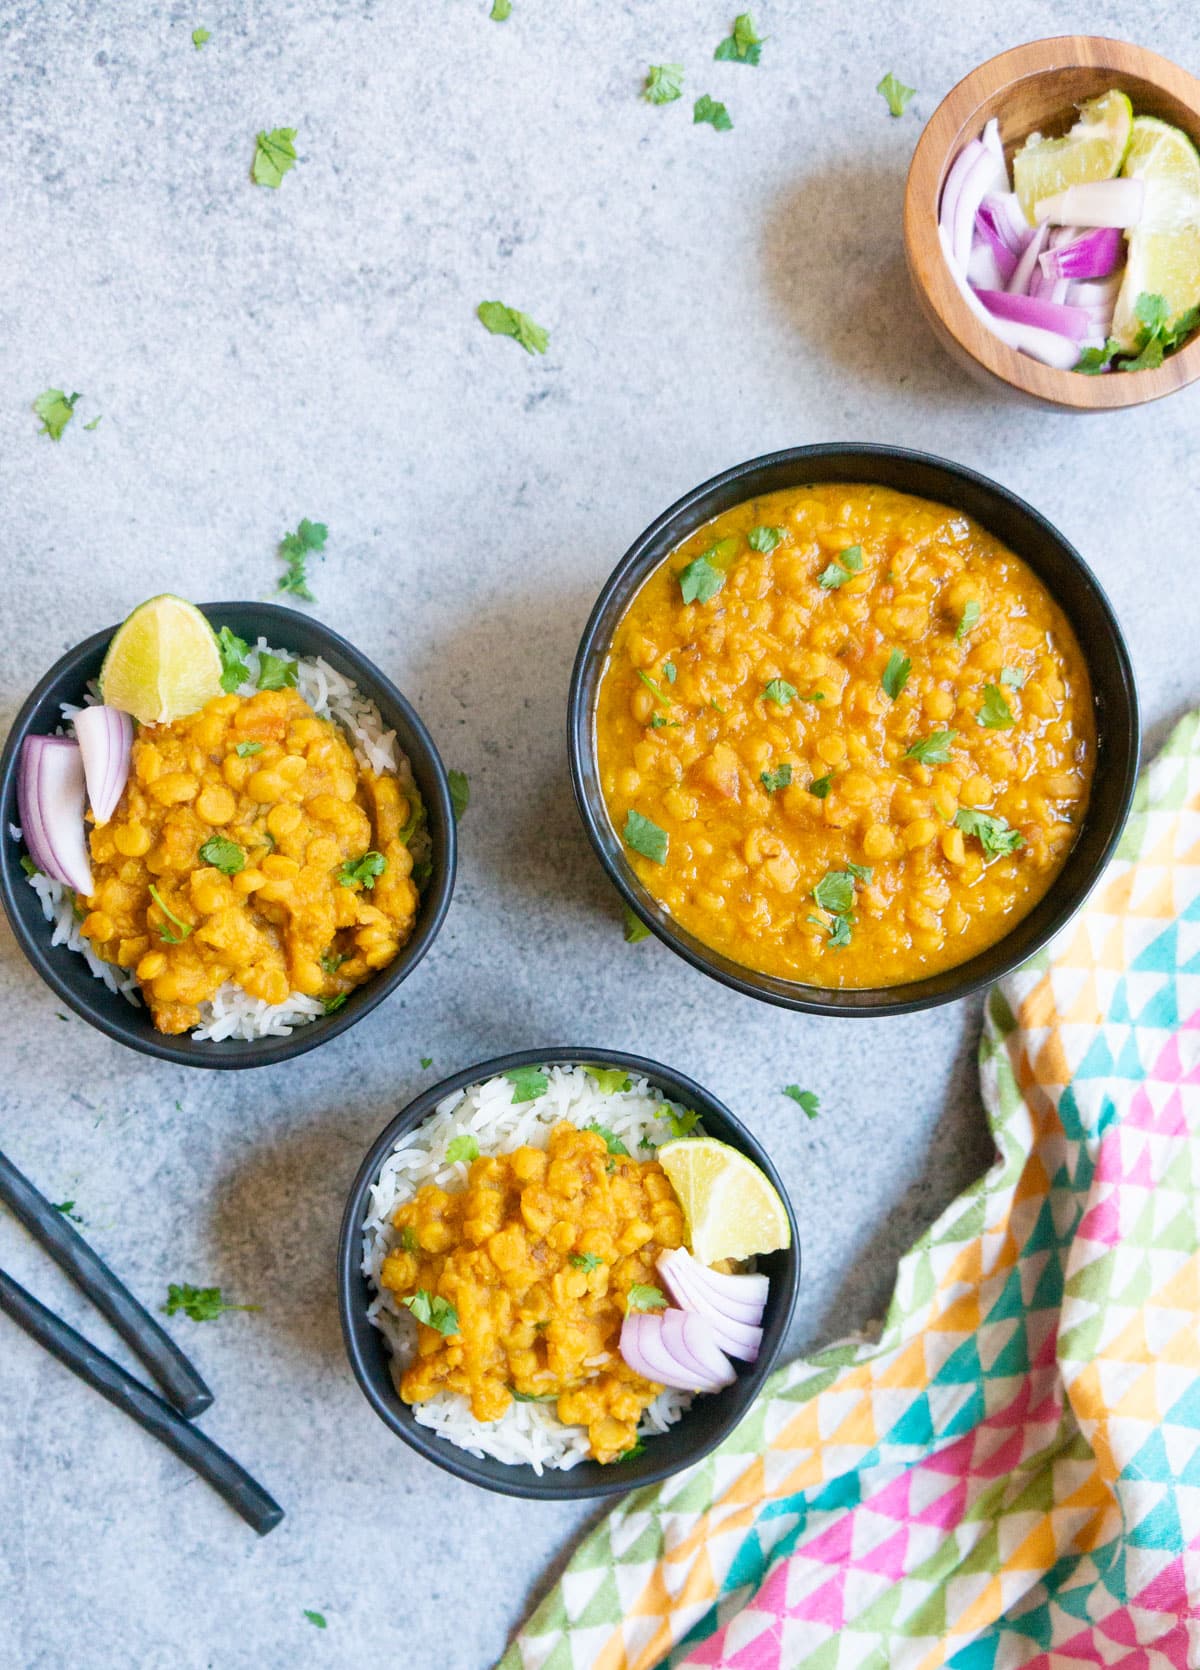
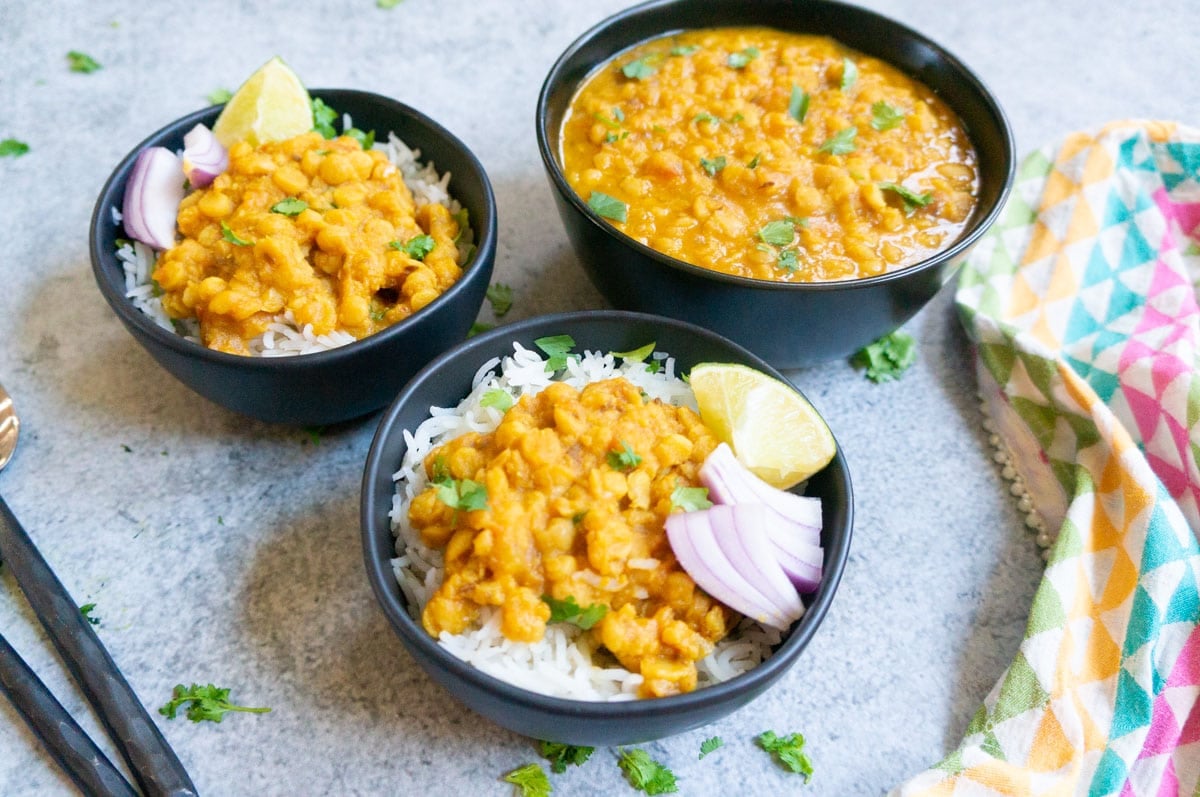
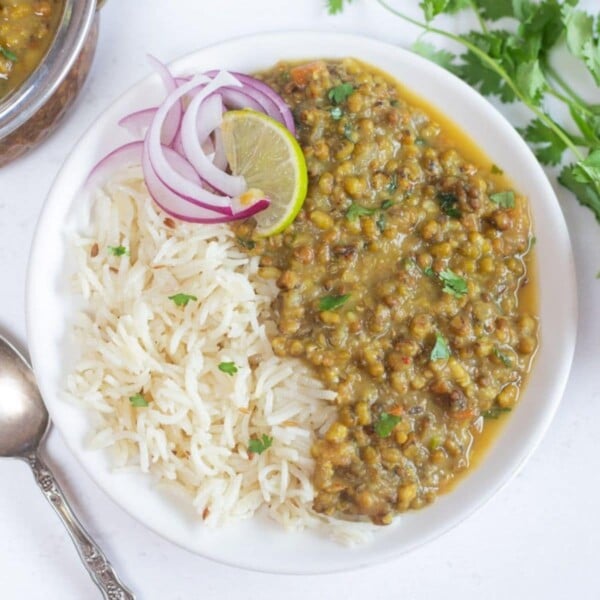
- Garnish with cilantro and serve chana dal over rice.
Stovetop Pressure Cooker Method
- Follow the same steps as the instant pot method until you close the lid.
- Place the pressure cooker on the stovetop and cook on medium-high heat.
- Once the pressure cooker reaches full pressure, reduce the heat to low and cook for 10-12 minutes.
- Turn off the heat and allow the pressure to release naturally before opening the cooker.
- Add lime juice, stir well, and garnish with cilantro.
Pro-Tips for Best Chana Dal
To enhance the flavors and texture of your chana dal, consider the following pro tips:
- Soaking the dal before cooking helps reduce the cooking time and ensures even cooking.
- You can add ghee instead of oil for a richer taste.
- Adjust the spice levels to your preference. Add more chili powder for extra heat, or reduce it for a milder flavor.
- If you like to make this even more nutritious, then add some spinach right after the dal is cooked. Stir and let it sit for 5 minutes. Spinach Chana Dal is ready to be enjoyed.
How to Serve Chana Dal?
It pairs well with a variety of dishes. Here are a few serving suggestions:
- Enjoy chana dal with steamed basmati rice for a wholesome meal.
- Serve it with Indian bread like roti, naan, or paratha.
- Serve this dal alongside Indian vegetable stir fry such as aloo baingan, cabbage peas, or aloo beans for a wholesome meal.
- We love to serve this dal with cucumber raita and kachumber salad.
How to Store Chana Dal?
If you have any leftovers, store them properly to maintain freshness. Follow these storage guidelines:
- Allow the dal to cool down completely before storing it.
- Transfer it to an airtight container or a food storage bag.
- Refrigerate the dal and consume it within 2-3 days.
- You can also freeze the cooked chana dal for a longer shelf life. Place it in freezer-safe containers or bags, which can be stored for up to 3 months.
Common Questions
No, split peas and split chickpeas are different. Split peas are made from dried peas, while chana dal is made from chickpeas.
Soaking chana dal before cooking is recommended but optional. Soaking helps reduce the cooking time and improves the texture of the dal.
Yes, you can freeze-cooked chana dal. Ensure it is stored in airtight containers or freezer bags to maintain quality. Thaw the frozen dal in the refrigerator before reheating.
More Lentil Recipes You’ll Love
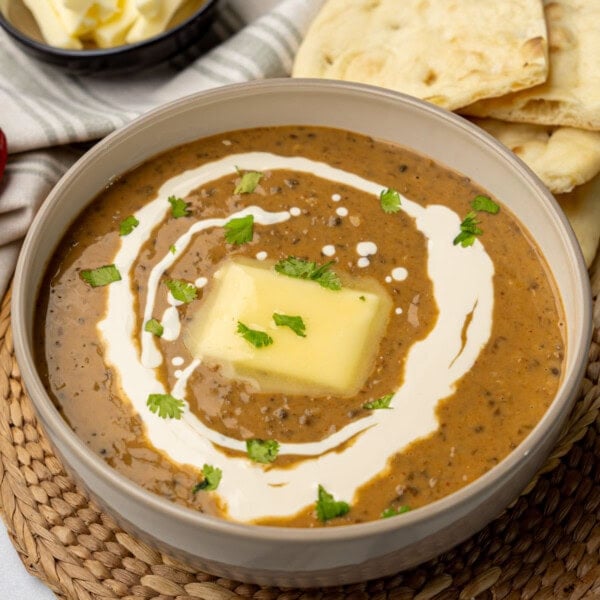
Instant Pot Dal Makhani (Madras Lentils)
Dal Palak/Spinach Dal (Instant Pot & Stovetop)
Easy Punjabi Moth Dal (Matki Curry)
Red Lentils – Instant Pot & Stovetop (Masoor Dal)
Instant Pot Chana Dal
Video
Ingredients
- 1 cup Split Chickpeas (Chana dal), (6.7 ounces)
- 2 cups Water, for soaking
- 1 tablespoon Oil
- 1 teaspoon Cumin seeds (Jeera)
- 1/4 teaspoon Asafoetida (Hing), optional, skip for gluten-free
- 3/4 cup Onion, diced
- 1/2 tablespoon Ginger, minced
- 3 cloves Garlic, minced
- 3/4 cup Tomato , chopped
- 2 cups Water, for cooking, increase to 2.5 cups if not soaking the dal
- 1 tablespoon Lime juice
- Cilantro
Spices
- 1 teaspoon Salt
- 1/4 teaspoon Ground Turmeric (Haldi powder)
- 1/2 teaspoon Red Chili powder (Mirchi powder)
- 1 teaspoon Coriander powder (Dhaniya powder)
Instructions
Instant Pot Method
- Soak Chana dal along with the water for soaking for 30 minutes. Then drain the soaking water.
- Start the instant pot in sauté mode and heat oil in it. Add cumin seeds and asafoetida.
- Once the cumin seeds start to change color, add the onions, garlic, ginger and saute for 2 minutes.
- Add tomatoes and spices and stir them well. Add chana dal and water for cooking. Stir it all up. Pressure Cancel and close the lid with the vent in the sealing position.
- Change the instant pot setting to manual or pressure cook mode at high pressure for 12 mins. If you skipped soaking, cook for 15 minutes at high pressure.
- After the instant pot beeps, let the pressure release naturally. Add lime juice and give a good stir.
- Garnish with cilantro and serve chana dal over rice.
Stovetop Pressure Cooker Method
- Follow the same steps as the instant pot method until you close the lid.
- Place the pressure cooker on the stovetop and cook on medium-high heat.
- Once the pressure cooker reaches full pressure, reduce the heat to low and cook for 10-12 minutes. Turn off the heat and allow the pressure to release naturally before opening the cooker.
- Add lime juice, stir well, and garnish with cilantro.
Notes
- Chana Dal foams, so if you double/triple the recipe make sure to only fill up to half of the pot.
- Make Spinach Chana Dal – Add spinach after opening the instant pot, right after pressure cooking. Cover and let it rest for 5 minutes.
- Vegan Variation: To keep this recipe vegan, don’t use ghee.
- Gluten free Variation: Use gluten-free asafoetida or skip it.


This is an awesome recipe. Doubled it and the whole family liked it! Will be making this again thank you!
Make this regularly. So good. One of the few recipes I have memorized.
Hi Matt – So glad to hear you have been enjoying this dal!
Went over big at work this house. Thanks. This will become a staple here.
Hi Jane – Glad to hear you enjoyed the dal!
turned out excellent, thanks
Hi Vikas – So glad to hear that. Thank you for sharing back. 🙂
Love this! This is my go-to recipe when I want chana dal.
Hi Ariel – So good to hear that. Thank you for sharing. 🙂
What is the purpose for keeping the soaking liquid aside ? I don’t see where it’s used in the recipe.
Hi Manuela – You are right, I have removed that from the instructions. Sorry for the confusion. Hope you enjoy the Chana Dal!
The VERY best, most comforting Dahl only second to her Palak Paneer. I’m so very grateful for you putting this all out here for us less able to purchase the book. I tripled this one just now to avoid having to make it more than once a week because I don’t have enough energy to cook super often.
Thank you!
Hi Kimberley – So glad to hear that. Thank you for sharing it. 🙂
I was wondering if you can do this recipe with regular chickpeas instead of split chickpeas. Thank you!
Hi Stephanie – I would suggest the Chana Masala or Chana Saag recipe if you want to use regular chickpeas. Would love to hear if you try any of them.
Thank you for the suggestion! Will do 🙂
Delicious. I left the salt put for dietary reasons and added cauliflower to the serving. I would say these a big servings as I am a ricer. But awesome recipe!
Hi there,
How long does the natural release take for you?
Hi Sereina – It can take about 15-20 minutes. If it is not all released after 15 minutes, it is okay to turn the knob to venting and release the remaining pressure.